

Most of my first-time personal training clients are eager to hit the dumbbells and weight machines right away.
While those pieces of equipment definitely come in handy, I always start beginners off with bodyweight exercises first.
The ability to support and stabilize your own body is incredibly important, and provides a vital foundation for any strength training routine.
Pushing yourself up, or lifting yourself off the ground, can be quite challenging—especially if you’ve never had a purposeful exercise routine in place.
If you’ve decided to start working out regularly, try the following no-equipment upper body exercises. The only thing you’ll need is a chair and yoga mat.
1. Modified push-up

Sets: 1-2 Reps: 10-12
- Come to hands and knees on a mat.
- Step both feet back behind you into a plank position. Your body should form a straight line from your shoulders to your heels.
- Drop your knees to the mat, then lift your shins and feet off the floor. Keep your core engaged and your spine neutral.
- Bend your elbows and lower your chest, torso, and hips to the floor.
- Push yourself back up to the starting position.
Trainer tips: Lower your chest, torso, and hips to the floor at the same time—don’t let your hips stay in the air as your chest hits the mat, or vice versa.
Keep your core engaged and don’t allow any excessive arching in the lower back. The push-up can also be performed on an elevated surface, like a table, kitchen worktop or wall.
2. Chair triceps dips

Sets: 1-2 Reps: 10-12
- Sit on the edge of a chair with your spine tall.
- Place both of your palms on the edge of the chair, allowing your fingers to grip the edge.
- Lift your hips off the chair and shift forward slightly, so that your butt is off the edge of the chair.
- Bend your elbows and drop your hips toward the ground, keeping your spine tall.
- Once you’ve reached the end of your range, push yourself back up to the starting position.
Trainer tips: Start this exercise with both knees bent for better support. As you get stronger, try straightening your legs for more of a challenge.
Keep your elbows aimed behind you as you lower your hips towards the floor.
3. Back extensions

Sets: 1-2 Reps: 10-12
- Lay on your stomach on a mat and place both hands behind the back of your head.
- Engage your core and squeeze your glutes.
- Slowly lift your head, shoulders, and chest off the mat.
- Once you’ve reached the end of your range, lower back down to the starting position.
Trainer tips: Feel your shoulder blades squeeze together as you lift yourself off the mat. Keep your glutes squeezed to support and stabilize the lower back.
If you experience any lower back pain, reduce your range of motion.
4. Shoulder taps

Sets: 1-2 Reps: 10-12 on each side
- Come onto hands and knees on the mat.
- Step both feet back behind you into a plank position, so that your legs are straight and your body forms a line from your shoulders to your heels.
- Lower your knees toward the mat and lift your shins and feet off the floor.
- Keep your core engaged and spine neutral.
- Lift your right hand off the mat and touch your left shoulder, keeping the rest of your body still.
- Return your right hand to the mat, then lift your left hand off the mat and touch your right shoulder, keeping the rest of your body still.
- Switch sides and repeat.
Trainer tips: Don’t allow the hips to shift as you lift your hands from the mat—keep your core engaged and your pelvis still. Slow your pace if you’re having trouble keeping the hips square.
To increase difficulty, lift the knees off the floor and do the exercise in a plank position.

-
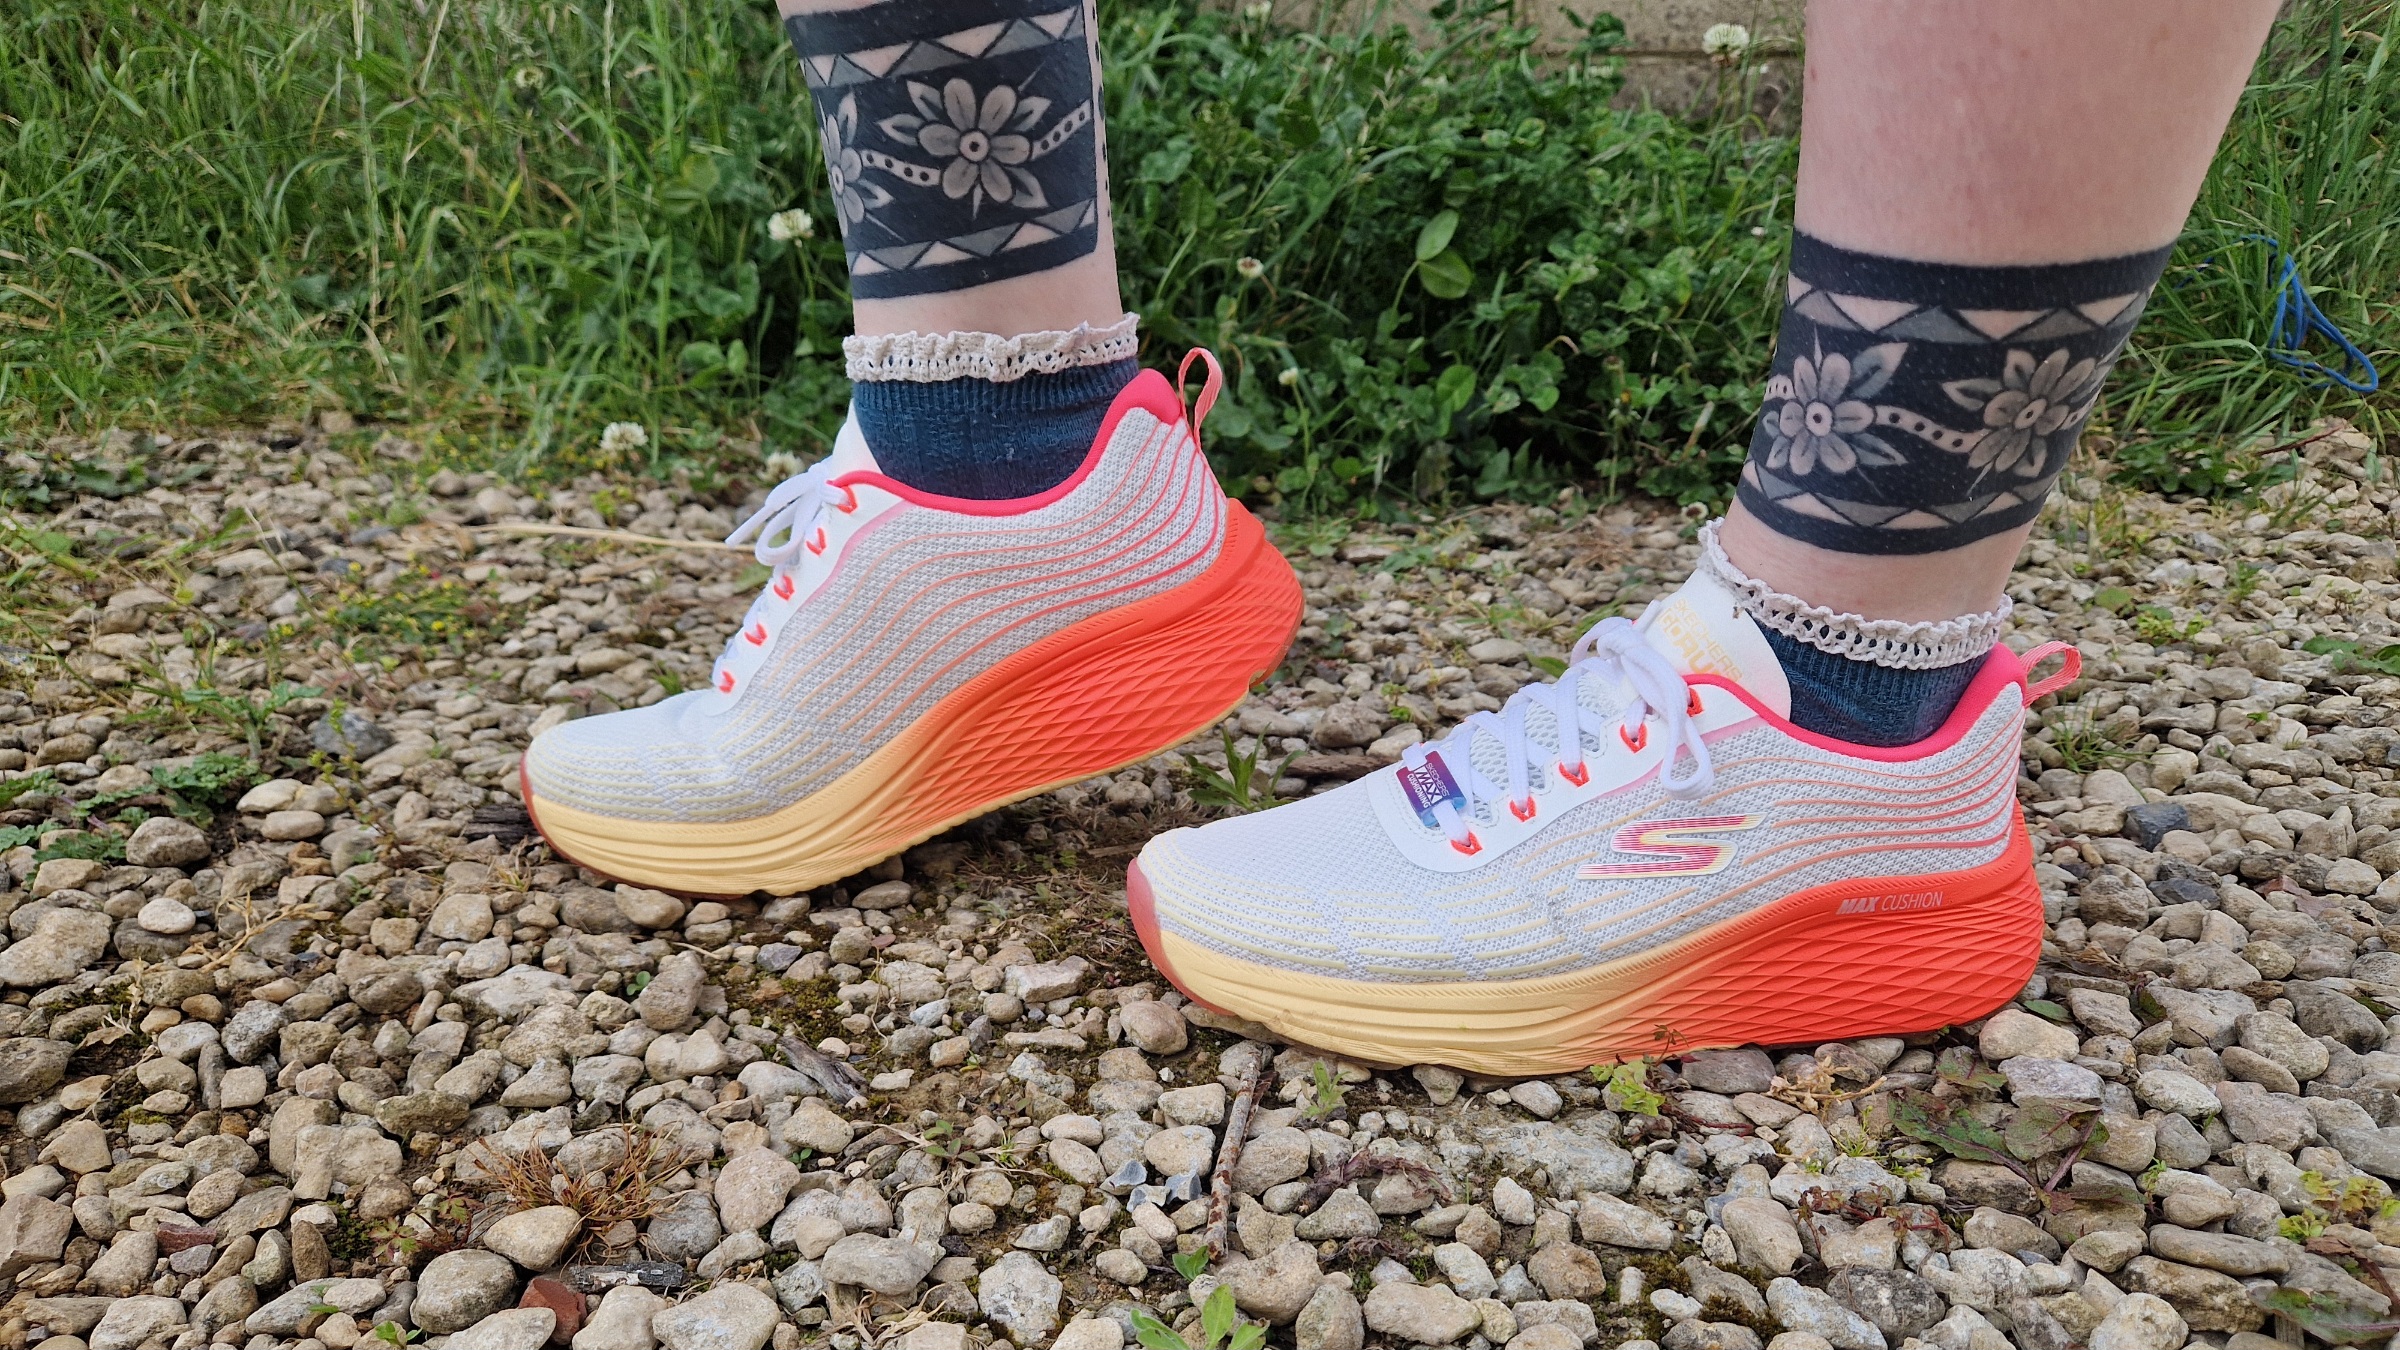 Get it before it’s gone! The best Skechers shoe I’ve ever tested is 29% off at Zappos
Deal It’s selling fast, so cash in on this deal while you still can
-
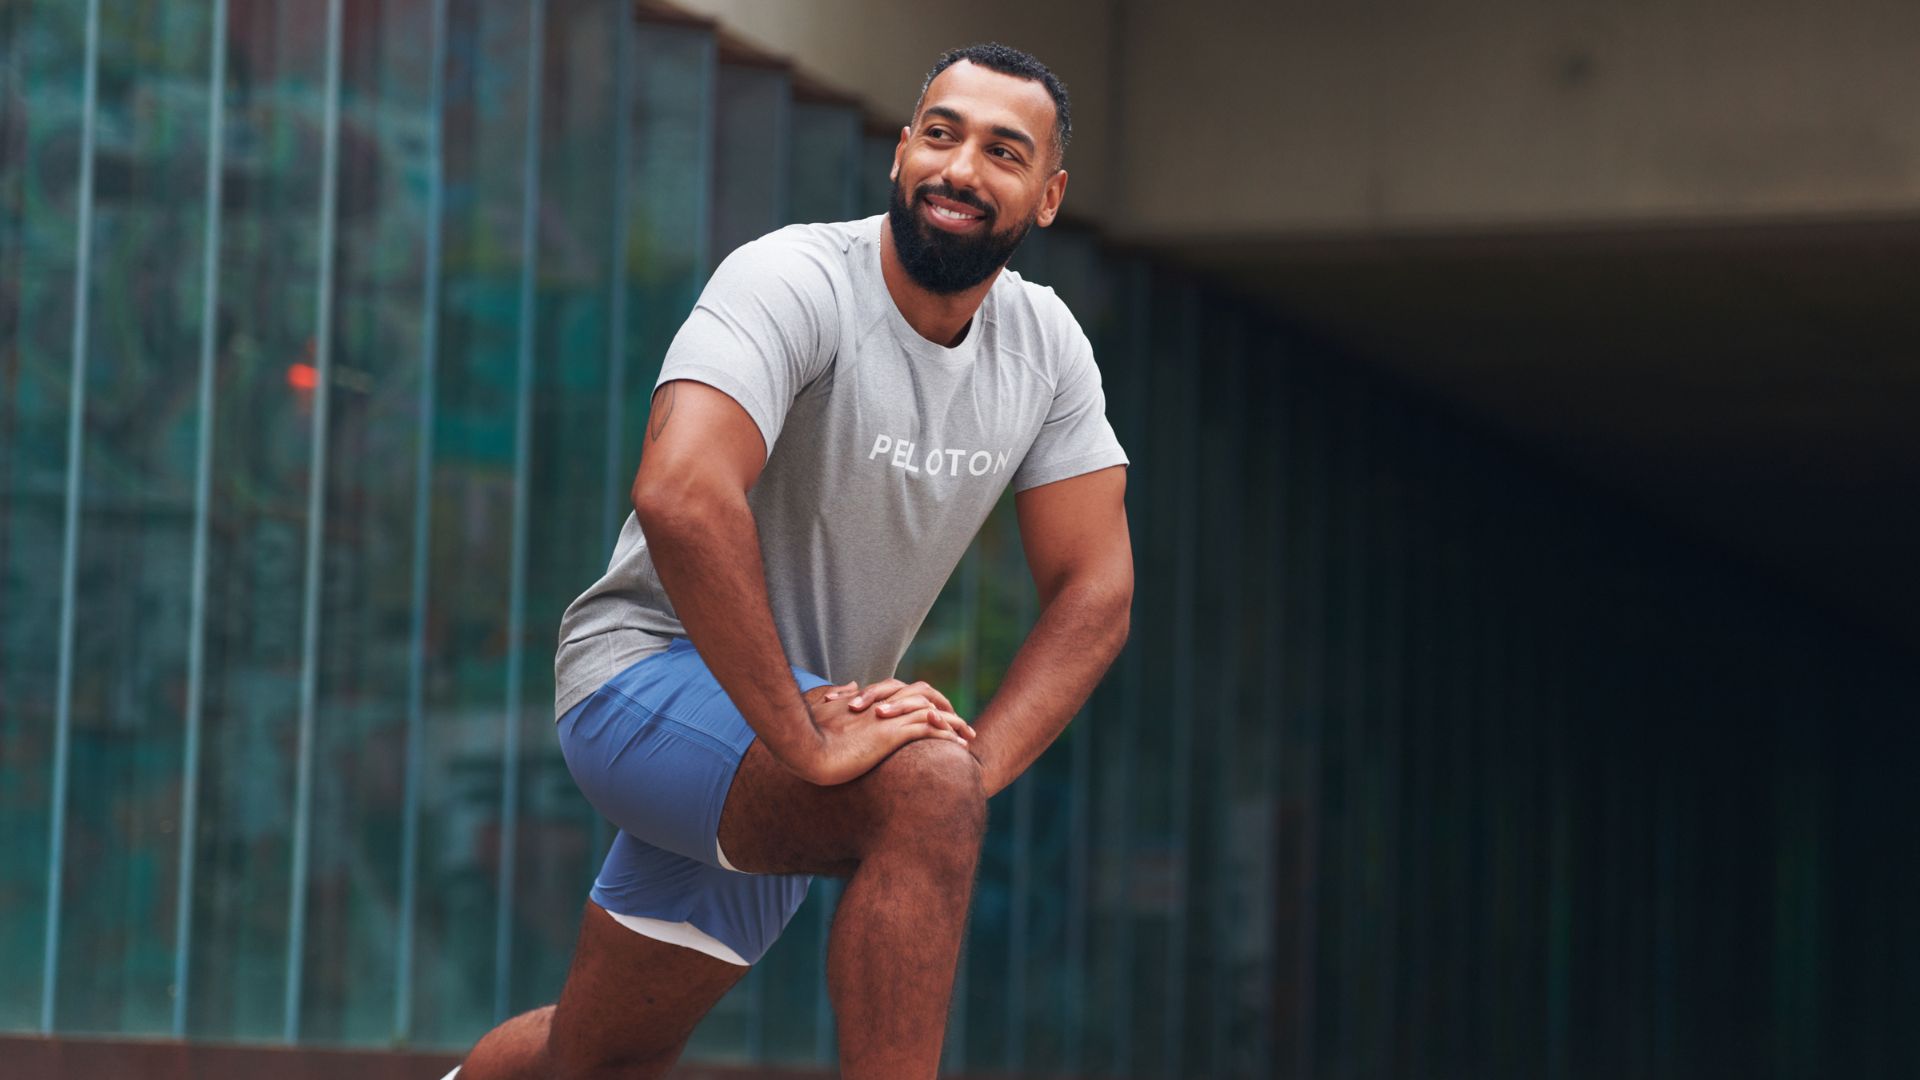 I had hip and knee pain when I ran until I did these two trainer-approved things
Peloton instructor Jermaine Johnson swears by these two things to improve running performance

