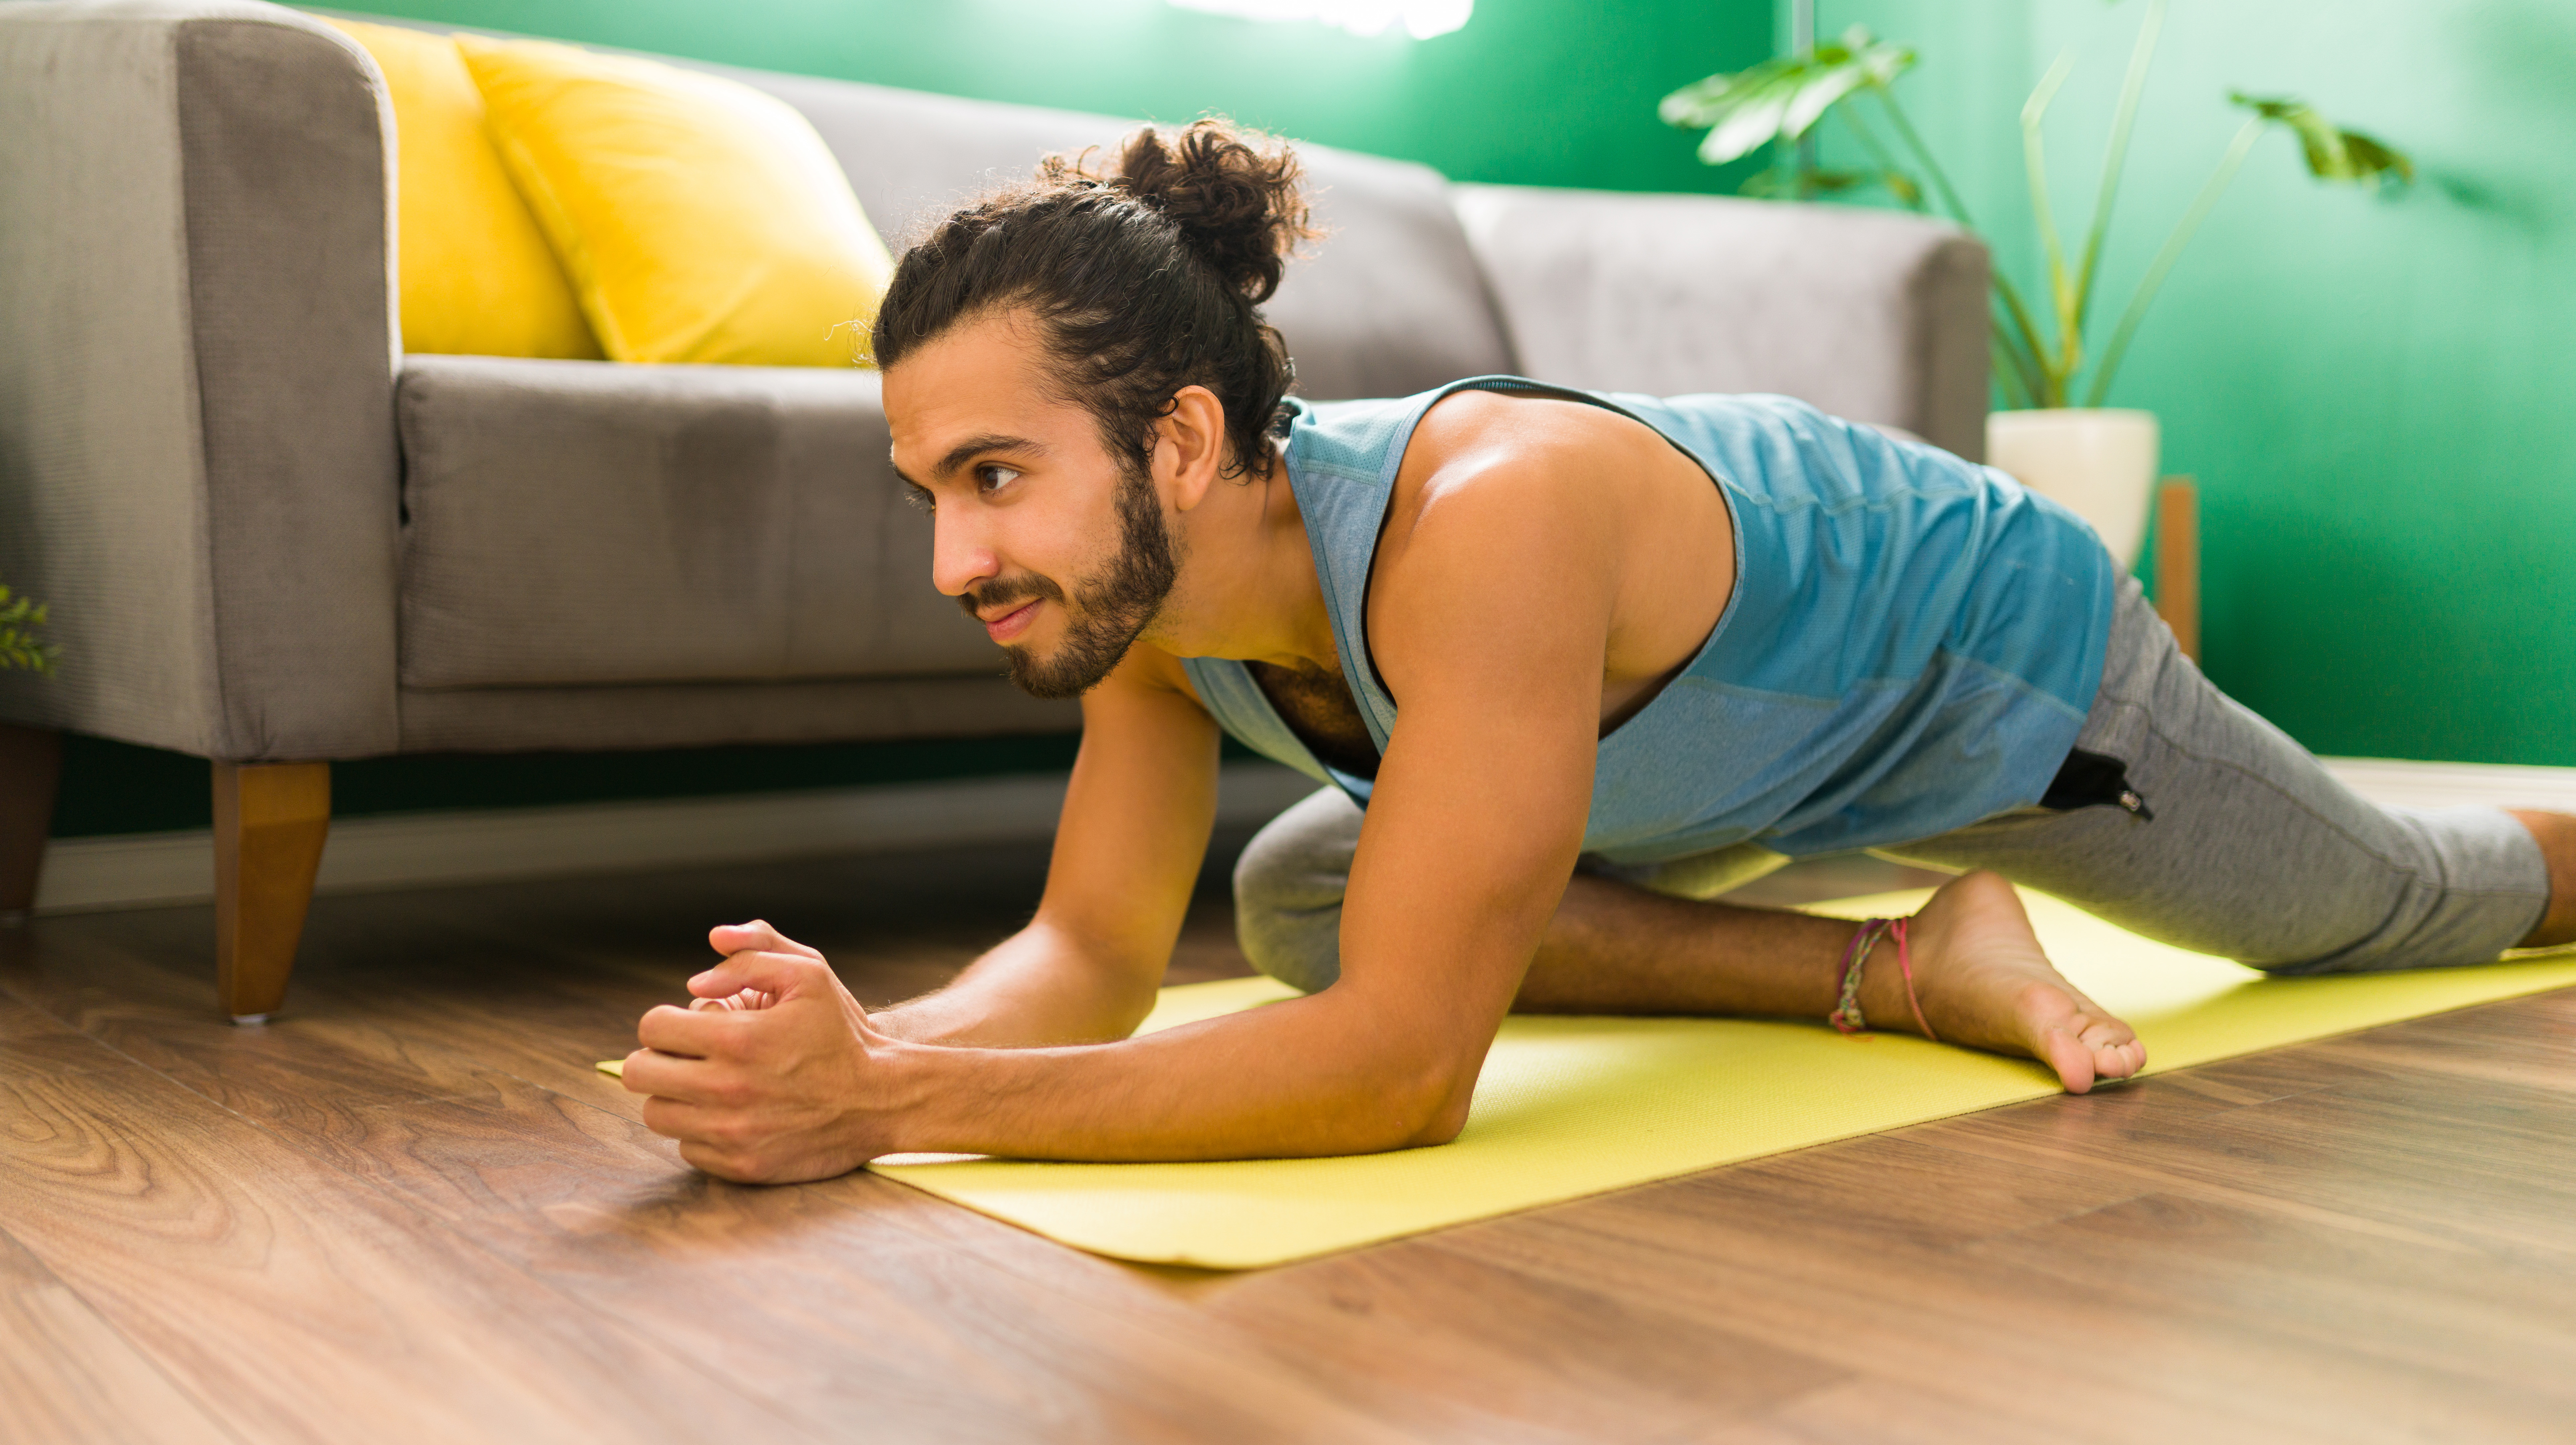
A yoga teacher says you should do this beginner-friendly pose every day to improve your hip mobility and flexibility
Improve your hip health and boost your mobility with this simple move


Our hips are the largest weight-bearing joints in our bodies and play a central role in everyday movements. Healthy hips allow for a wide range of motion so you can walk, run, kick, jump and bend over easily. Having limited mobility in this area can affect everything from your lower back to your pelvic health and leg function.
I've worked as a physical therapy aide and I'm now a yoga teacher, so I'm familiar with lots of methods for improving hip mobility. I've helped patients and students stretch and strengthen their hips and seen the positive impact it can have on movement patterns. One of my favorite stretches to practice and to teach is pigeon, a classic yoga pose.
When done correctly, pigeon pose targets several areas of the hip known for locking up and causing discomfort. Several variations of the pose exist, but the resting variation tends to be most accessible for all levels, including beginners. Here’s how to do it.
How to perform a resting pigeon pose
A post shared by Carly Newberg (@_sincerelycarly)
A photo posted by on
- From an all-fours position on your hands and knees, draw your right knee toward your right wrist. Set the knee down and swing your right shin and foot to the left, so they are roughly horizontal to your torso. Some people will try to make their shin parallel with the top of their yoga mat, but this can put a lot of stress on the knee and hip joints. It’s okay, and sometimes more beneficial, to have the leg at less than a 90° angle.
- Slide the left toes back keeping the knee lifted and leg straight. Then gently lower down the left knee. Keep your pelvis square to the floor, so that you’re not tipping toward the outer hip of the right leg. If there is a lot of space between your right thigh, buttock, and the floor, wedge a folded up blanket, cushion, or yoga block underneath you for support.
- Keep the chest upright in this position with the hands or forearms on the floor, a cushion, or blocks. To feel a deeper stretch and sensation in the hips, lower the chest down toward the mat, resting the forehead on the forearms or hands. You might also try stretching the arms out in front of you with the forehead down to feel a subtle stretch through the arms and shoulders.
- Relax in your resting pigeon pose by lengthening your inhales and exhales to a count of four or five seconds. Stay here for 30 seconds to three minutes overall.
- When you are ready, slowly exit out of the pose and repeat on the opposite side.
Adapt the pose to your needs
People often find themselves leaning into the active hip in pigeon pose. This is usually because they have limited hip mobility and can't access the external rotation they need. Some people also lean into the outer hip to get deeper into the stretch or to take pressure off the front knee.
Leaning over like this can cause misalignment in the pelvis and place stress on the outer hip. Placing a prop like a block or rolled-up blanket underneath the outer hip helps prevent this. I'd also suggest experimenting with keeping both knees bent. You will still get a good stretch but you won't compromise your pelvic alignment or put strain on the joints and torsion through your pelvis.
You may also find it hard to fold forwards and relax into pigeon pose if you have limited flexibility. To soften into the stretch, place a cushion, rolled-up blanket, or stacked blocks under the chest for support.
Performing pigeon pose should not hurt or cause harm to the body. If you notice any painful sensations, carefully back out of the pose and try something different. When practiced regularly, pigeon pose is one of the best hip stretches to undo the damage of sitting. Team it with some hip-strengthening exercises to keep your lower body strong and healthy.
Start your week with achievable workout ideas, health tips and wellbeing advice in your inbox.
Alternative: Figure four stretch
A figure four position on the back will allow for a similar stretch to pigeon pose, but is more attainable to those with an injury or limited mobility.
- Lie on your back with your knees bent and feet planted on the floor.
- Bring your right leg up and rest your right foot just above the left knee. Keep your left foot on the floor and feel the external rotation through the right hip.
- For a deeper stretch, interlace your hands behind your left thigh, lift the left foot and pull your leg towards your chest. Keep your toes flexed to protect the knee.

Carly Newberg is a writer and inclusive yoga teacher living in the Pacific Northwest of the United States. In 2019, she graduated from Portland State University with a degree in Exercise Science and Communications. Soon after, she published her memoir, Good Enough, and began her freelance career. Carly has written for an assortment of online publications such as Yoga Journal, Insider, Well & Good, and PopSugar. She has experience working in physical therapy and is passionate about helping others work toward more inner trust and empowerment, both on and off the yoga mat.
