I'm a trainer and this is the first move I use with all of my clients to reduce lower back pain, boost stability and undo damage caused by prolonged sitting
Use this tried-and-tested routine to start your next workout

Often the hardest thing with exercise is knowing where to start. Well, if you ask me (a personal trainer of five years and fitness writer for another 10 before that), there's only one place to start: with a two-minute exercise drill I've perfected with all my clients.
The routine is quick, suitable for all levels and helps safeguard against the daily aches and pains caused by prolonged sitting. All you need is a set of lightweight, affordable mini-loop resistance bands.
Over the years I've found this drill to be unparalleled in its effectiveness for waking up glutes that can switch off from hours of inactivity. Revving up your glutes for activity helps to improve strength and stability for road running, playing sport or even dropping under a squat rack.
Strong, active glutes can also help stabilize the pelvis, helping to maintain good posture and reduce lower-back pain if you are tied to your desk. Try it yourself and you'll quickly feel the powerful hip driver muscles firing up, priming the body for action.
Use this resistance band crab walk drill to warm up your glutes
A post shared by Strength Training for Endurance Athletes (@valere.endurance)
A photo posted by on
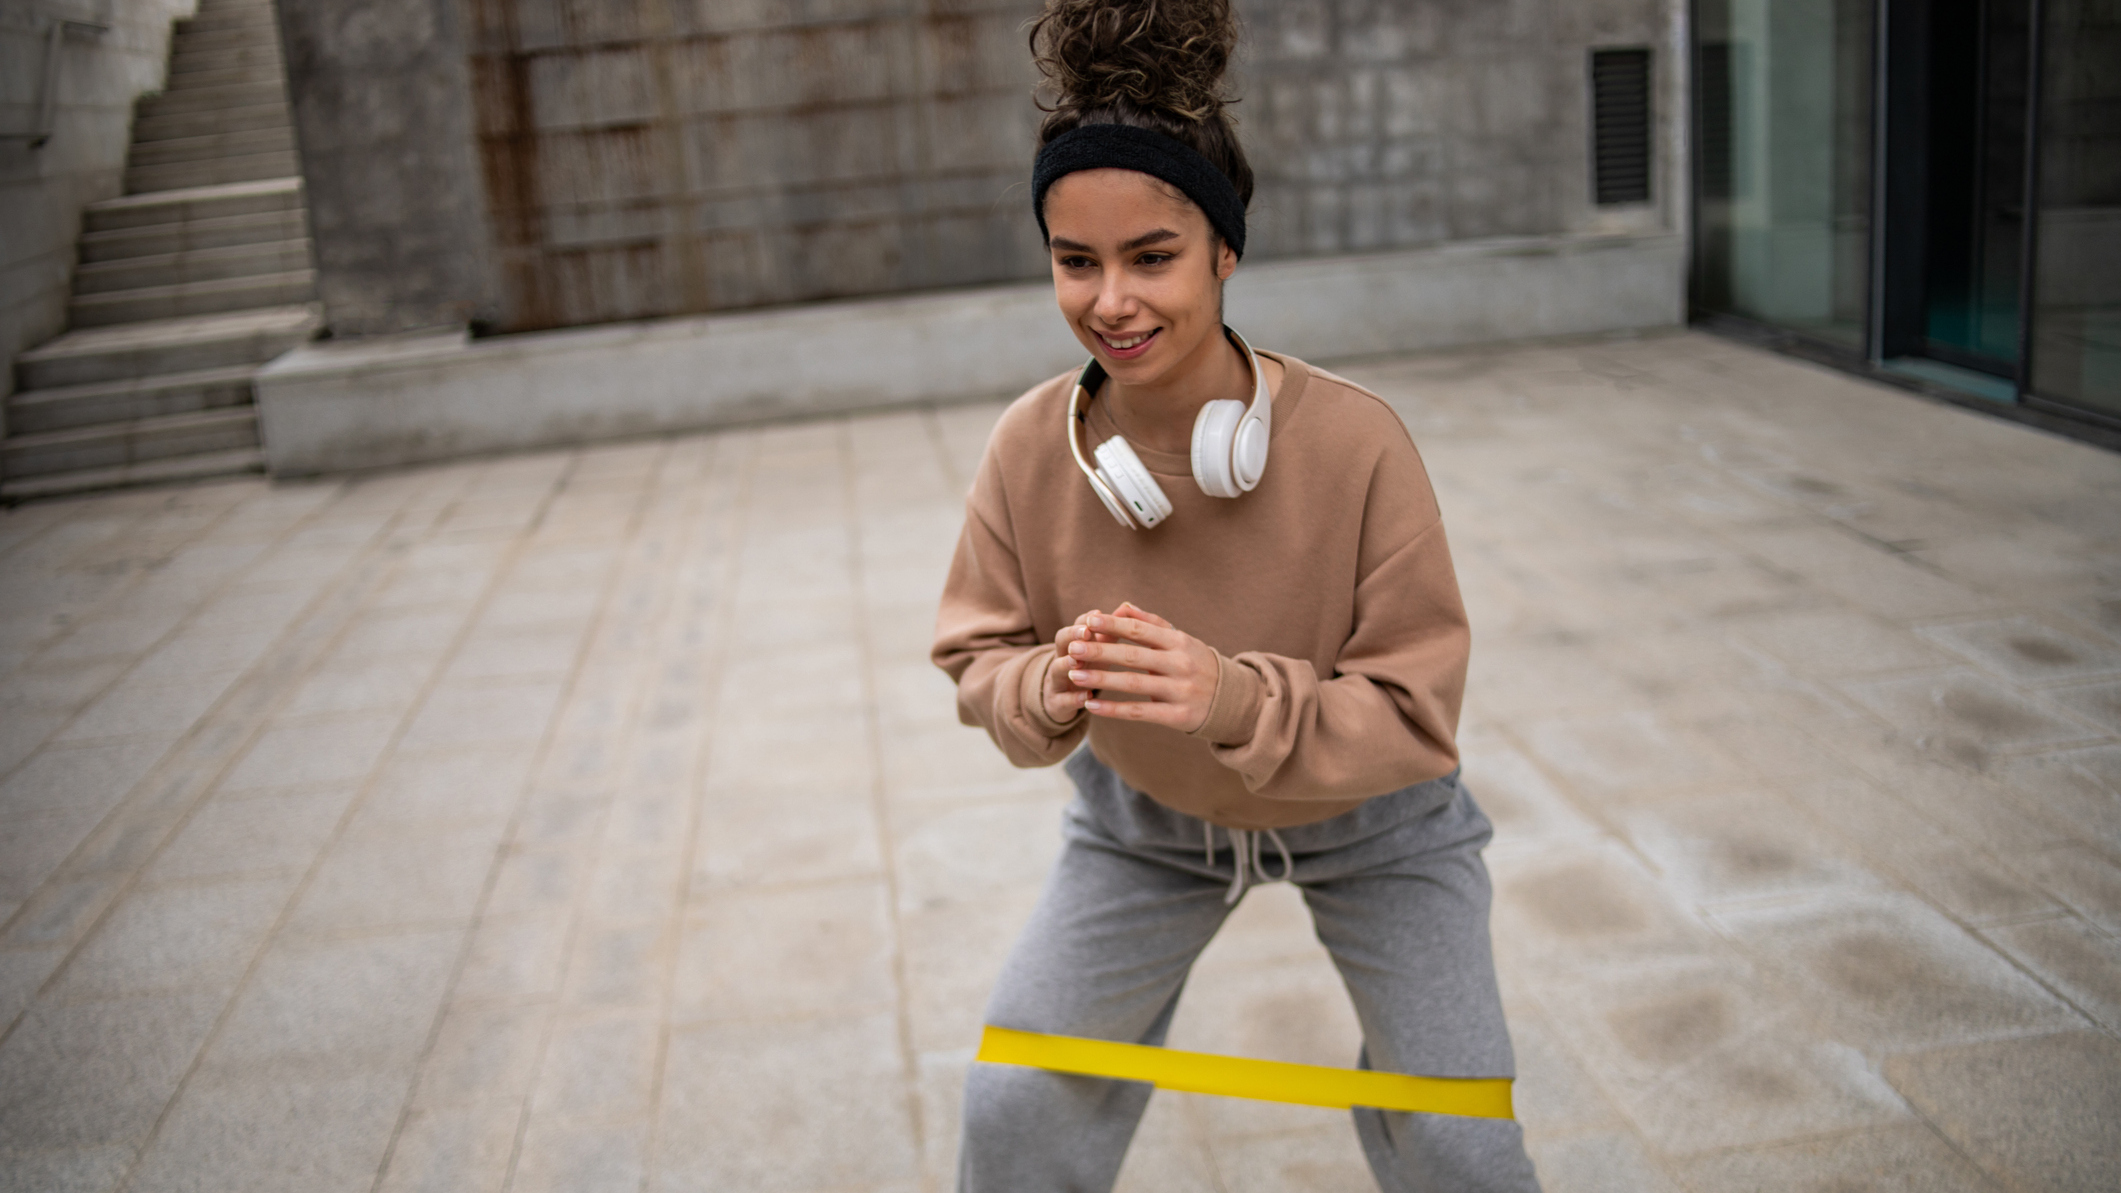
- Loop a mini band around your feet (you can also try just above the knees if that feels comfortable) and place your hands on your hips.
- Lower into a quarter squat, pushing your hips back and engaging your core.
- Step to the side, increasing the tension in the band.
- Step your other foot in the same direction, while maintaining tension in the band.
- Repeat this action for 3-5 steps, then switch direction.
- Continue this process until you feel the fire burning in your glutes (don't worry, the heat will dissipate quickly).
- Rest for 30 seconds, then repeat, completing 2-3 sets in total.
Three mini resistance band glute activation progressions
Ready to dial this glute activation exercise routine up a notch? Here are three progressions I've added over the years that I find especially effective before a run or game of five-a-side to fire up the muscles and further help reduce the risk of injury.
1. Monster walk
Bonus benefit: Additional test of balance and coordination.
- Assume the same set up as for the crab walks but with the band looped just above the knees.
- Sink into a quarter squat, then step forward to increase tension in the band.
- Step forward with the other foot, making sure your foot steps out to the side far enough to increase the tension in the band.
- Continue moving forward for as much space as you have available.
- Now reverse the action to return to the start.
- Repeat until the fire in your glutes overwhelms you, pause for 30 seconds and go again.
2. Lying clam
Bonus benefit: Unilaterally target the glute muscles to address imbalances.
Get the Fit&Well Newsletter
Start your week with achievable workout ideas, health tips and wellbeing advice in your inbox.
- Lie on your side with one leg on top of the other and your knees bent at 90°. Your feet should be in line with your head and hips.
- Loop a light mini resistance band (lighter than used for crab walks), just above your knees.
- Keeping your feet together, slowly lift your top knee. You should feel your glutes on the top leg firing to initiate this movement.
- Slowly lower your knee.
- Complete 10-15 reps, then switch sides.
3. Standing banded kickback
Bonus benefit: Targets the glute muscles through a secondary plane of movement.
- Loop a band around both ankles and hinge forward at the hips. Place your hands on a table or similar to support your upper body.
- Engage your core and lift one foot behind you, keeping your hips square throughout and a slight bend in your knees, and avoid arching your lower back.
- Slowly return the foot to the start.
- Aim for 10-15 reps on one side, then switch legs

Sam Rider is an experienced freelance journalist, specialising in health, fitness and wellness. He is also a REPS level 3 qualified personal trainer.
-
 I swapped my usual core routine for this dumbbell workout—here’s why you should try it too
Pick up some dumbbells and try my favorite deep core exercises
By Yanar Alkayat
-
 You don't need any equipment to improve your posture—just these three back-strengthening moves
These three exercises will strengthen key back muscles
By Jennifer Rizzuto