This eight-move yoga for muscle soreness routine soothes aching muscles and boosts your flexibility
This yoga for muscle soreness routine will soothe your body, mind and soul, and comes expert-approved
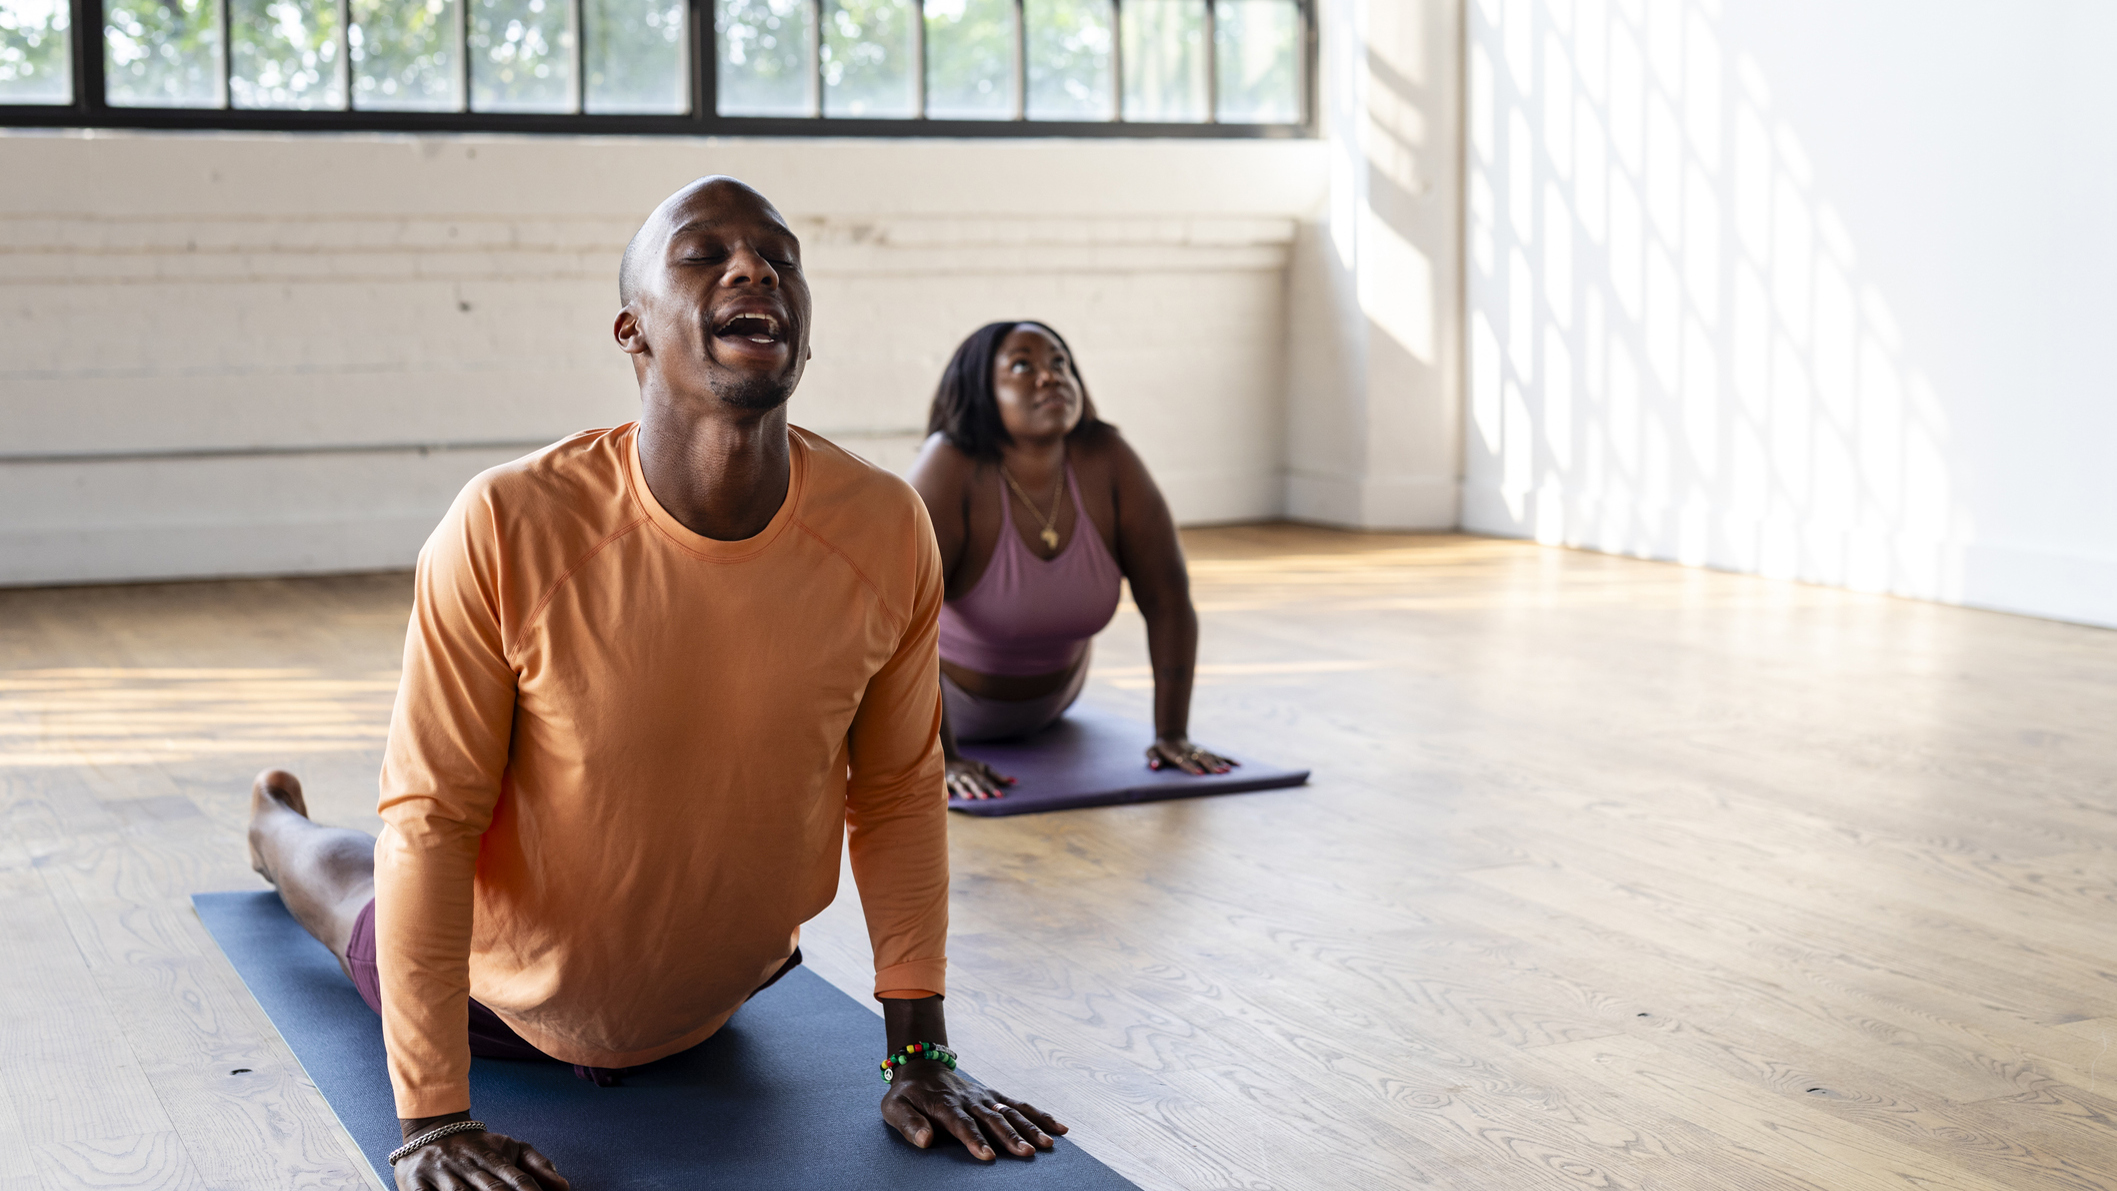

Whether you’re exercising for the first time in a while or have been pushing hard in the gym, it’s common to experience sore muscles—and that particular ache has even got a name: Delayed Onset Muscle Soreness (DOMS).
The discomfort usually sets in around 12 hours after you've finished exercising, according to the American College of Sports Medicine, and will cause a reduction in your range of movement due to stiffness and swelling in the affected muscles.
To help your body feel better, we asked Kelly Turner, a yoga teacher and the vice-president of training and experience at YogaSix, to create a yoga for muscle soreness routine.
This simple eight-pose routine could help you feel a little more limber after your gym session, and it's a simple way to keep mobile when you're feeling achy.
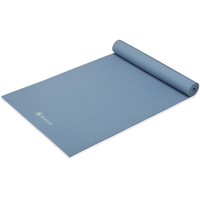
Gaiam yoga mat: was $29.99, now $21.96 at Amazon
Save $8.03 You don't need much equipment to tackle this Pilates routine, but your spine will thank you for using a supportive mat. This non-slip option from Gaiam is great for floor based exercise—and it's still discounted after to the Prime Big Deal Days sale.

Kelly Turner is a registered yoga teacher and the vice-president of training and experience at YogaSix in the US, where she has worked since 2012.
Eight-pose yoga routine
1. Standing forward fold
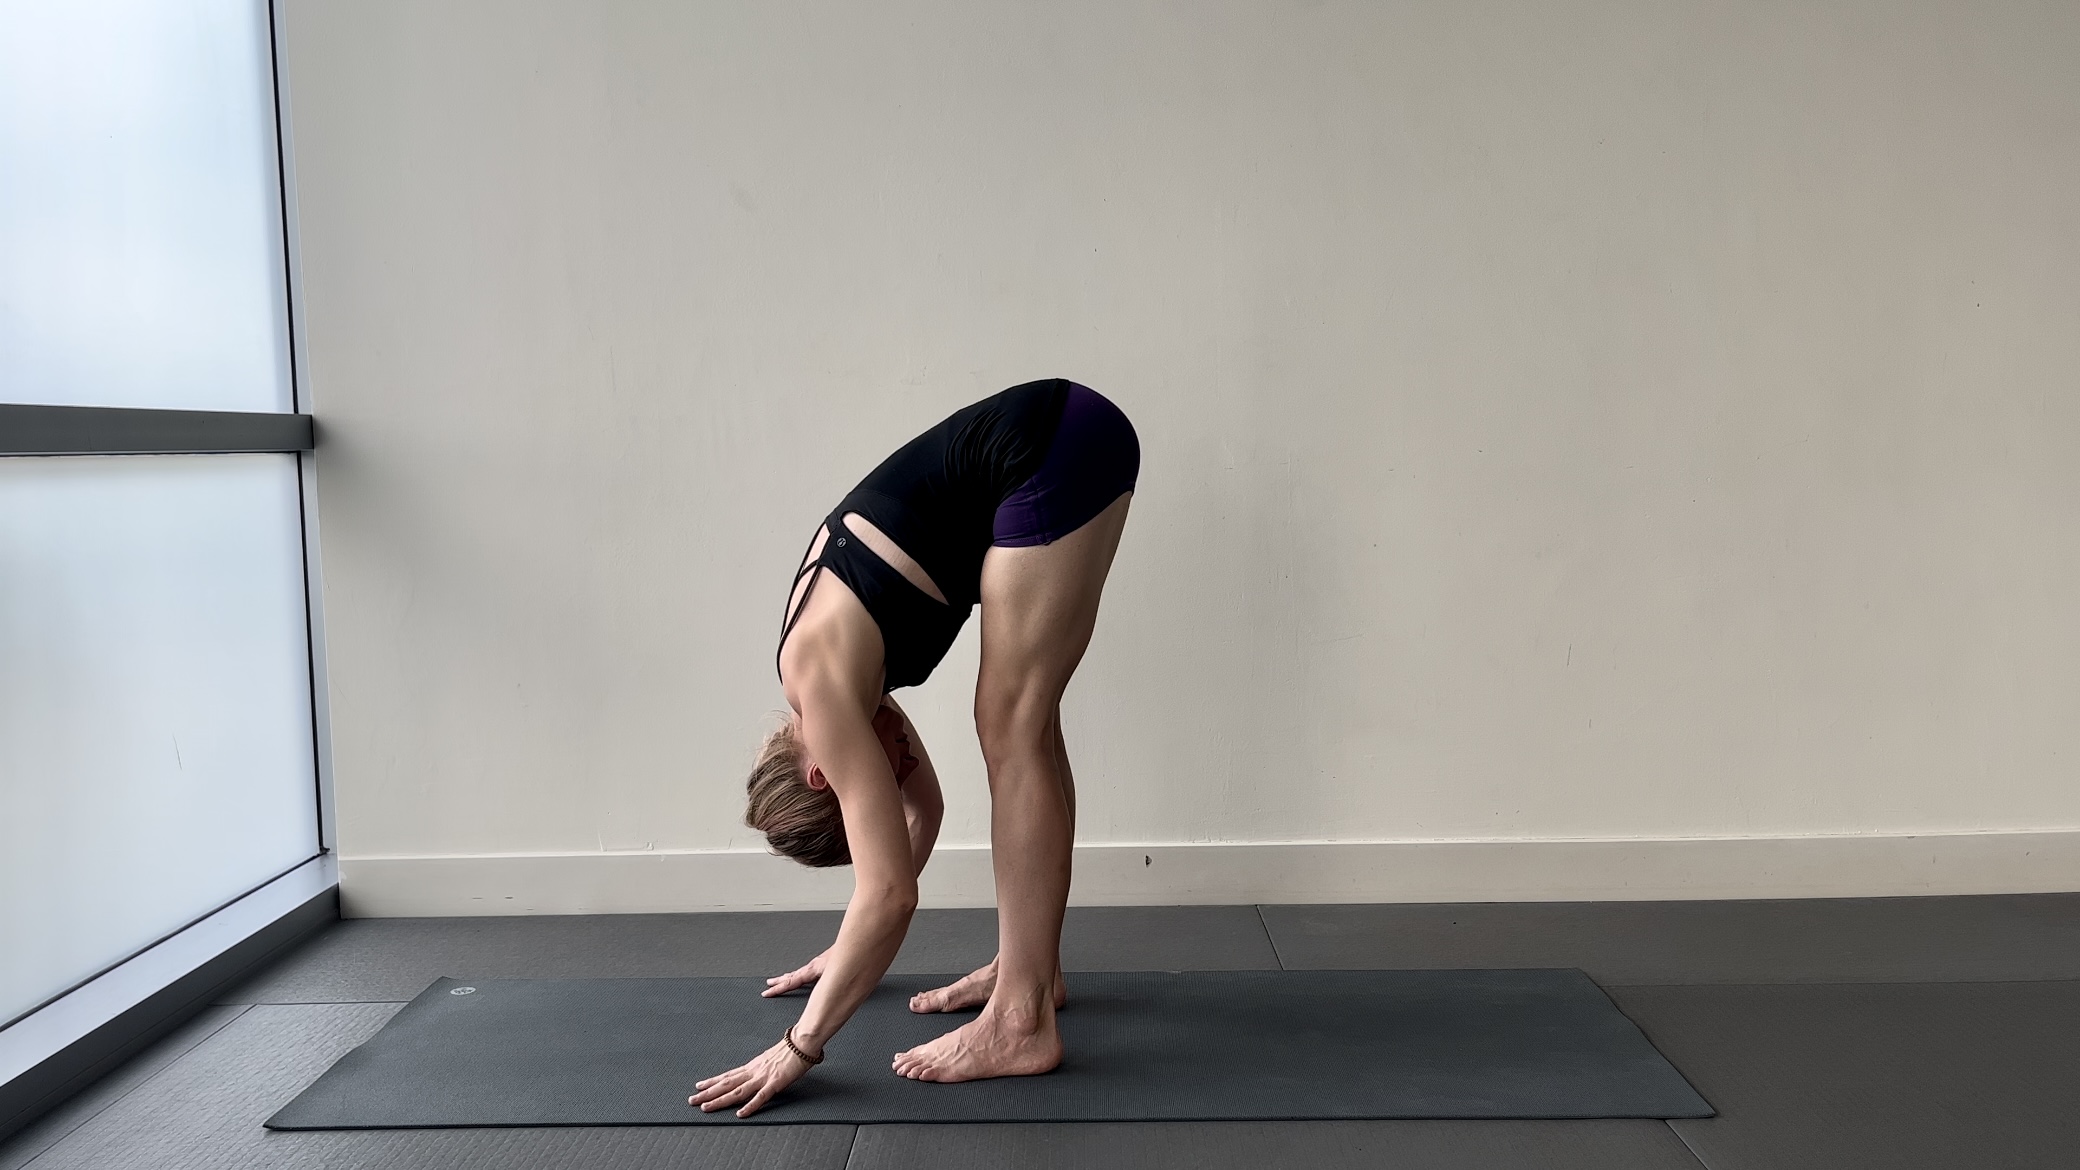
According to Turner, this pose is great for unwinding a tight and sore upper body. It can also help you unwind and relax.
How to do it: Inhale and stand tall on your mat. Exhale and fold forwards over your knees. Hold for 5-10 breaths.
“Keep your knees slightly bent and know that it’s OK to bend them as much as you need," says Turner. "If you want a greater stretch through your legs, lift your hips a little higher."
Get the Fit&Well Newsletter
Start your week with achievable workout ideas, health tips and wellbeing advice in your inbox.
2. Cat-cow
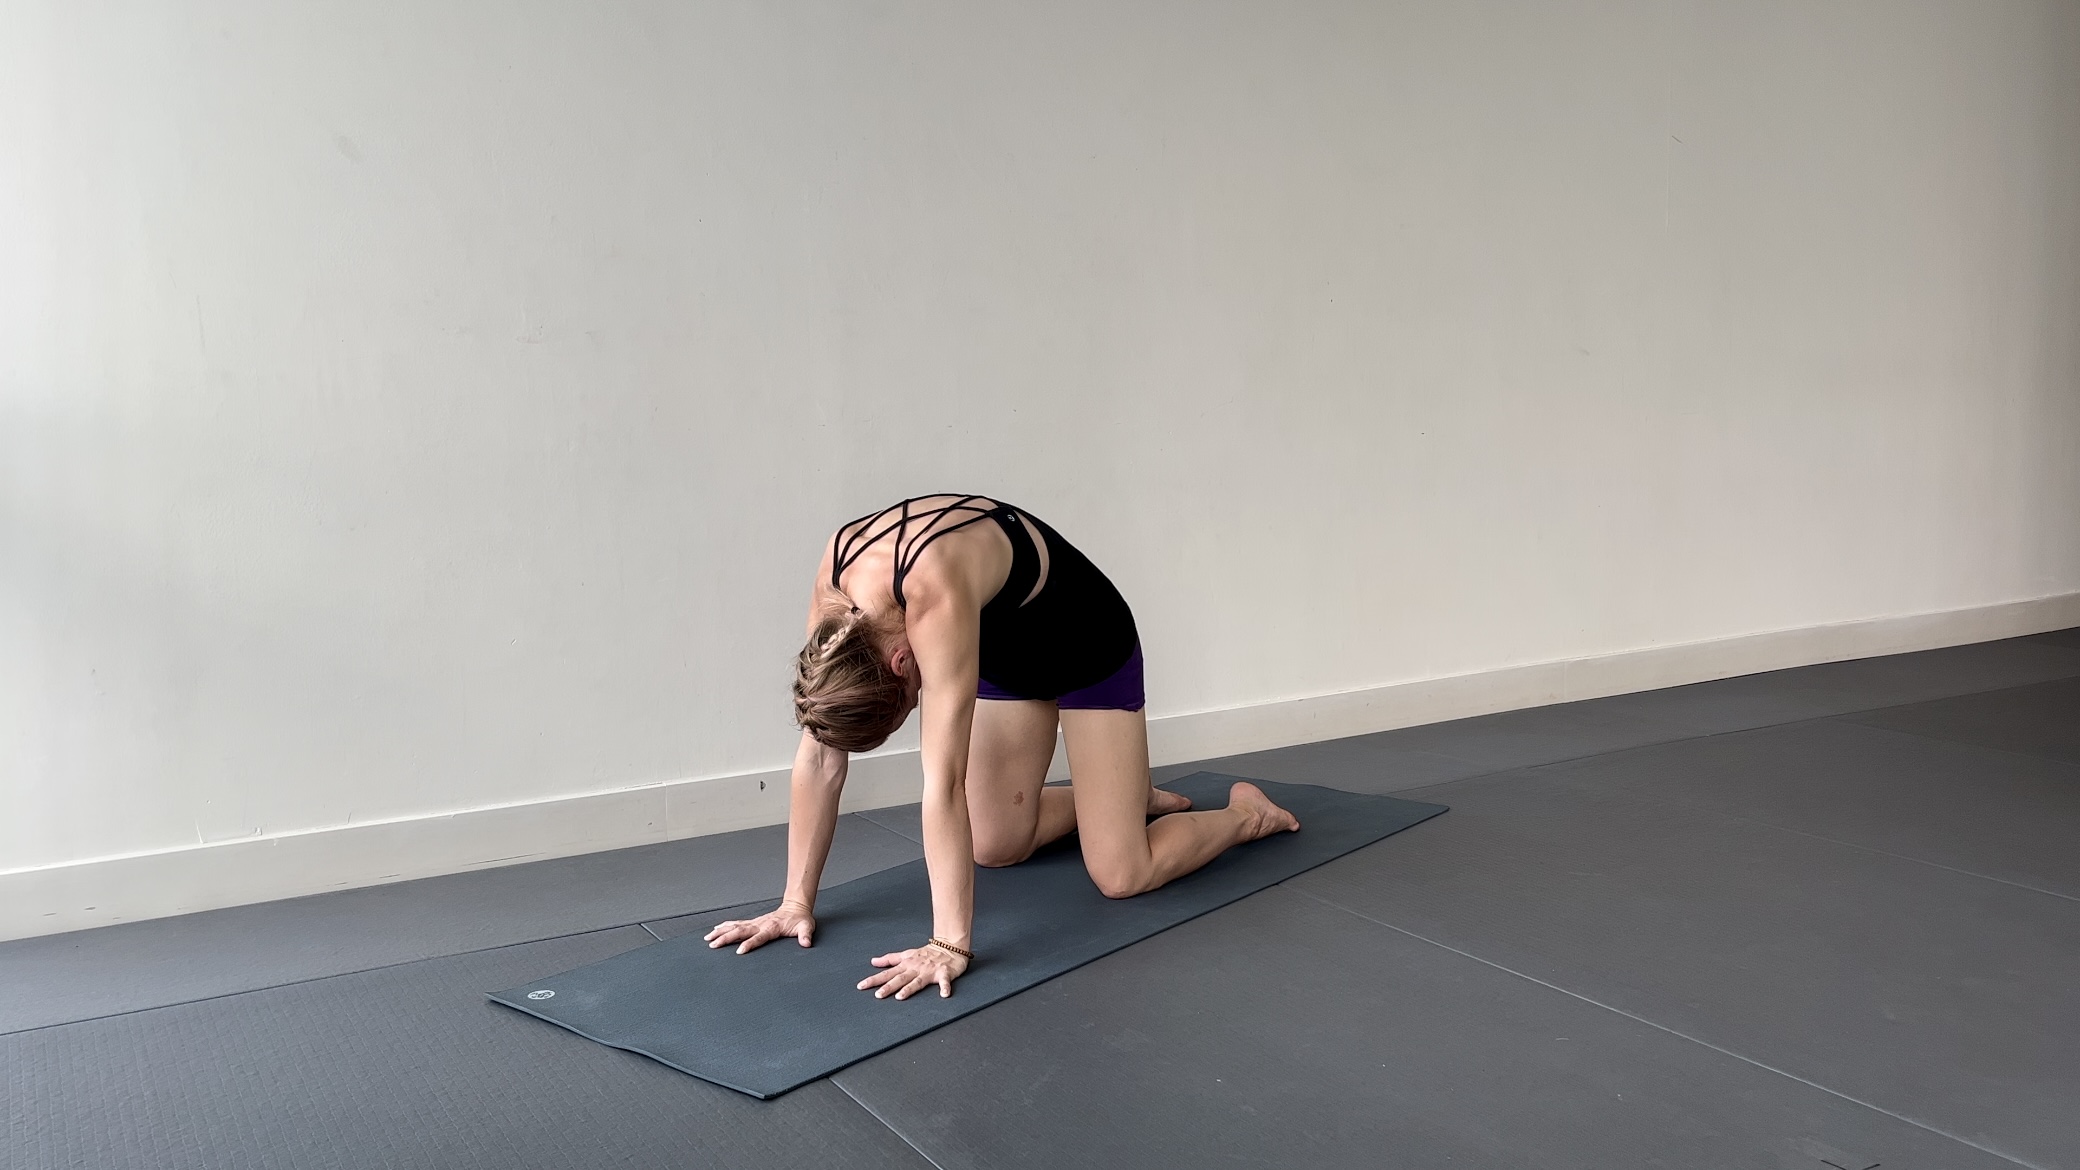
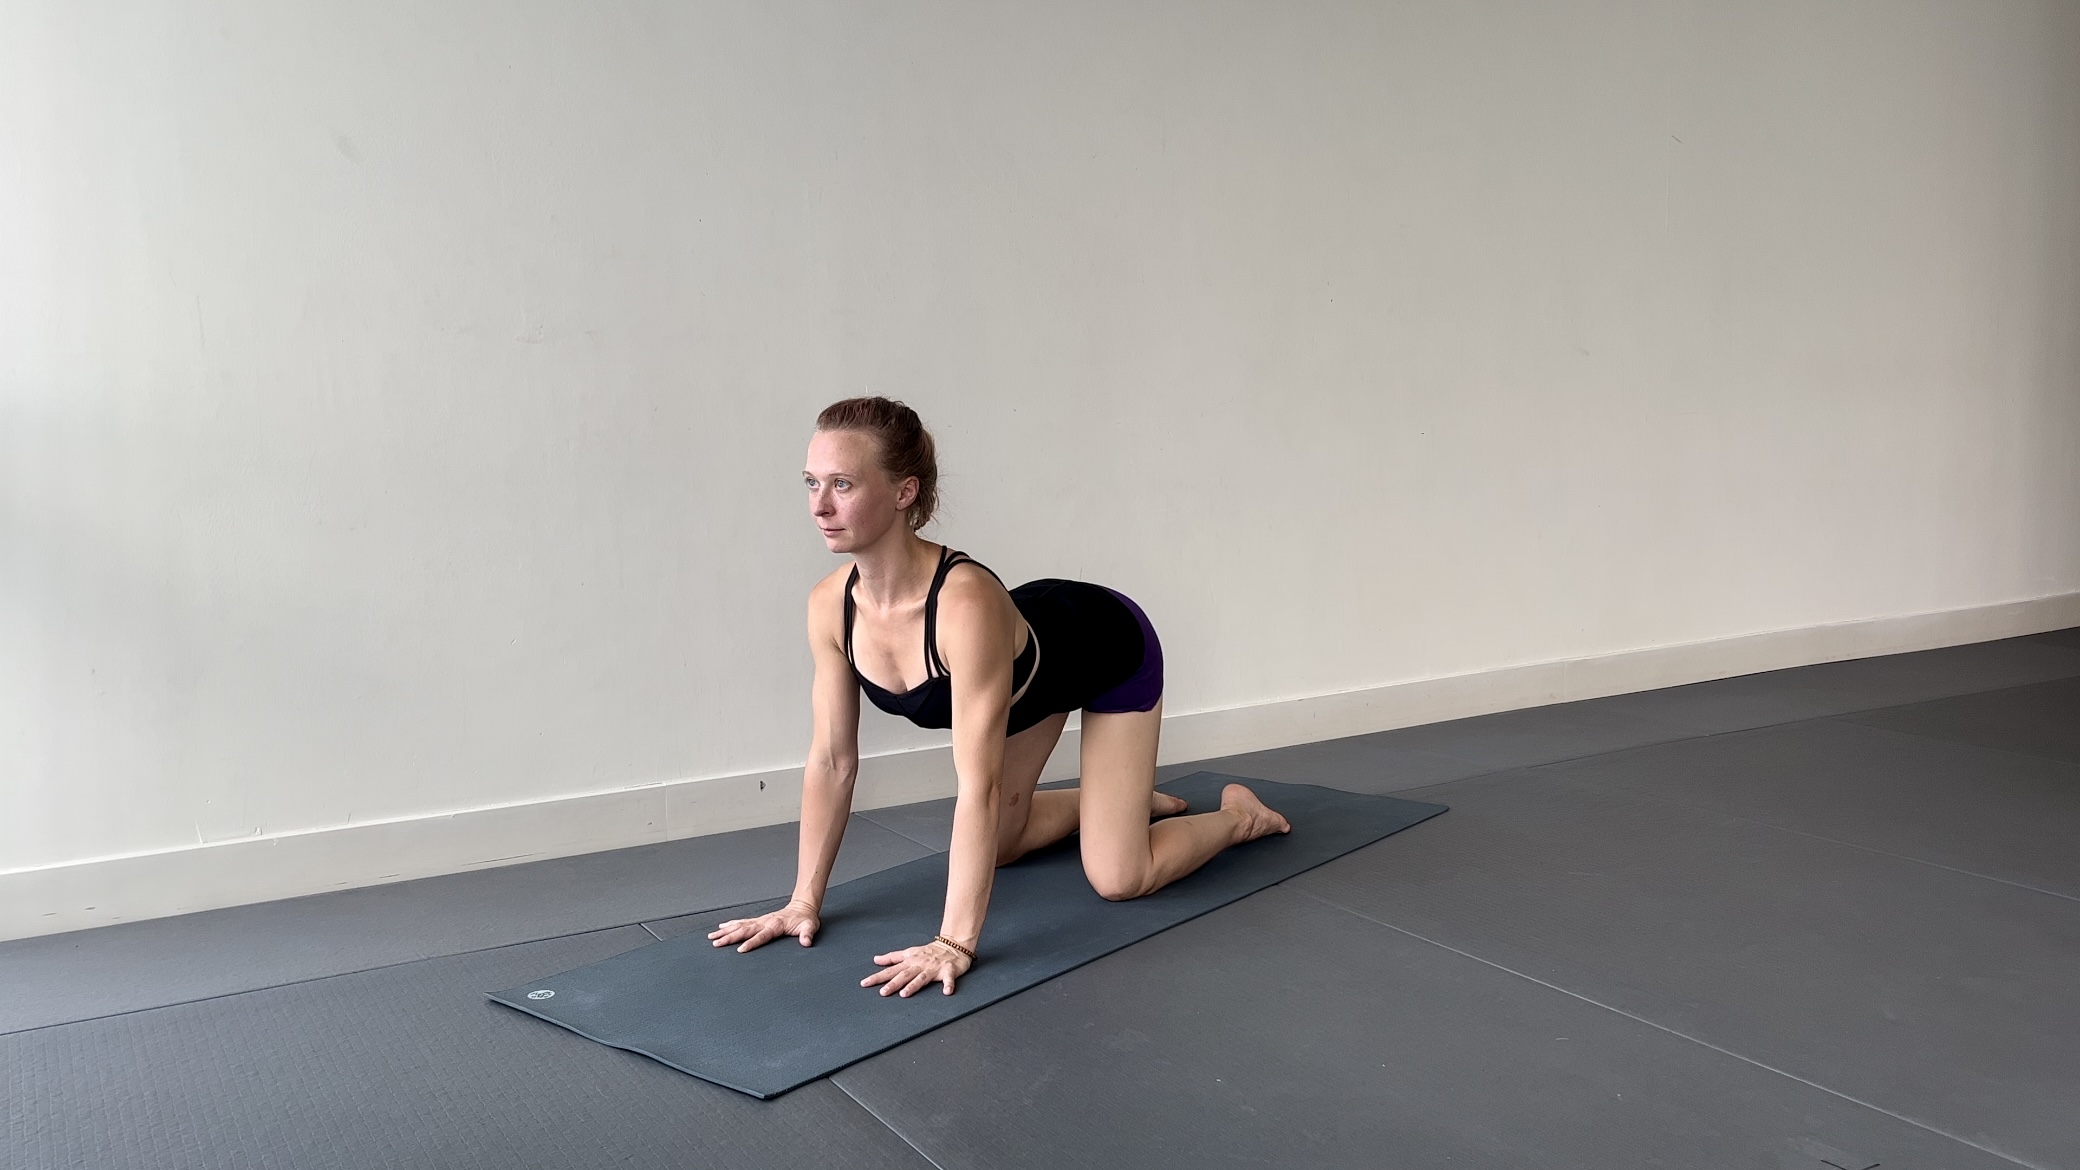
If you’ve never done yoga before, cat-cow can be a great place to start. It’s one of the most popular yoga stretches for beginners and helps free the spine and work out any kinks and knots.
How to do it: In an all-fours position on hands and knees, spread your fingers as wide as they can go and really grip your mat with your finger pads. This will activate the arches in your hands to better support your wrists.
Then inhale, look forwards, tilt your pelvis and curve your spine to do the cow pose. As you do this, Turner advises that you try and pull your hands and knees towards your centre, to create a greater lift in the chest.
Next, exhale, bring your gaze down and round your spine to do cat. Press into the ground and hug your inner thighs into your midline, to deepen the stretch. Pair your inhales with spinal extension (cow pose) and exhales with spinal flexion (cat pose).
“Pairing breath with movement is a great tool to help you slow down racing thoughts and get out of your mind and into your body," says Turner.
3. Half-pigeon pose
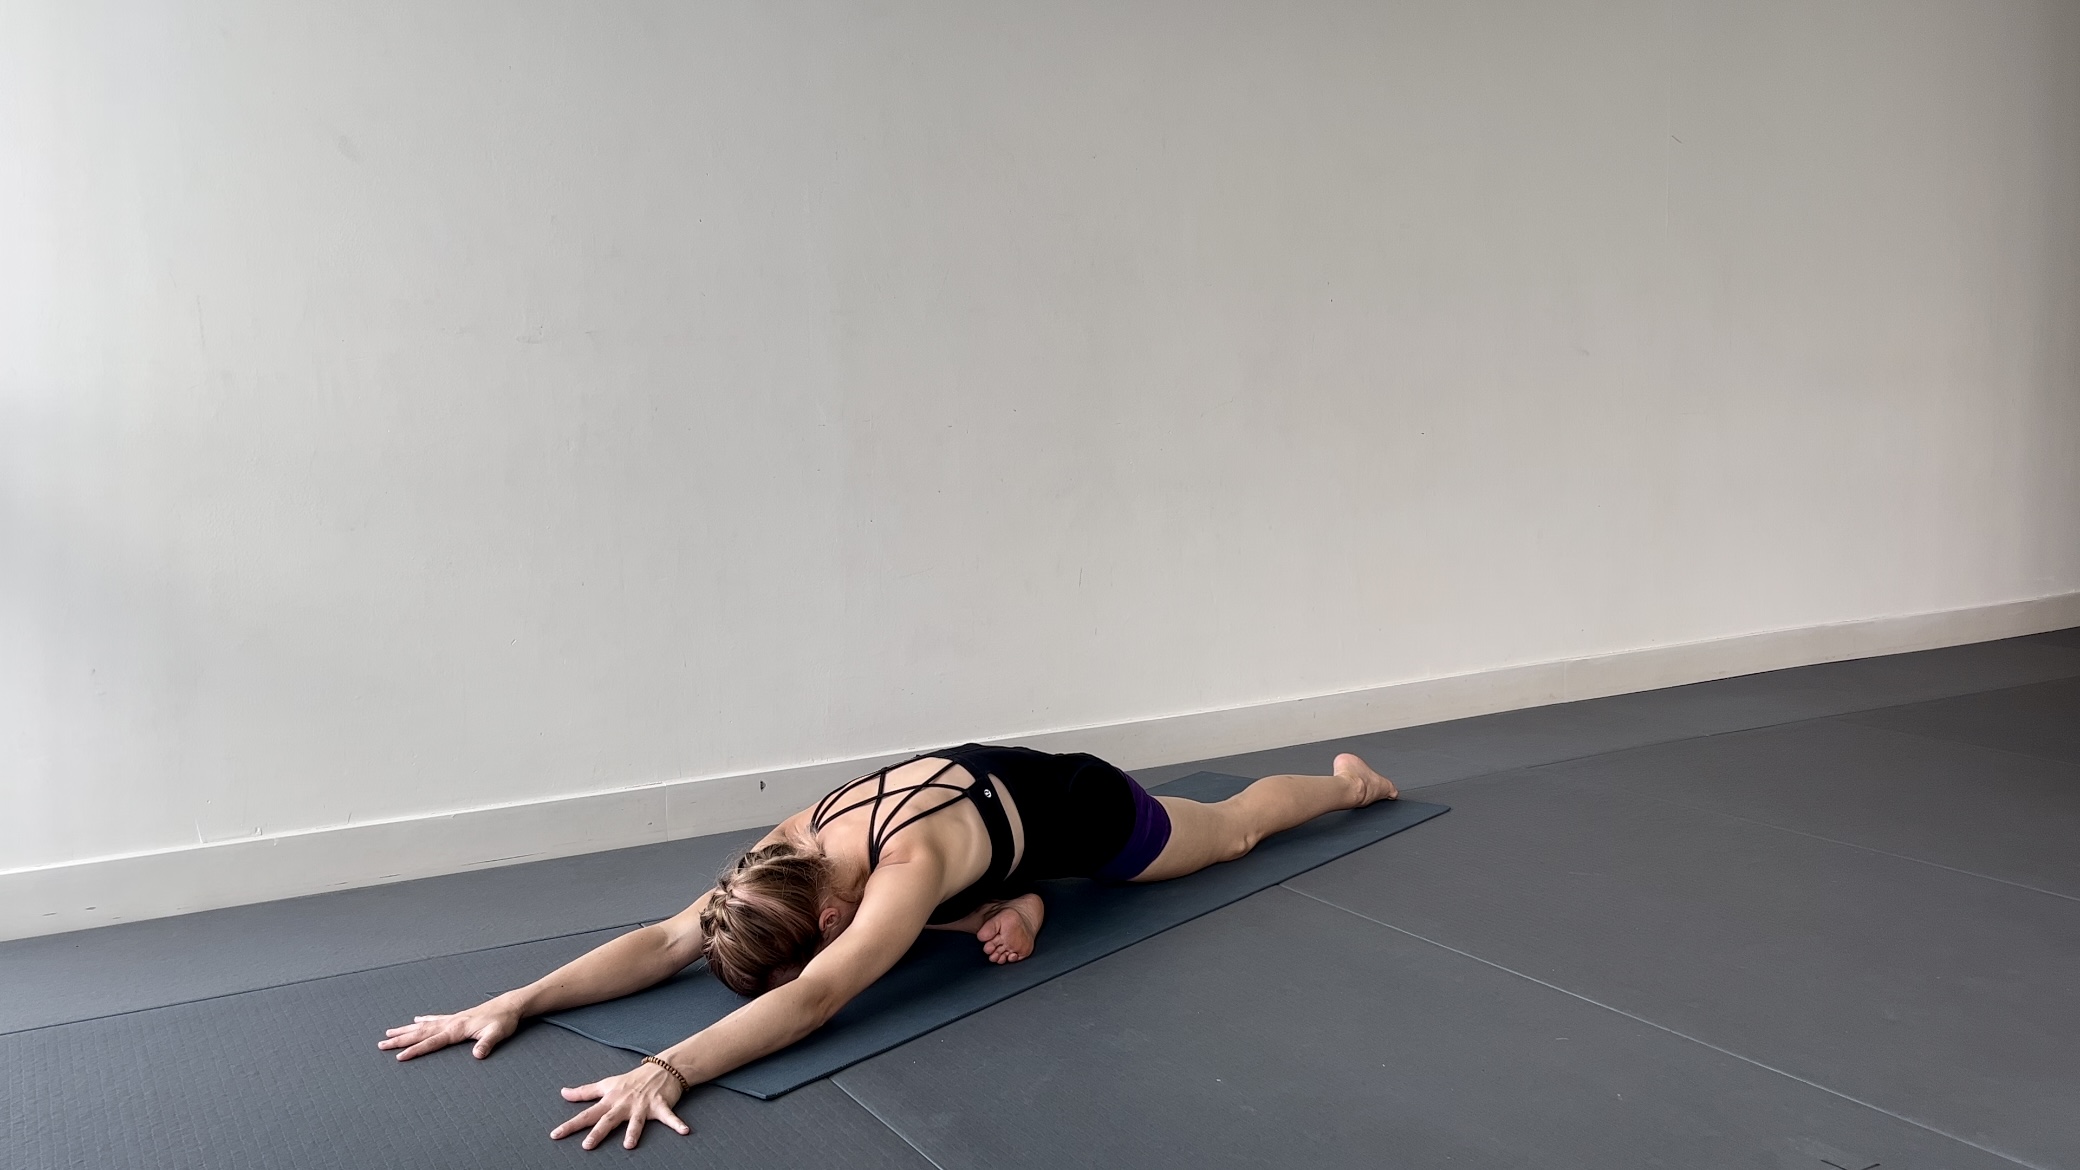
If this pose looks tricky for you, grab some yoga blocks or pillows to help ease yourself into it.
How to do it: From an all-fours position, sweep your right leg underneath your chest and position your left leg straight out behind you. Bring your upper body down to the ground and bring you arms straight out in front of you.
"Align your right knee behind your right wrist," says Turner. "And ground down through the pinky edge of your right foot to support your knee. You should feel the sensation more in your outer right hip than in your knee."
“For added comfort, use a pillow or block underneath your right hip. Think about lengthening your right hip and left leg back and then melt your upper body into the support of a pillow or blocks or the earth."
4. Legs up the wall
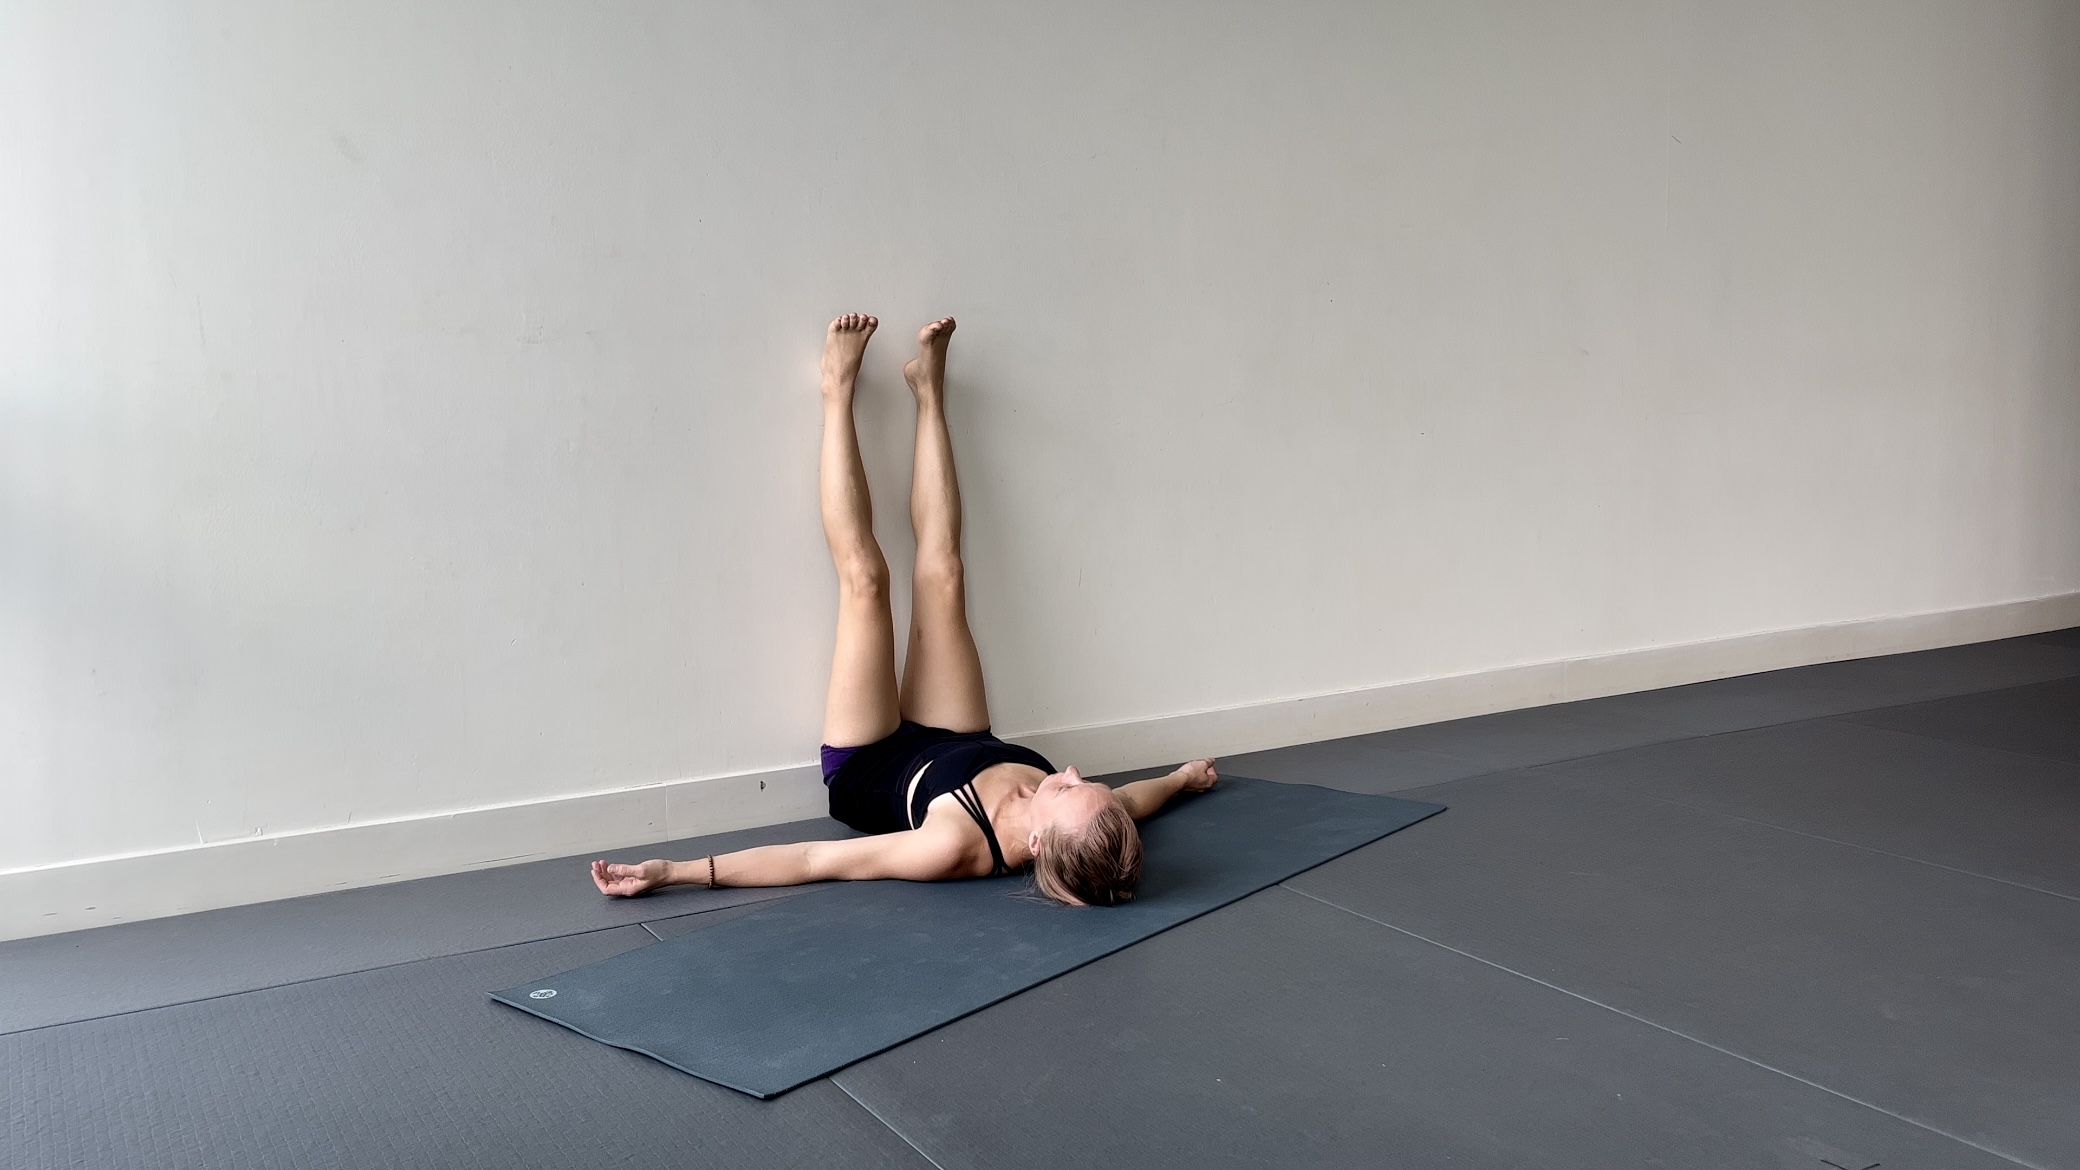
This restorative pose may look passive, but according to Turner it activates the parasympathetic nervous system, relieves stress and tension and soothes swollen legs and feet.
How to do it: “To set yourself up, scoot sideways until your hip is making contact with the wall. Then swing your legs up [the wall] and rest your upper body down to the earth. You may notice tingling in your legs and feet, just remember to breathe and give yourself permission to release from the pose at any time,” says Turner.
5. Spinal twist
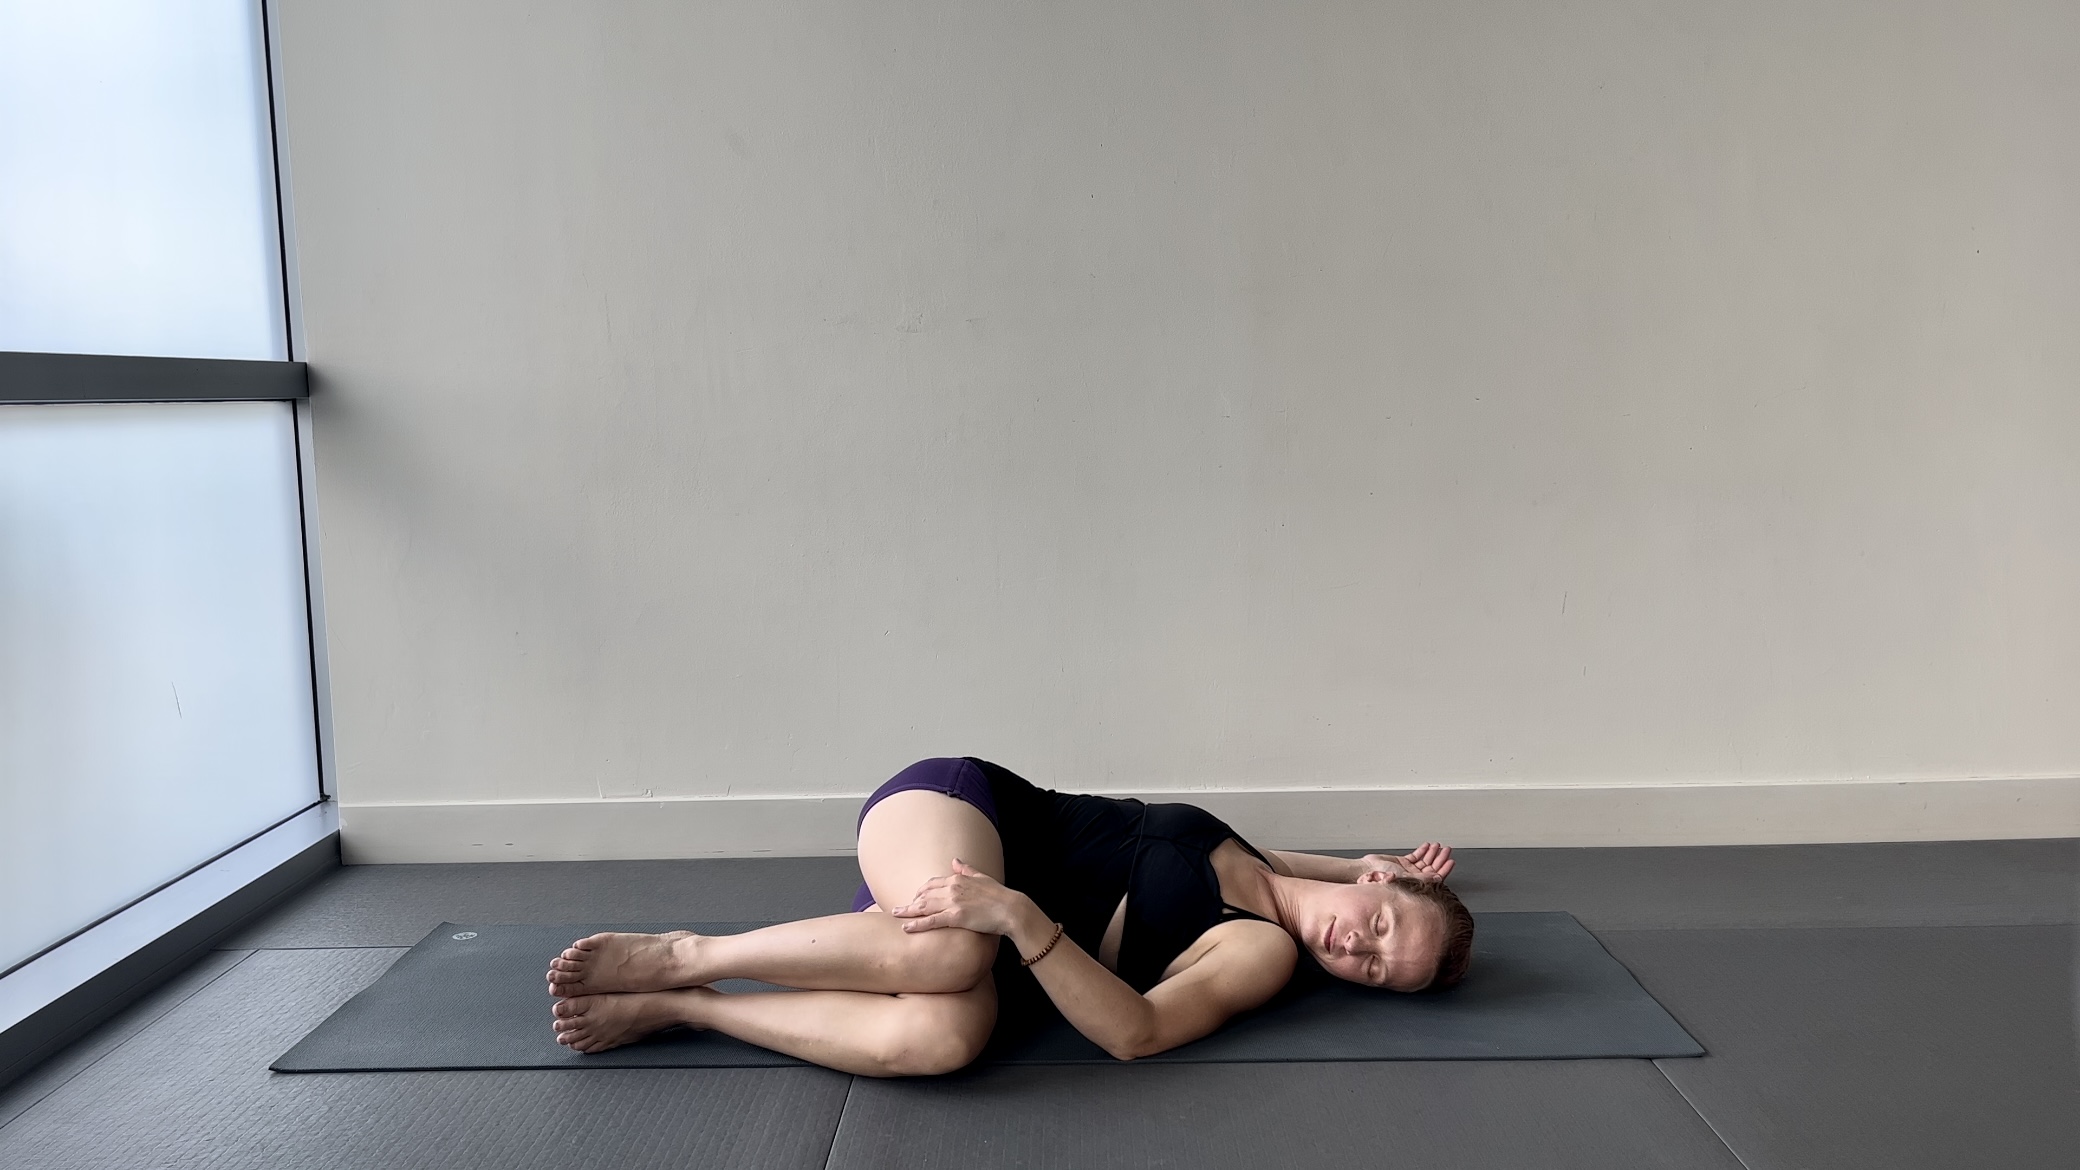
If you’re feeling tension or tightness in your lower back, a spinal twist can provide quick, effective relief. It’s so good, Turner says it's the last pose she does every day in bed.
How to do it: To get into the pose start by “laying on your back, draw your knees in towards your chest, and then let them fall over to the right."
Turner advises that both shoulders should be on the ground, but you can use a pillow under your bottom knee if you find this isn't possible without support.
"Stay there for about a minute or two, allowing everything to relax and settle. Inhale to draw your knees back up to center, then repeat on the second side. Finish by hugging your knees into your chest."
6. Standing downward dog
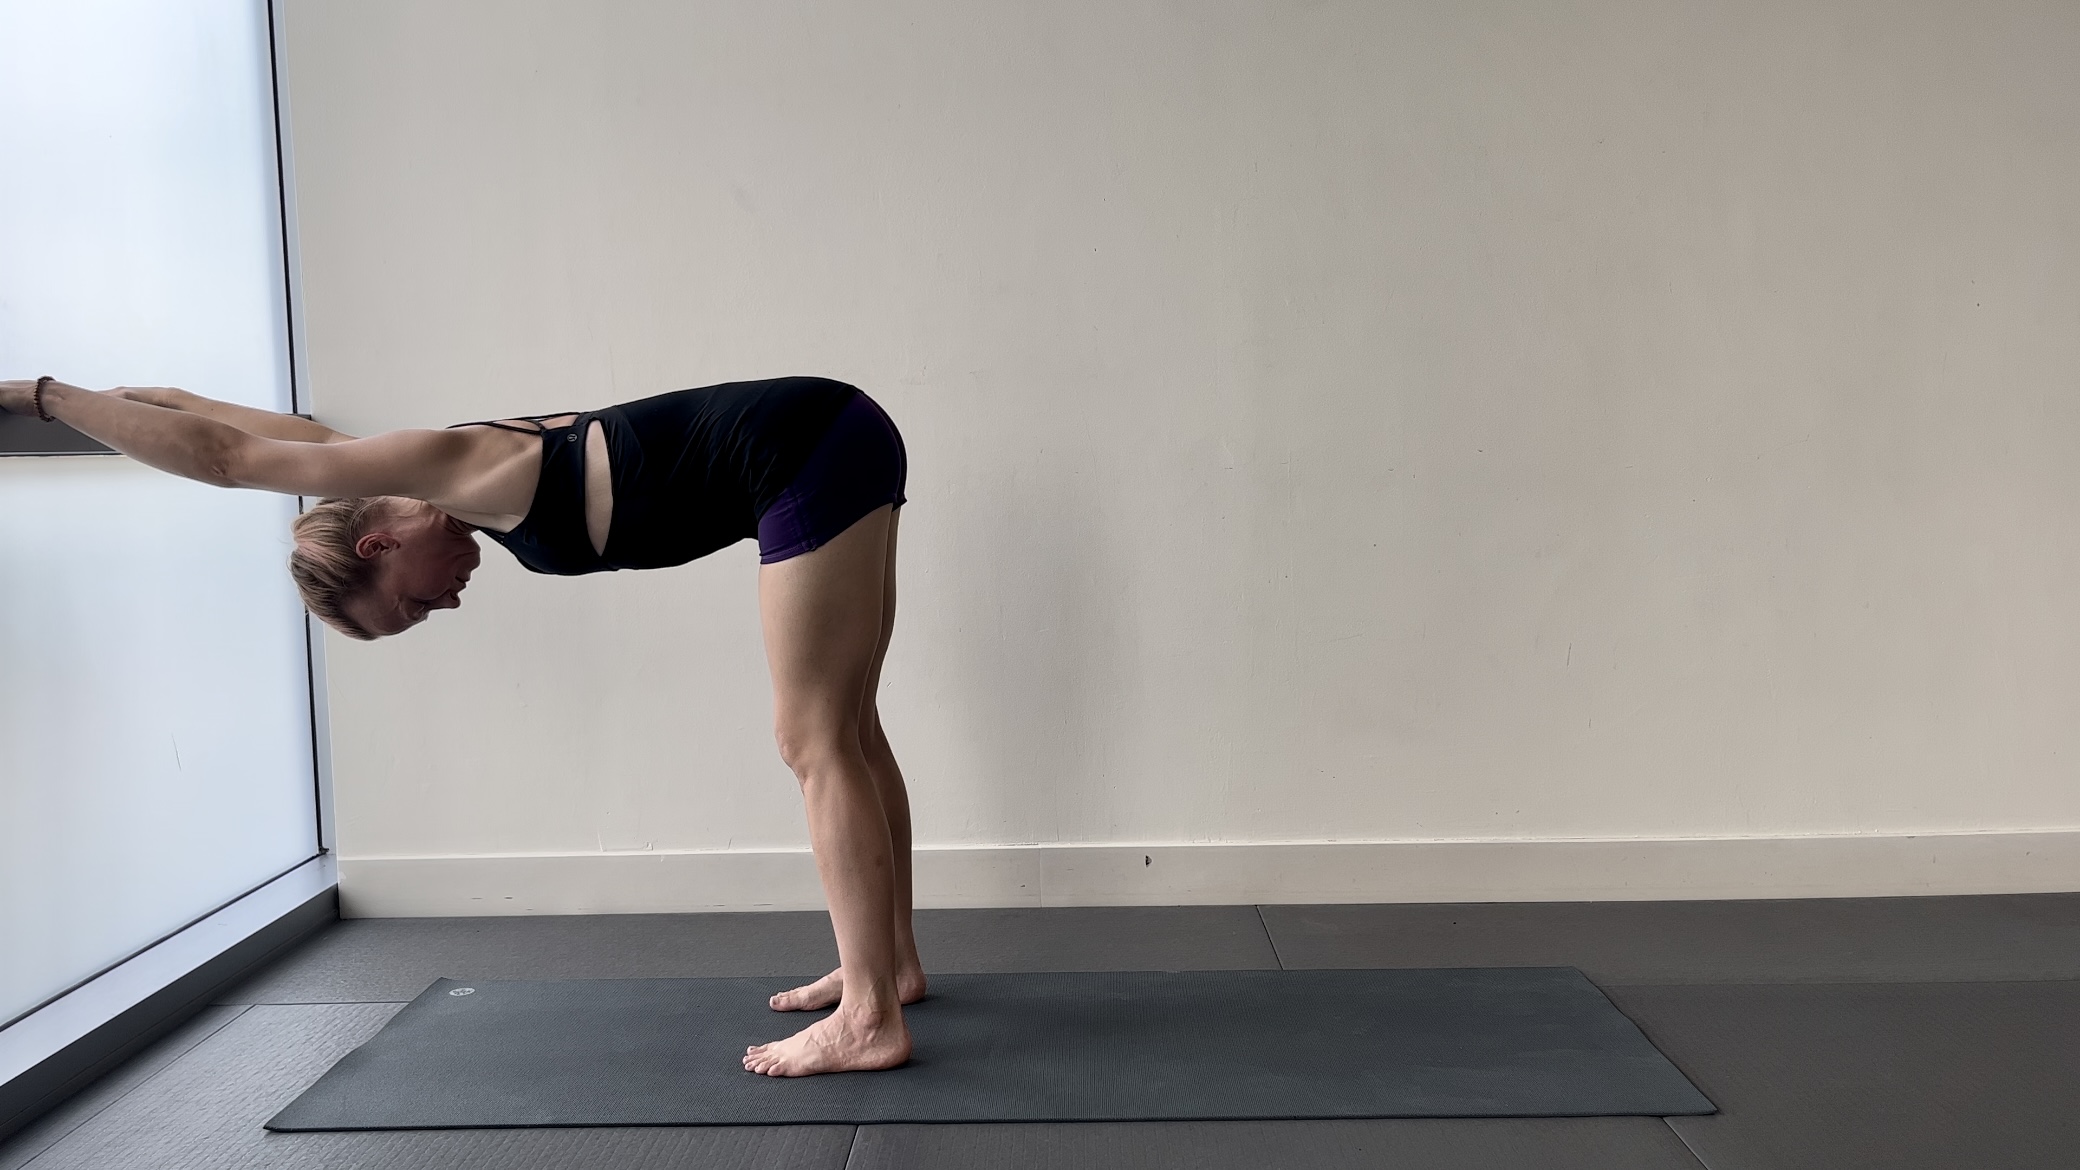
More accessible for many people than a straight up downward dog, you can use anything for support as long as it’s around the height of your hips. Consider your desk, kitchen countertop, high-backed chair or even the wall.
How to do it: “The goal is to create an L-shape in your body between your legs/hips, and your trunk/arms," says Turner.
"Place your hands on the surface of a [sturdy] item, and slowly walk backward until your torso is parallel to the floor. This creates a lengthening of the spine which naturally decompresses and stretches everything in the most delicious way."
7. Happy baby pose
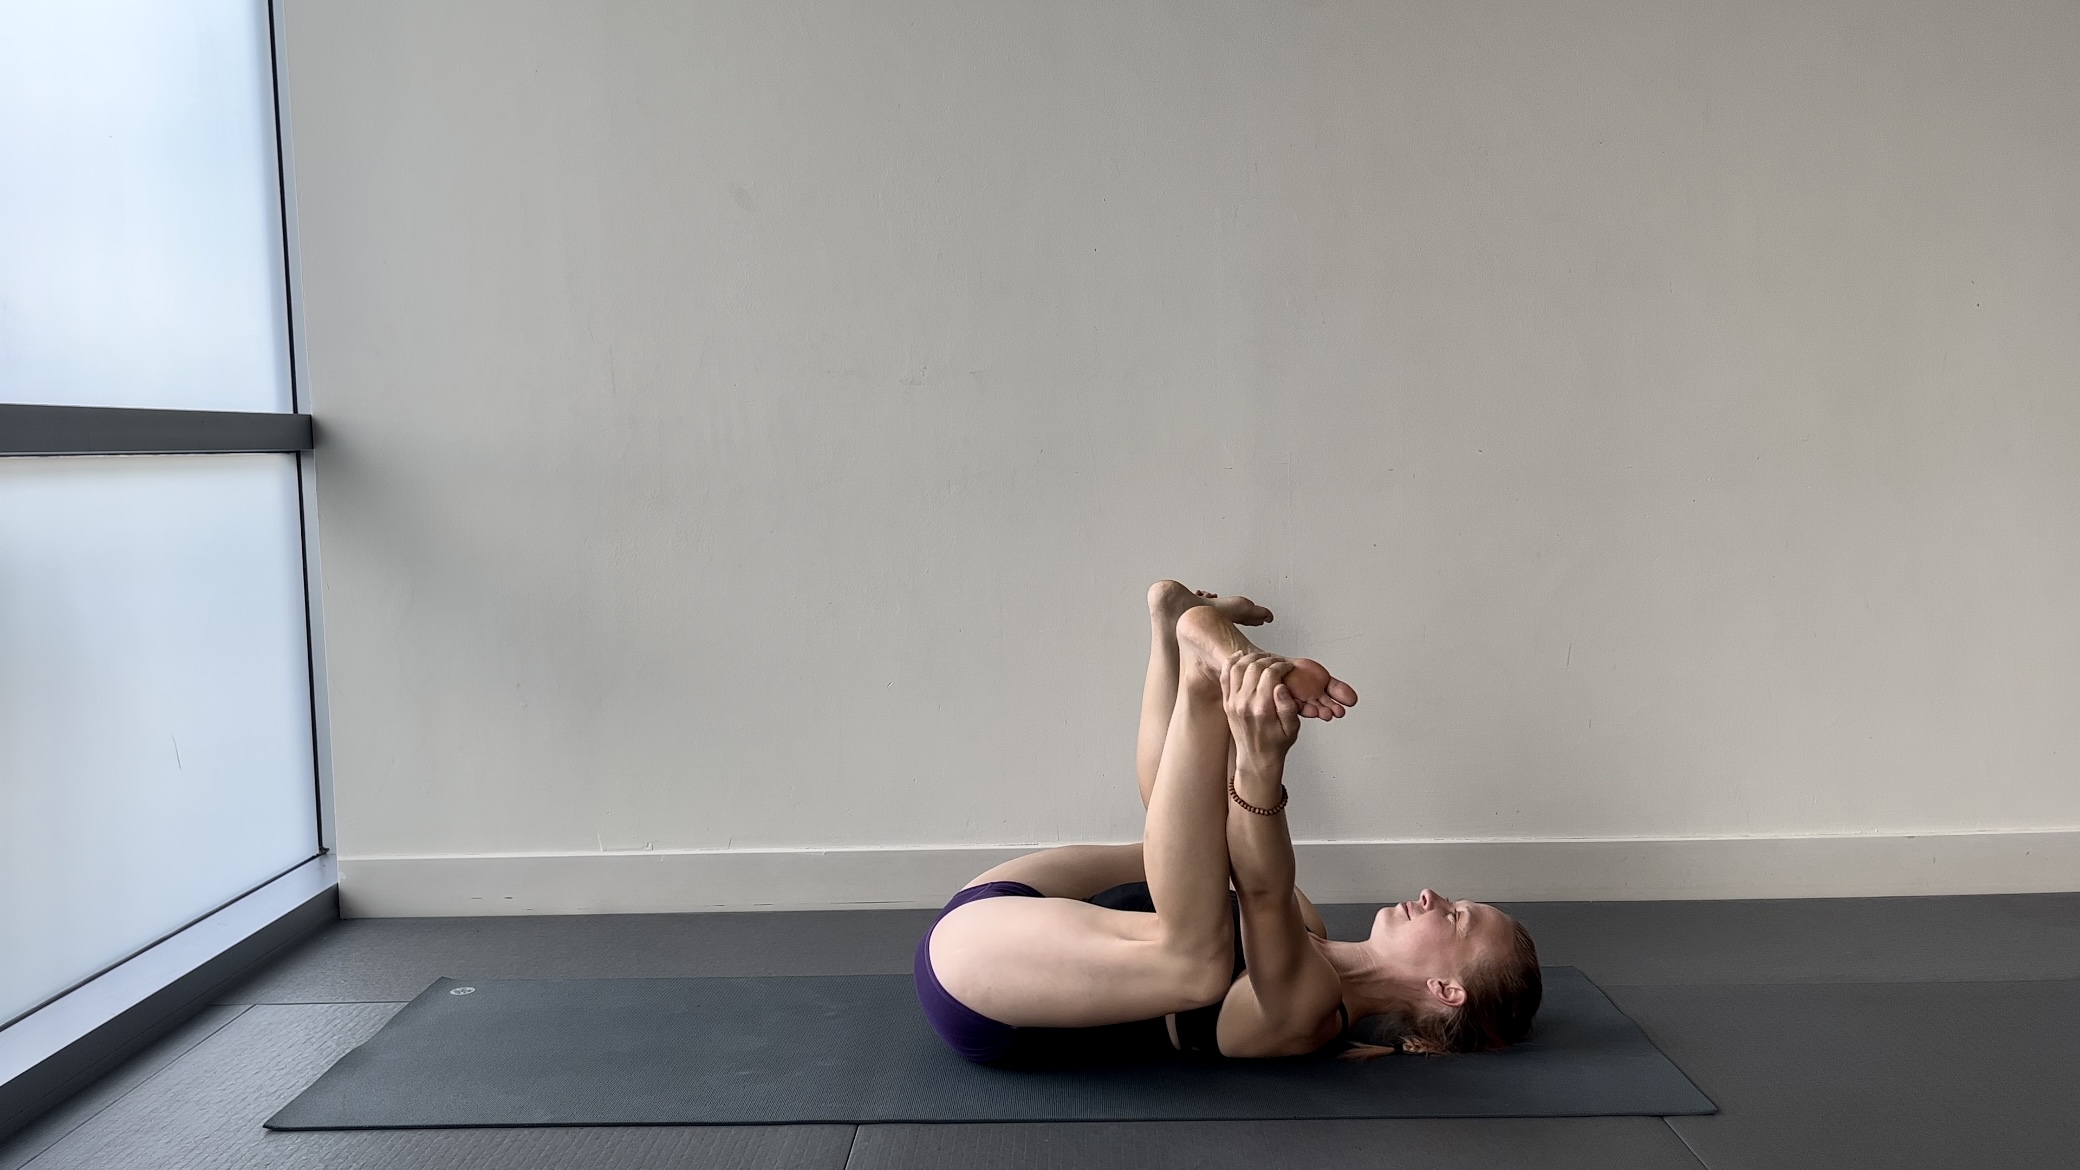
This is a fun-but-restorative pose, which you can do on the floor.
How to do it: “Lie flat on your back, the ground or your mat, and bring your knees toward your chest, keeping them at a 90-degree angle. Then, reach forward and grab the inside or outside edges of your feet—whatever's most comfortable for you. Spread your knees apart gently, then flex your ankles and gently rock from side-to-side on your back,” says Turner.
8. Child’s pose
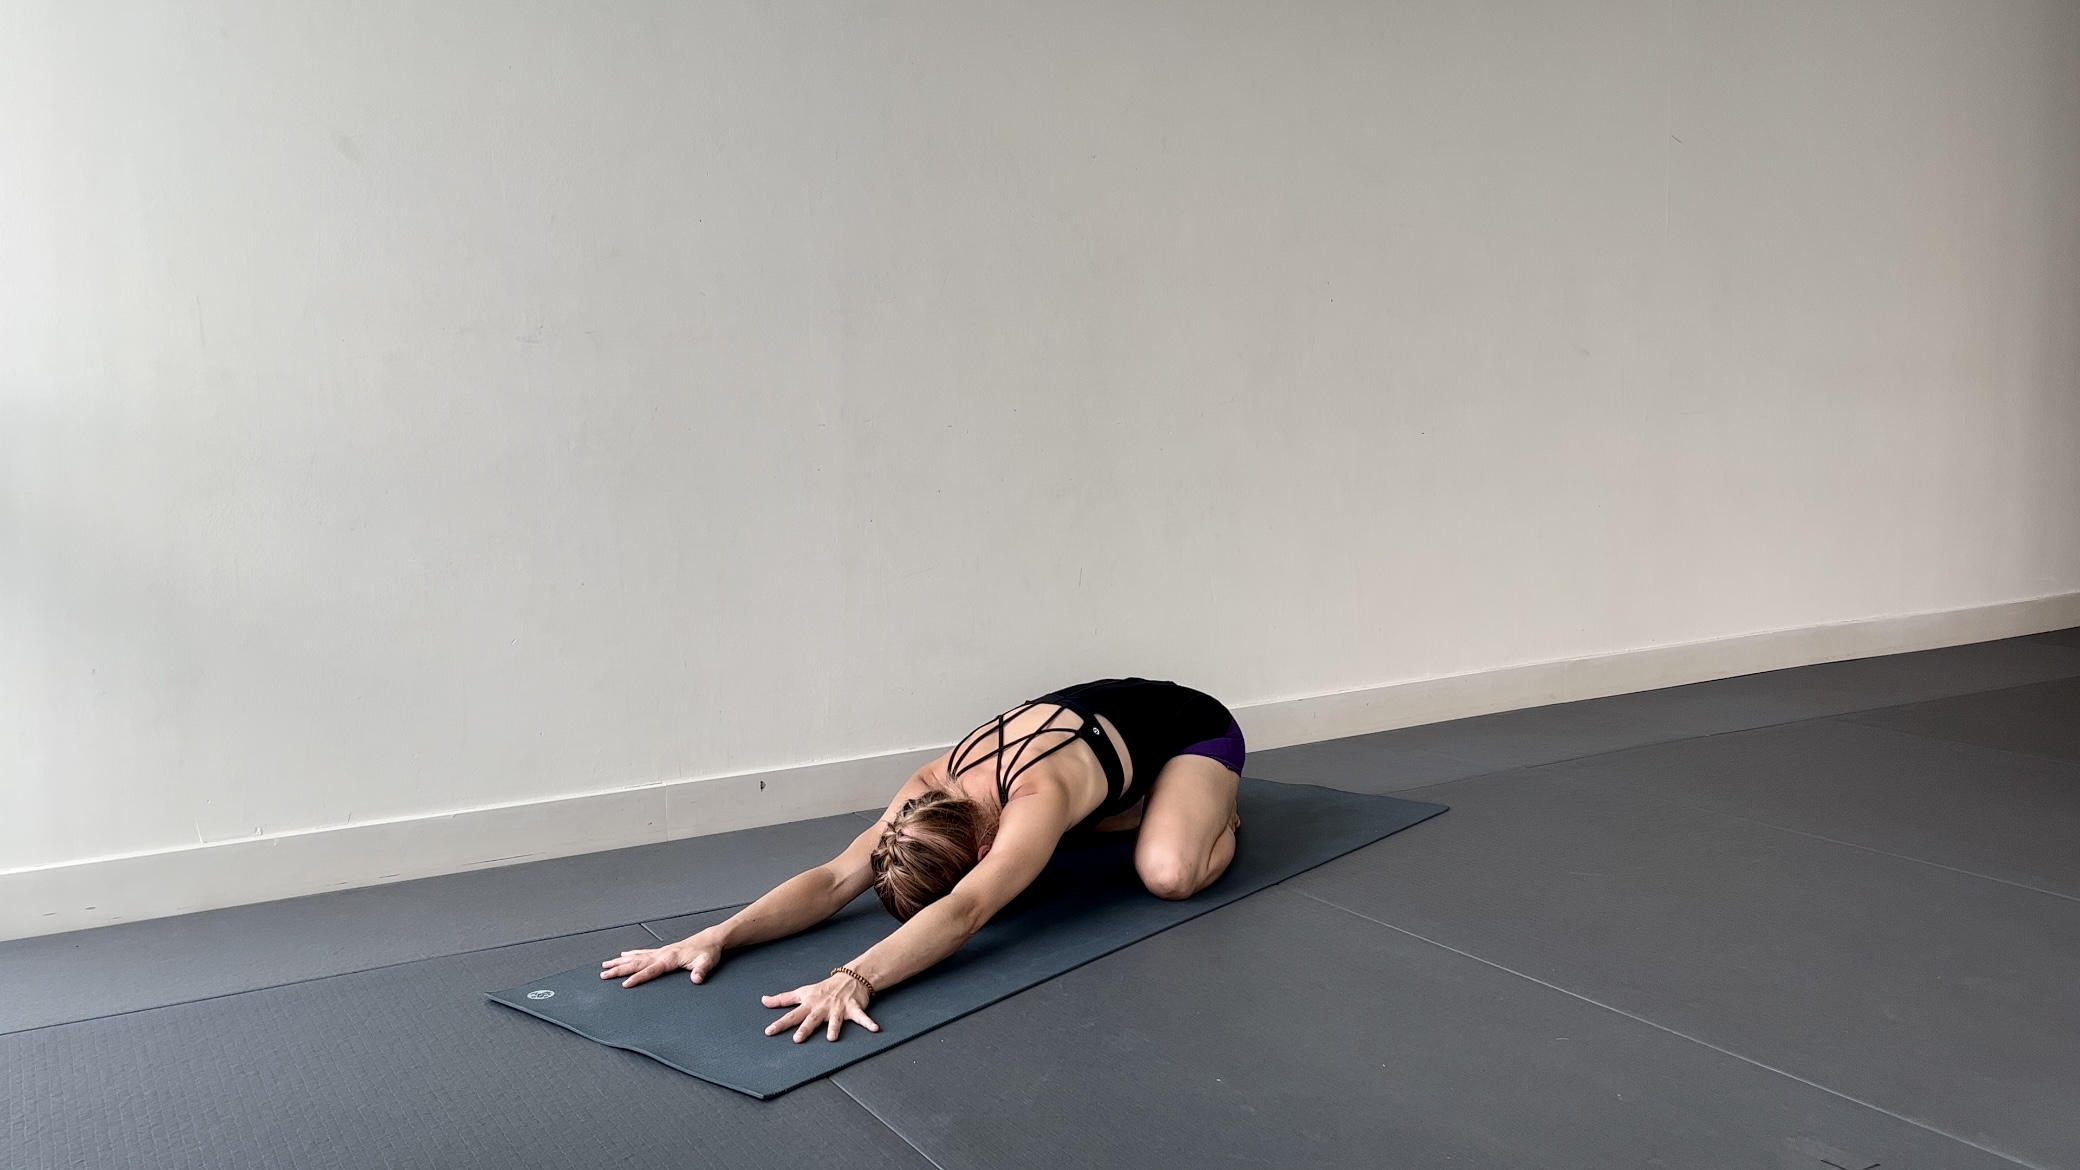
The ultimate pose for relaxation? Child’s pose. Set yourself up and stay here for as long as feels good.
How to do it: “Start by kneeling on your yoga mat and sit back on your heels. Draw your knees towards the outer edges of the mat while walking your hands towards the top of the mat until you have reached your furthest point forward. Lower your chest towards your thighs and allow your forehead to rest comfortably on the ground. Relax into your arms and elbows, and even close your eyes as you start to turn your awareness inwards to your breath,” says Turner.
If you’ve got sore muscles, taking time to stretch your body and focus on what feels good can make all the difference. We hope this eight-move yoga for muscle soreness routine helps to not only soothe your aching muscles, but calm your mind too.
Need help picking out a new yoga mat? See our guide to the best yoga mats in 2023
Abby Driver is a freelance health writer and qualified fitness instructor based in Cornwall. Away from her desk she enjoys exploring the Cornish coast path, sea swimming and experimenting with new recipes.
-
 This dumbbell challenge is a great way to improve core strength, stability and balance
Weights at the ready
By Maddy Biddulph
-
 A yoga instructor says this style of breathing will reduce anxiety and strengthen your core. Here’s what happened when I tried it
Balloon breathing can boost your mood and help you engage your core
By Jennifer Rizzuto
