Use this expert trainer's foolproof four-step plan to get your first push-up
All you need is a bit of patience and perseverance


The push-up is a phenomenal exercise for upper-body strength and core stability. The problem is, unless you're blessed with an iron-like midsection and innate pressing power, it can feel out of reach for most beginners—denying you the benefits of this home workout staple.
But fear not. It's eminently possible to turn a ropey push-up into a gold-standard one, but you need a plan.
Sherri McMillan, the owner of Northwest Personal Training in Vancouver, Washington, has devised this step-by-step master plan to help you acquire the might and technique required to perform a set of exemplary push-ups.
Step 1: Wall push-up
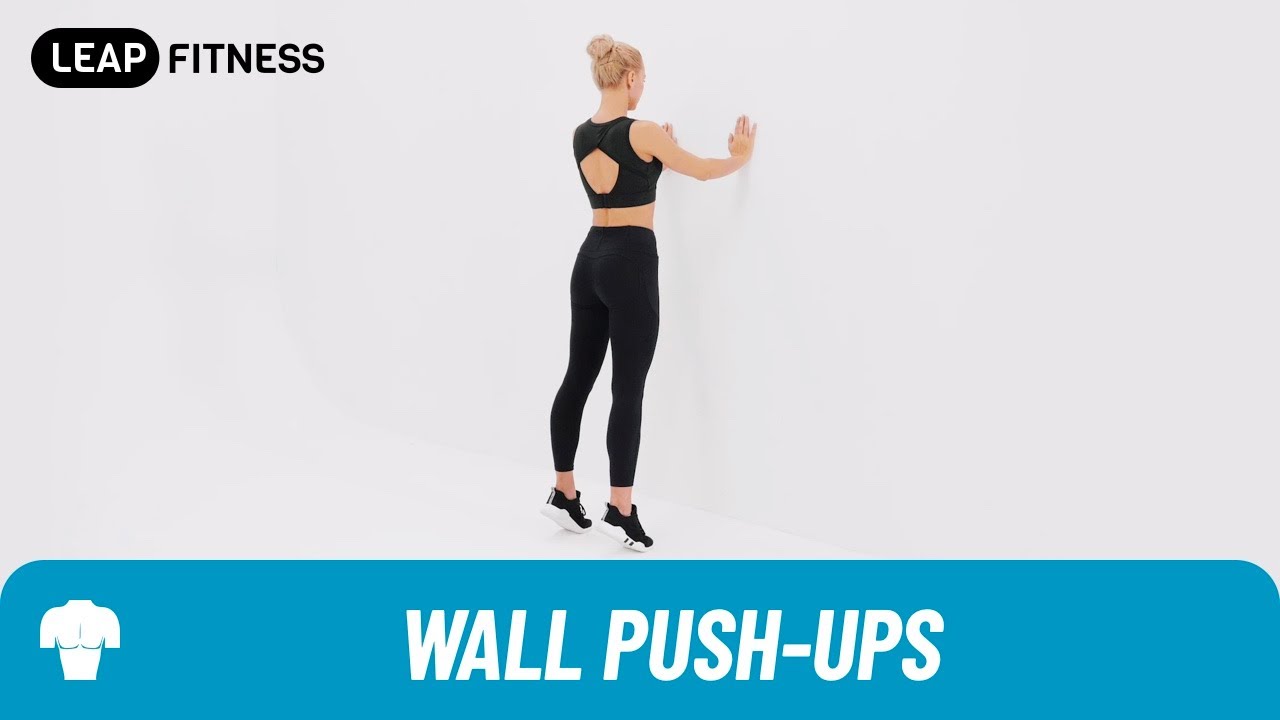
If you’re just getting to grips with push-ups, the wall, rather than the floor, is where you should start. "This approach uses less of your body weight so it’s a great place to start," says McMillan.
- Place your palms just wider than shoulder-width apart on a wall so your hands are level with your shoulders.
- Stand a few steps away from the wall—the further away you are, the harder it will be.
- Starting with your arms straight, slowly bend your arms to bring your chest toward the wall, then press away forcefully until your arms are outstretched.
You can progress this move further by explosively pushing into the wall until your hands come away briefly between reps.
Step 2: Incline push-up
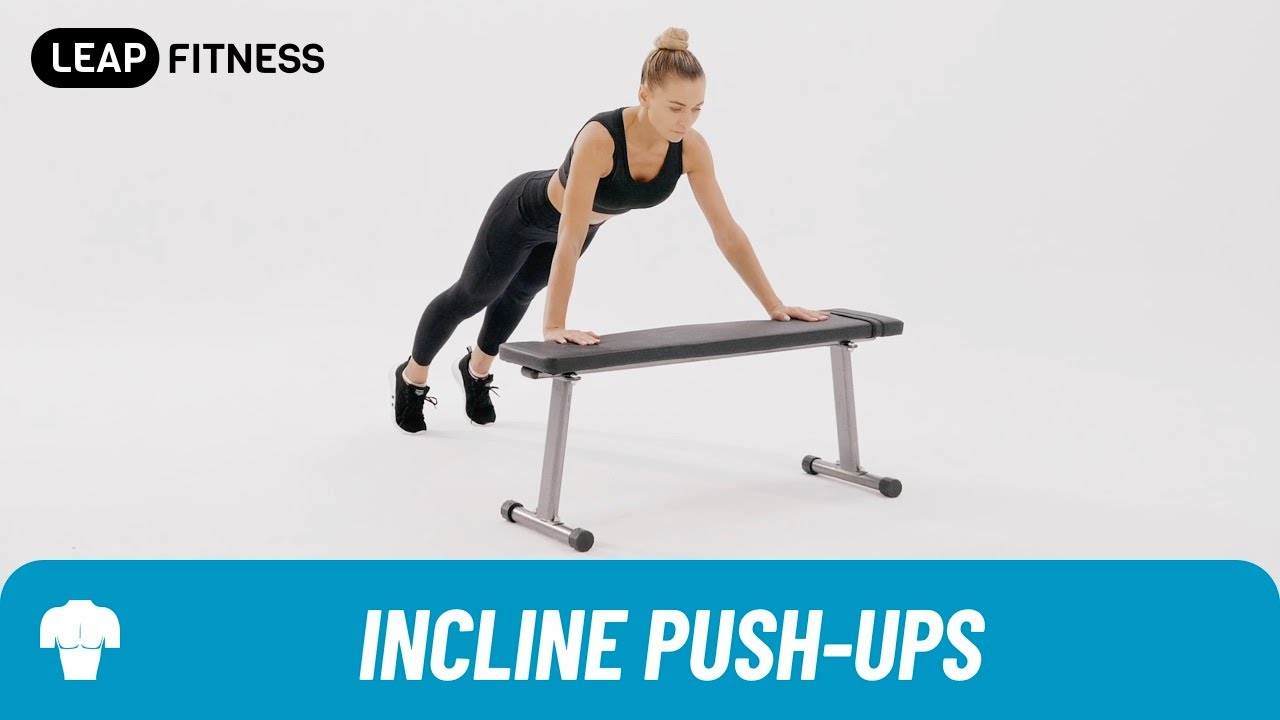
As soon as wall push-ups are a pushover, McMillan suggests progressing to a bench or couch. "It’s a more challenging angle than the wall but not as challenging as the floor," says McMillan.
- Place your hands just wider than shoulder-width apart on the edge of the bench or couch.
- Bend your elbows to lower your chest to your hands.
- Push back to the start.
If the seat is too tough initially, place your hands higher up, for instance on the backrest of an adjustable weights bench or chair. Once you can comfortably complete a set of 20 reps, place your hands at seat level and repeat.
Step 3: Knee push-up
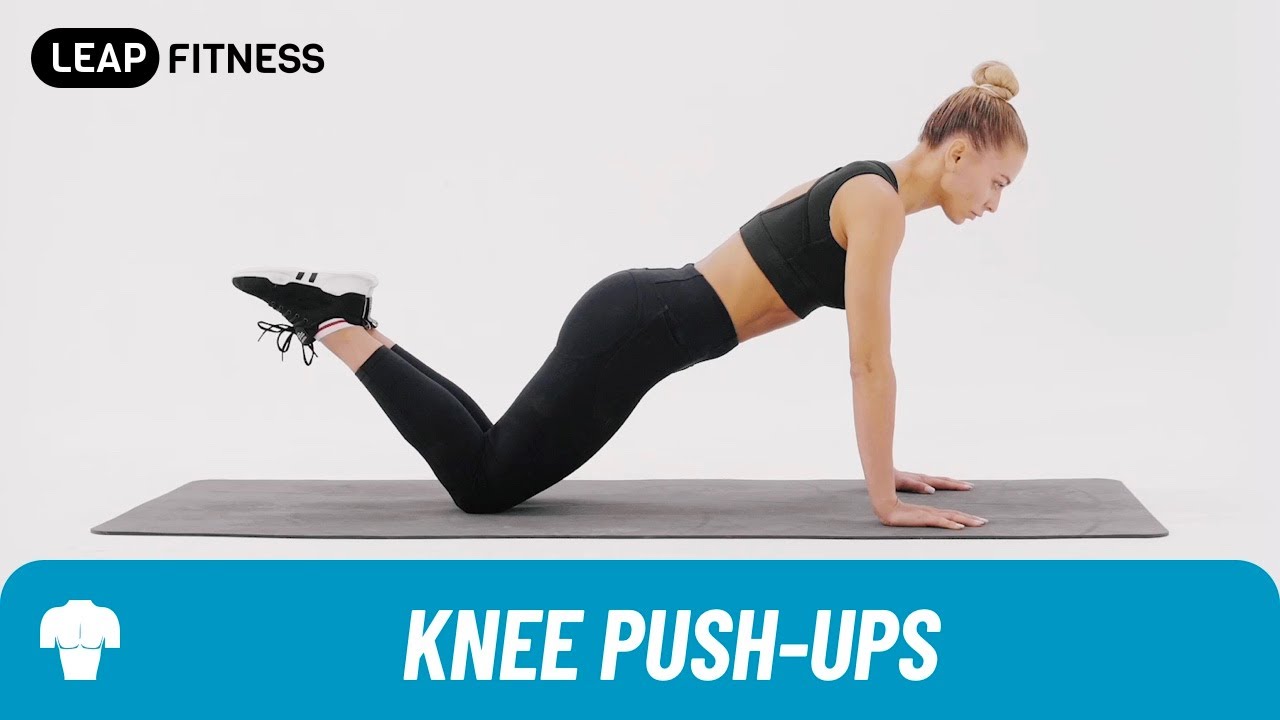
Once 20 incline push-up reps start to feel easy, you're ready for the floor.
- To get the right hand position lay on your front and “position your palms on the floor a few inches beside your chest,” says McMillan.
- Get into the starting position with your arms extended, knees on the floor with your feet raised.
- "Keep your abdominals contracted and your back in a neutral position," says McMillan. Now's a great time to learn how to engage your core.
- Bend your elbows to slowly lower your chest to the floor, then push away to return to the starting position.
Step 4: Negative push-up

You're almost ready, but stay patient. McMillan recommends focusing on the eccentric (lowering) element of the push-up next to develop the might required for the main event. "This variation has you positioned on your toes during the least challenging phase of the movement," says McMillan, "and on your knees during the most challenging phase."
- Start in a standard push-up position, on your toes rather than knees.
- Bend your elbows to slowly lower your chest to the floor, then shift from your toes to your knees, raise your feet, and push up until your arms are straight.
- Shift onto your toes and repeat.
Once you're capable of cranking out 20 negative push-up reps then you are ready for your first bona fide push-up. Brush up on how to do a push-up and go get it.
Still struggling? Check you're not making one of these common push-up mistakes.
Sherri McMillan is the owner of Northwest Personal Training in Vancouver, Washington, and an international fitness presenter, personal trainer, fitness columnist and author of five books and manuals including Go For Fit - The Winning Way to Fat Loss and Fit Over Forty.
Accredited via the Health & Fitness Association, McMillan holds a bachelor's degree in Exercise Physiology from the University of Windsor, and a master's degree in Exercise Physiology from the University of British Columbia, both in Canada.
Across a career spanning more than 35 years, she has received numerous industry awards including 2010 CanFitPro International Fitness Presenter of the Year, 2006 IDEA Fitness Director of the Year, 1998 IDEA Personal Trainer of the Year and 1998 CanFitPro Fitness Presenter of the Year.
