What to put in a hiking first aid kit
A hiking expert explains what to put in a hiking first aid kit to ensure you’re safe on the trails
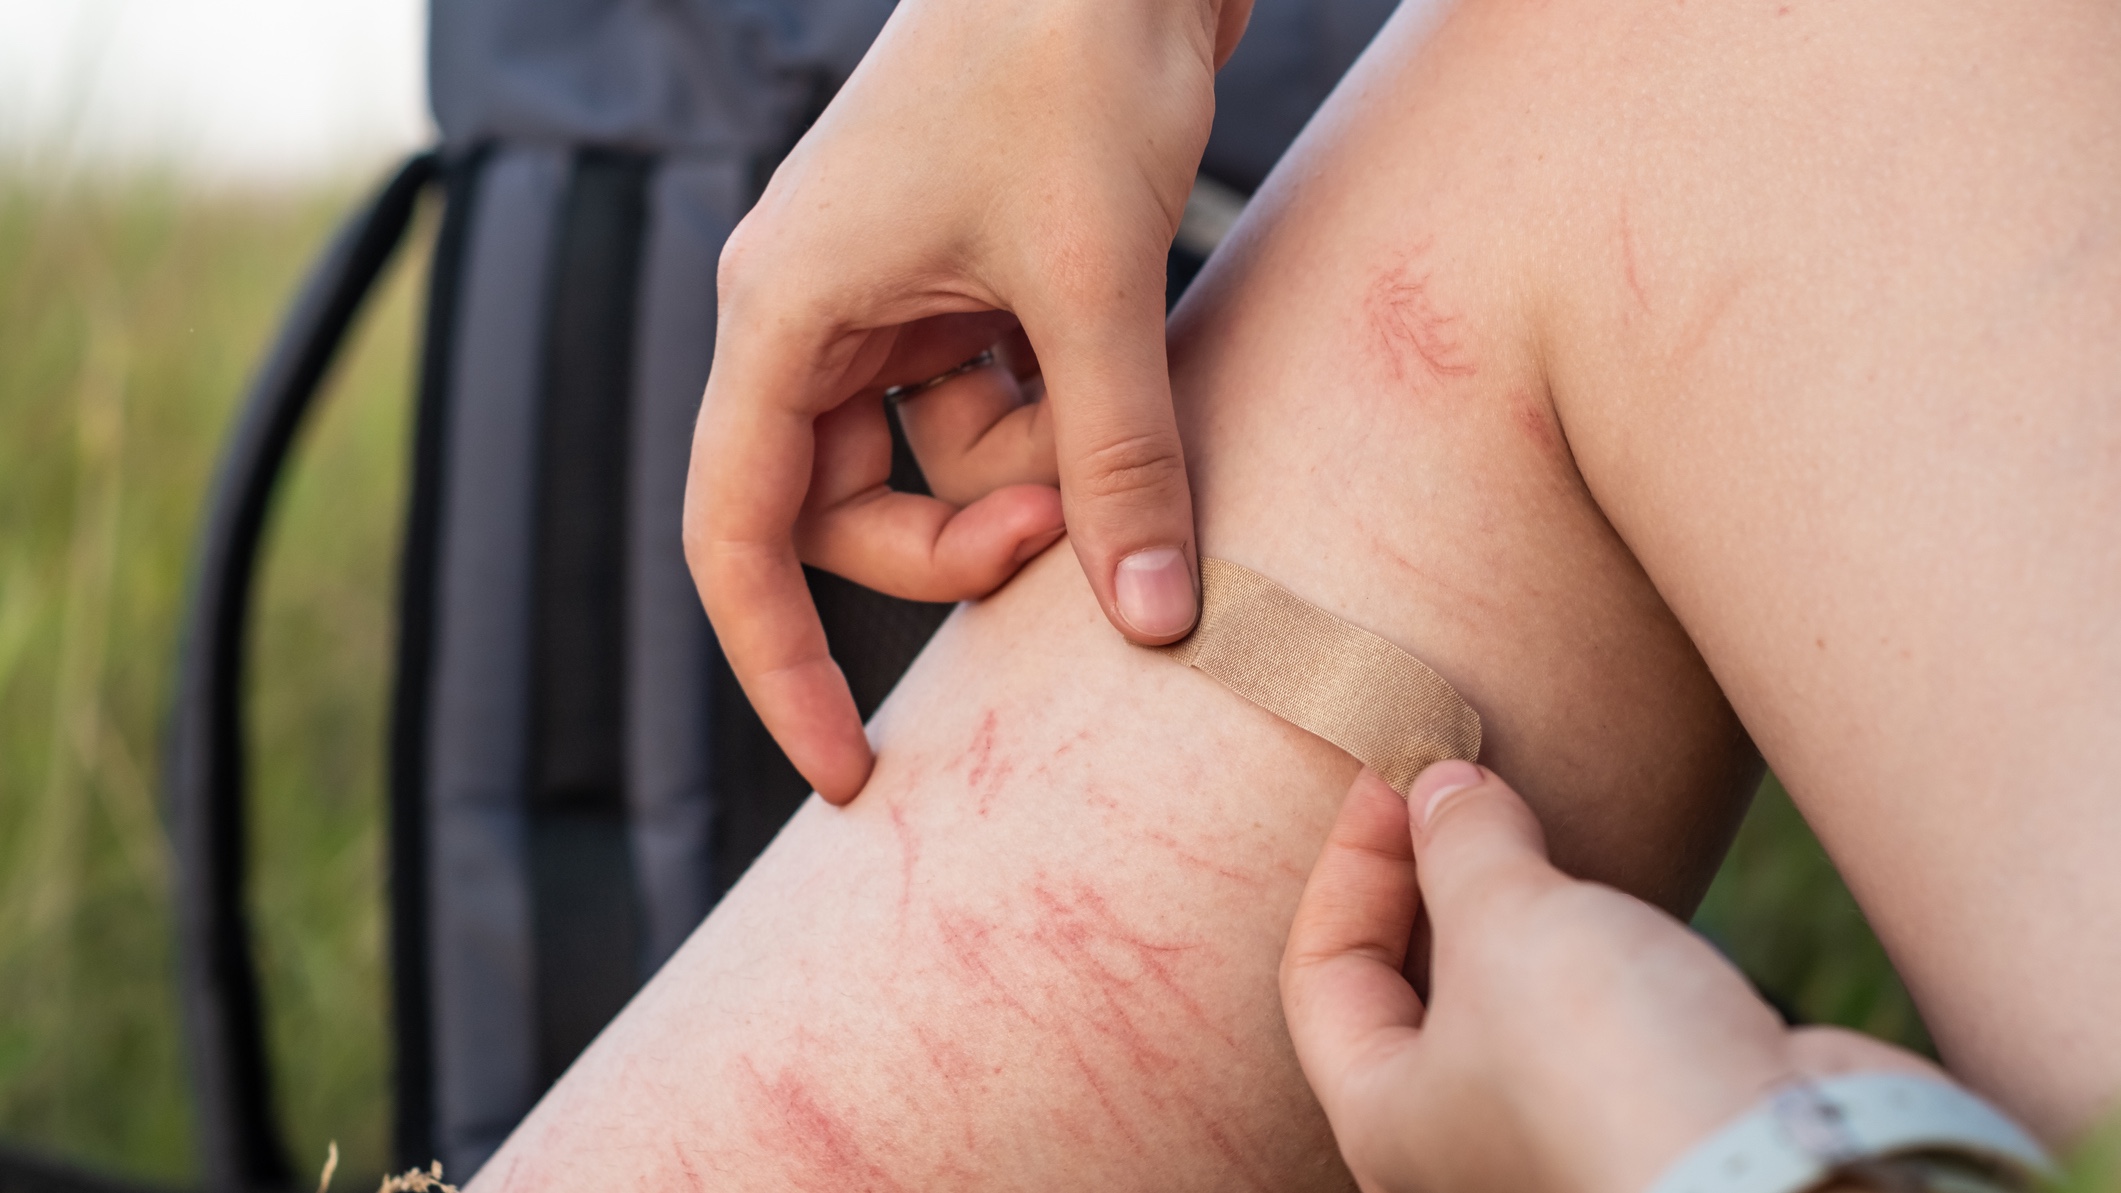

Wondering what to put in a hiking first aid kit? In short, you’ll need the essential medical supplies required to stay safe and patch up any minor injuries you might suffer while enjoying the trails.
But knowing exactly what to pack in your first-aid kit can be confusing for beginners particularly if you are trying to navigate the overwhelming flood of hiking gear.
From the best trekking poles to hiking daypacks, hiking gear is certainly complicated. But, while some gear is optional, a basic hiking first-aid kit is always important as Danny Giovale, certified wilderness first responder and the founder and owner of outdoor gear company Kahtoola, confirms.

Danny Giovale is founder and president of Kahtoola, an outdoor gear company based in Flagstaff, Ariz. Danny founded Kahtoola in 1999 after a life-changing accident in the Italian Dolomites spurred him to develop better traction products for mountain adventures. He's a certified Wilderness First Responder (WFR) through Flagstaff Field Institute and an avid alpine rock climber, backpacker, skier and rafter in the wilder places of the planet.
Why is a first aid kit for hiking so important?
First aid kits come in handy in many situations and hiking is no exception. “Once you get far away from your usual household, you can easily find yourself wishing you had a few key items to turn a painful mishap into a minor inconvenience,” Giovale explains.
“Also, having a first aid kit often benefits others in your group, or even strangers you encounter who need help. Stabilizing a sprained ankle, cleaning and dressing a wound or avoiding a severe allergic reaction are just a few things that are easier to manage if you have a simple first aid kit with you.”
What should you pack in a first aid kit?
The best first aid kit will contain sufficient medical equipment and supplies without being bulky and heavy. You certainly don’t want to carry a kit chock full of supplies that you’ll likely never need on the trail. Here, Giovale shares some of the essentials:
Athletic tape
Athletic tape is versatile. “If I could bring only one first aid item, I’d bring a small roll of athletic tape,” notes Giovale. “It can be used to cover a ‘hot spot’ before it becomes a blister, dress a minor wound, and wrap a sprained ankle (being careful to maintain circulation to the toes at all times).”
Get the Fit&Well Newsletter
Start your week with achievable workout ideas, health tips and wellbeing advice in your inbox.
Tincture of Benzoin
Tincture of Benzoin can be found in convenient single-use packs or 60ml bottles and Giovale suggests investing. “For extended trips, adding tincture of benzoin to the skin first adds to the adhesiveness of the tape and will prolong the tape application, which is especially important in wet environments.”
Blister kit
One of the biggest mistakes made by new hikers or those who haven’t been out on the trails for some time, is not breaking in your boots or wearing them enough before embarking on a long hike. This can lead to blisters.
“Once formed, blisters won’t leave you in peace until you’ve addressed them,” says Giovale. “Although athletic tape is better than nothing for covering a drained and cleaned blister, applying a soothing layer of ‘second skin’ and then covering it with moleskin, an adhesive cotton flannel material, will keep you happy for hours longer.
“Bring small scissors to cut the moleskin to size or buy pre-cut packs with a variety of sizes.”
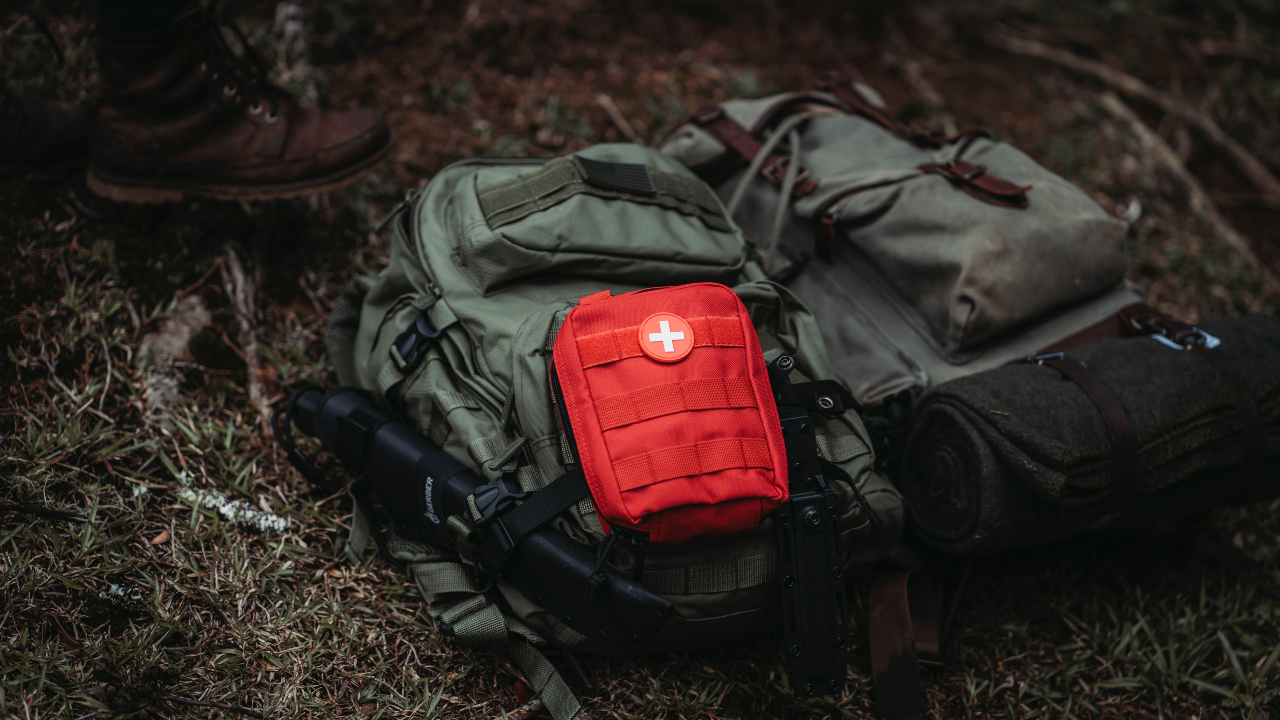
Minor wound kit
It’s easy to become wounded on a trail, whether you pass through a patch of prickers, slip and skin your knee or lose a toenail.
“There’s a large variety of sterile dressings and bandages available but I suggest keeping this to a minimum, since a first-aid kit that’s too bulky is more likely to be left in the car and not be there when needed,” says Giovale.
“Focus on cleaning the wound well with water that’s clean enough to drink, then applying antibiotic ointment and dressing with small amounts of sterile dressing and tape or Band-Aid, as appropriate. It’s important to keep the wound dry and clean.”
Giovale also advises going further. “More advanced dressings include Steri-Strips for deep cuts and are important to learn about if you may be dealing with these types of injuries.” he says.
Ace bandage
Most hikers are familiar with this classic first-aid item. This type of slightly elastic bandage provides a convenient way to wrap an injured joint such as a wrist, elbow, or knee to provide comfort and some stability.
“It’s very versatile, but can also be improvised in a pinch by using any extra clothing like a jacket or pants to do the job,” notes Giovale. “You can decide whether you include it in your kit, but remember to keep good circulation in toes and fingers when you wrap a joint.”
Antihistamines
If you have severe allergies, you should always carry antihistamines such as Benadryl or other medications your doctor recommends. “Even if you don’t have such allergies, bring a basic antihistamine like plain old Benadryl for the benefit of others you might encounter,” says Giovale.
“Allergic reactions caused by bee stings, food or plant allergies can be temporarily managed with the proper use of antihistamines. Make sure to get back home soon if you have had a severe reaction so you can be near medical care if further help is needed.”
NSAIDs
Although you don’t want to rely too heavily on non-steroidal anti-inflammatories (NSAIDs), Giovale says pain management can be an important part of getting yourself and your group back home after an injury.
“Taking ibuprofen or other NSAIDs can reduce pain and swelling and be just what’s needed,” he suggests. “With a lower leg injury, give yourself time to assess by resting and then gently trying to move the joint without any weight.
“If you are able to slowly move it, try standing on it and gently walking. If you can do this, you may be able to walk out on your own. Note that it takes about 20-30 minutes for ibuprofen to kick in.”
Safety gear
Finally, particularly for longer hikes, multi-day treks, or big climbs, if you want to stay safe when hiking, you should consider bringing safety items, such as a space blanket, satellite device, battery pack, and headlamp (as well as a battery pack).
“You never know when the weather will change in mountainous terrain, so it’s useful to carry an emergency or ‘space’ blanket,” explains Giovale. “This can help with serious conditions such as hypothermia so find one that’s light to carry but effective in an emergency.
“Being out of cell coverage range also limits your options to get help. A satellite-capable communications device can be a critical item in such areas but it’s no substitute for having enough helpful equipment and supplies with you.”
Do you always need a first aid kit, even on short hikes?
Even if you are going on a short hike, it’s a good idea to bring a barebones first-aid kit because you never know when you might need supplies.
“Being more of a minimalist myself, I always bring athletic tape and antihistamines for the immediate benefits they provide,” Giovale says. “I always have an appropriate communication device in case something crazy happens too.
“But the best way to be prepared for dealing with more serious injuries in the outdoors is to take a Wilderness First Aid (WFA) or more extensive Wilderness First Responder (WFR course).”
Amber Sayer is a Fitness, Nutrition, and Wellness Writer and Editor, and contributes to several fitness, health, and running websites and publications. She holds two Masters Degrees—one in Exercise Science and one in Prosthetics and Orthotics. As a Certified Personal Trainer and running coach for 12 years, Amber enjoys staying active and helping others do so as well. In her free time, Amber likes running, cycling, cooking, spending time outside, and tackling any type of puzzle.
-
 I swapped my usual core routine for this dumbbell workout—here’s why you should try it too
Pick up some dumbbells and try my favorite deep core exercises
By Yanar Alkayat
-
 You don't need any equipment to improve your posture—just these three back-strengthening moves
These three exercises will strengthen key back muscles
By Jennifer Rizzuto