Wrist-free yoga flow: a 15 minute flow without any downward dog
Rest up your sore joints with this wrist-free yoga flow
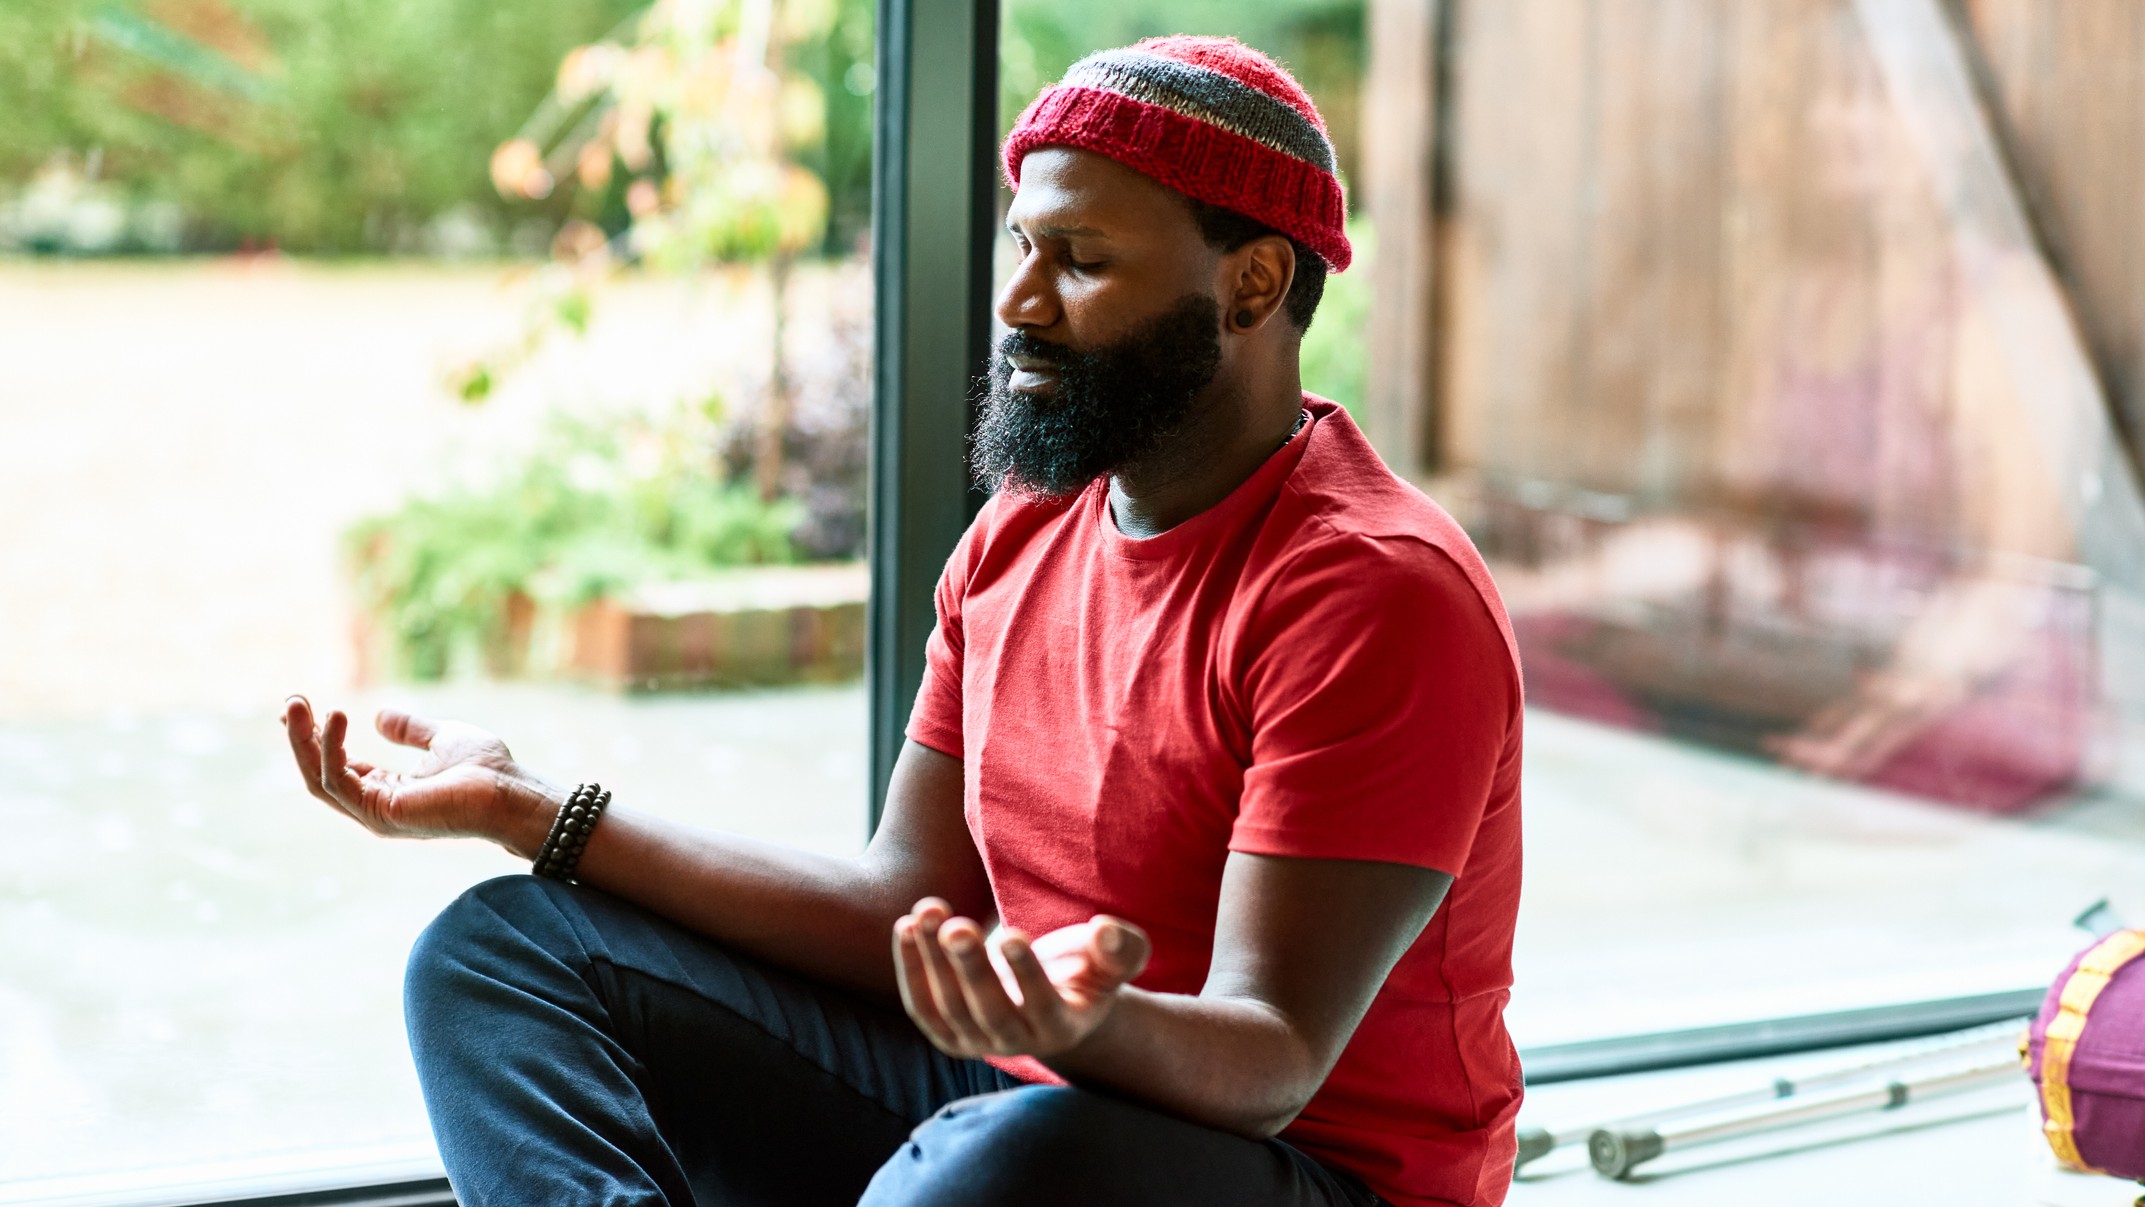
This wrist-free yoga flow is perfect if you’re experiencing any joint pain. It avoids moves like plank and downward dog – where a lot of pressure is put on the wrists – but still provides a gentle challenge to people who want to take advantage of the benefits of yoga.
Weak wrists, pre-existing injuries, and limited mobility are all common causes of wrist pain. Stretching and strengthening exercises, props, and alignment fixes could all help to keep your practice flowing, but if you’re dealing with chronic pain it could well be time to give those wrists a rest.
Lucy McCarthy, a yoga instructor and teacher at Movement For Modern Life, has devised the following routine.
Looking for more gentle yoga sequences? Have a look through this seated yoga flow, or read up on how to do yoga with knee pain.
Wrist-Free 15-minute Yoga flow
All you need to do this routine is yourself and one of the best yoga mats. We also recommend grabbing one of the best foam rollers to tease out any muscle tension before practice.
MOVE ONE: Child's Pose (x 5 breaths)
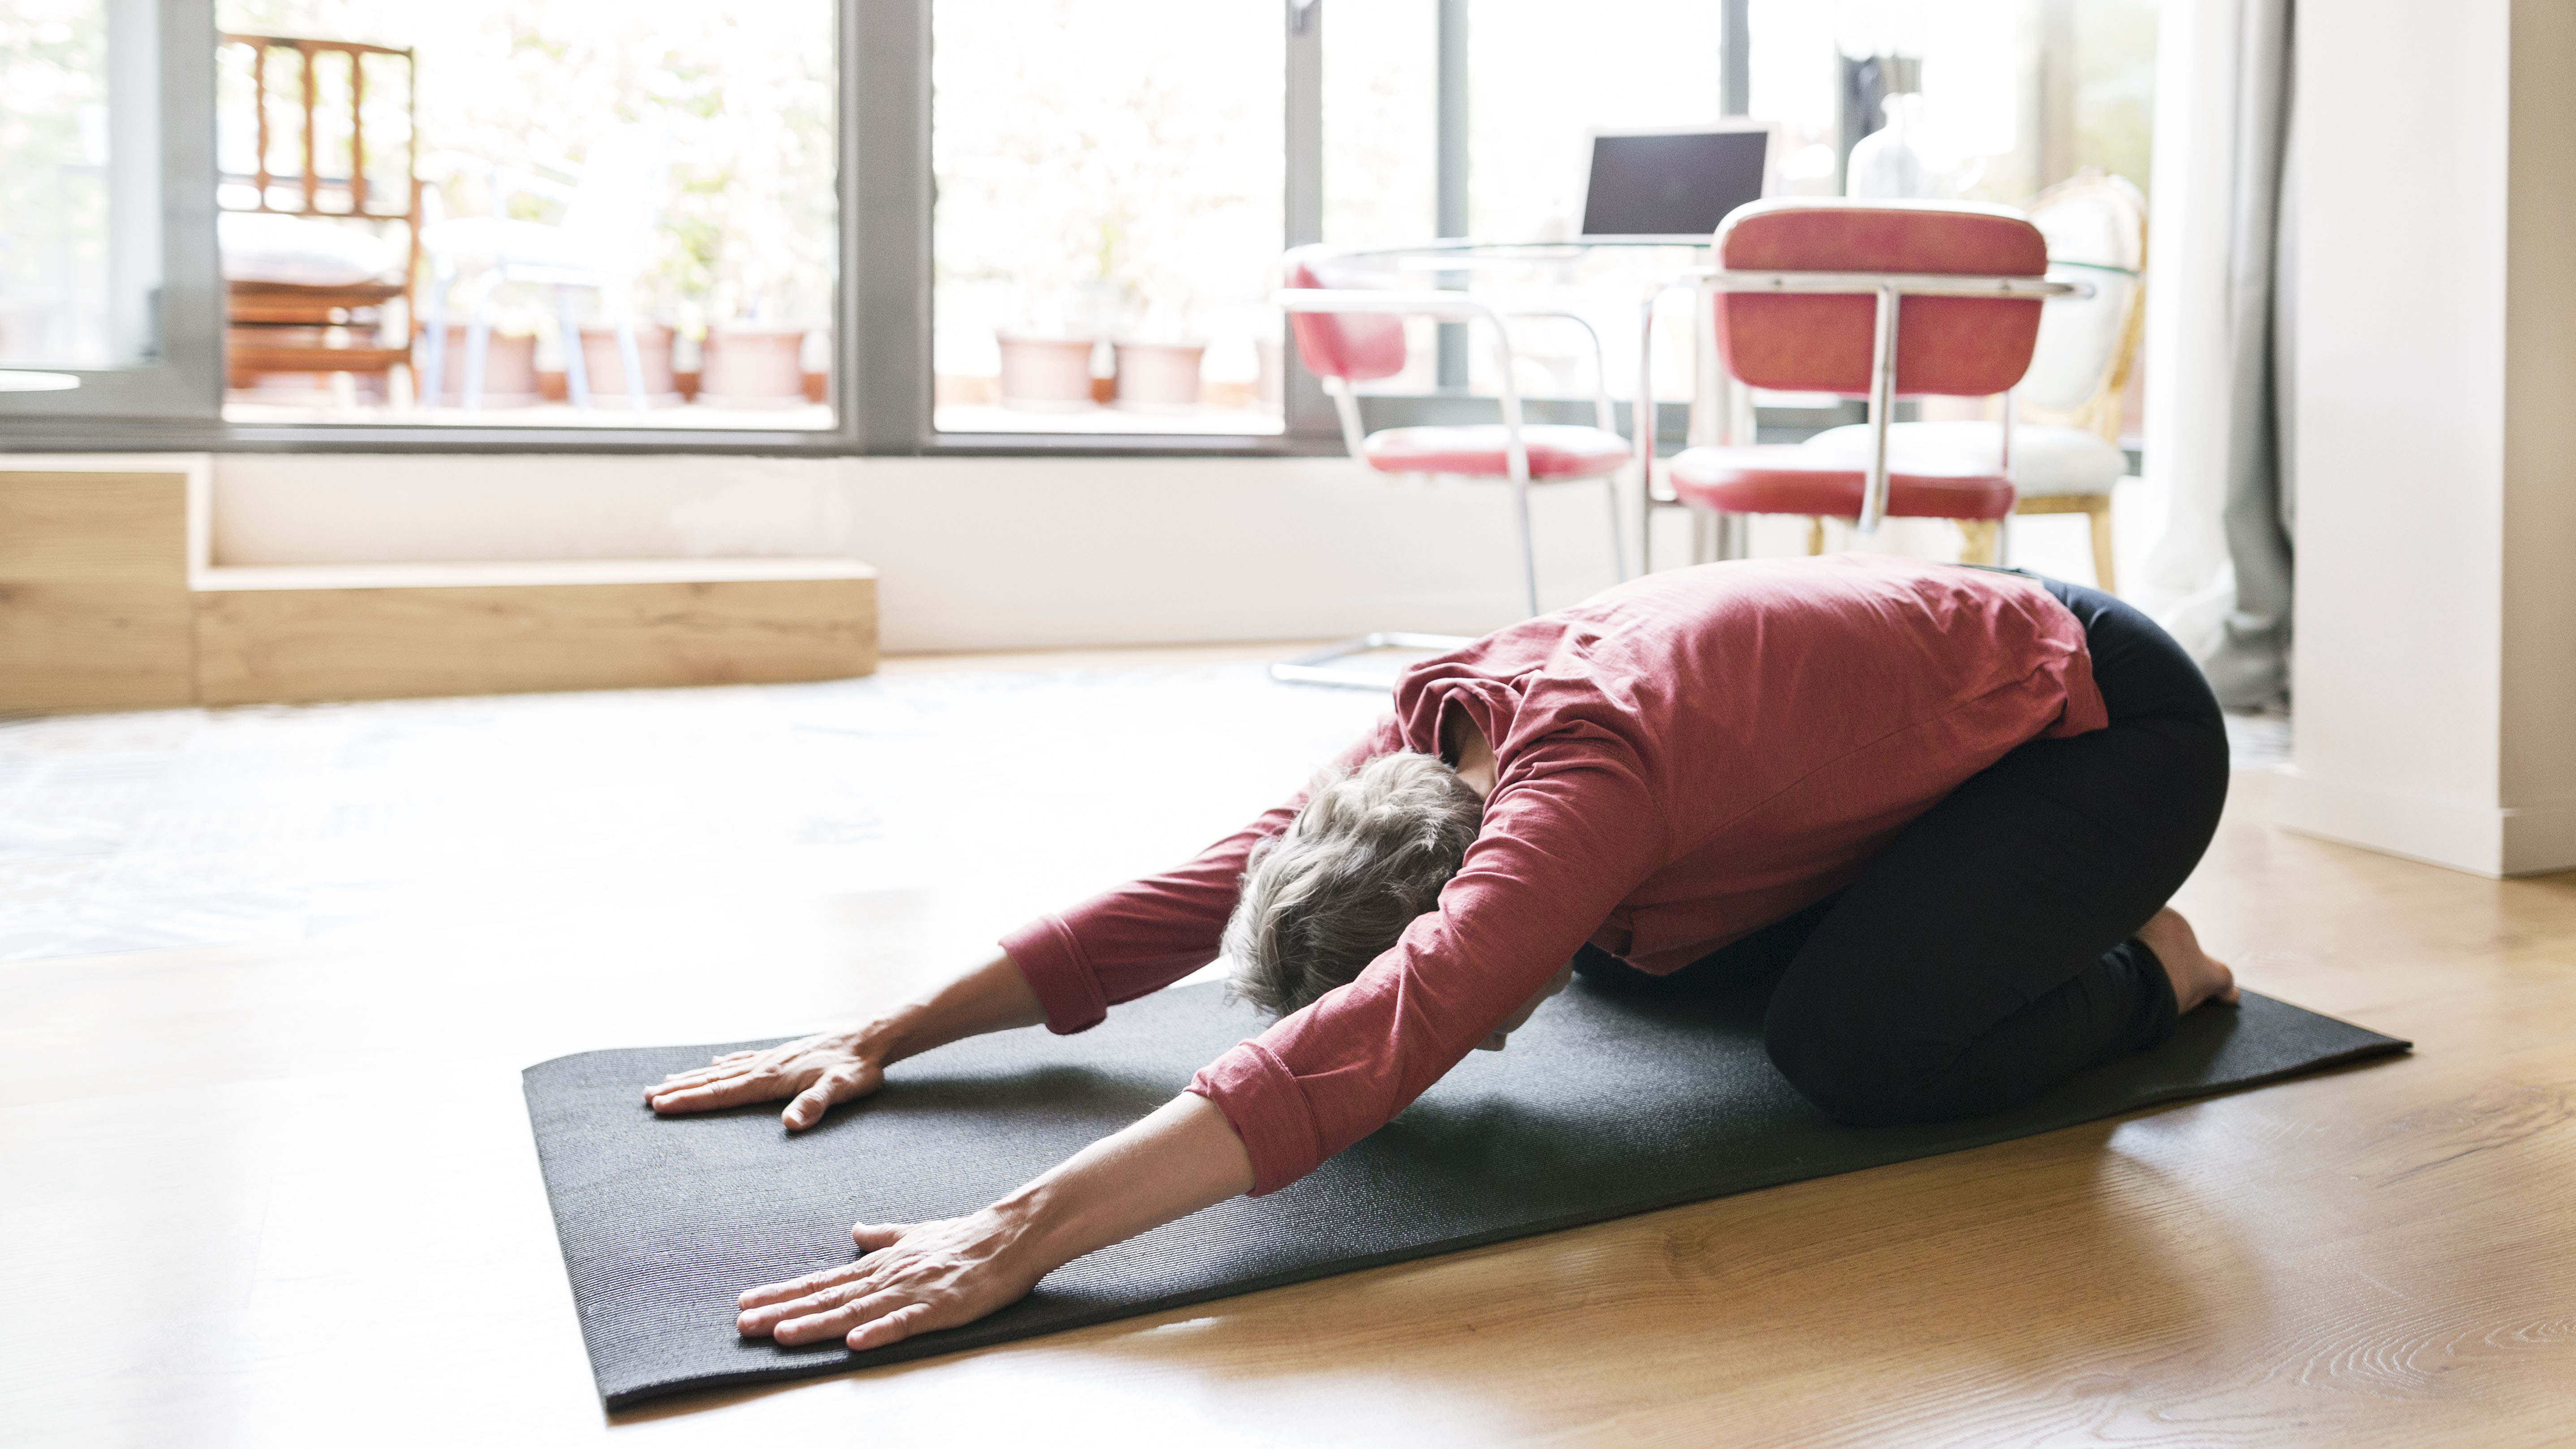
Come to sit on your shins with your big toes touching and knees hip-width apart. Rest your bum on your heels, then reach your arms forwards and press your palms onto the floor shoulder-width apart, keeping your spine flat and forehead to the ground.
If you’re unable to lower your bum to your heels, elevate your forehead onto a prop (such as a block) until your hips are resting on your heels.
Get the Fit&Well Newsletter
Start your week with achievable workout ideas, health tips and wellbeing advice in your inbox.
Take five slow, deep breaths in this pose, then rise through your spine to sit tall.
MOVES TWO AND THREE: Kneeling Hero Pose (x 5 rounds)
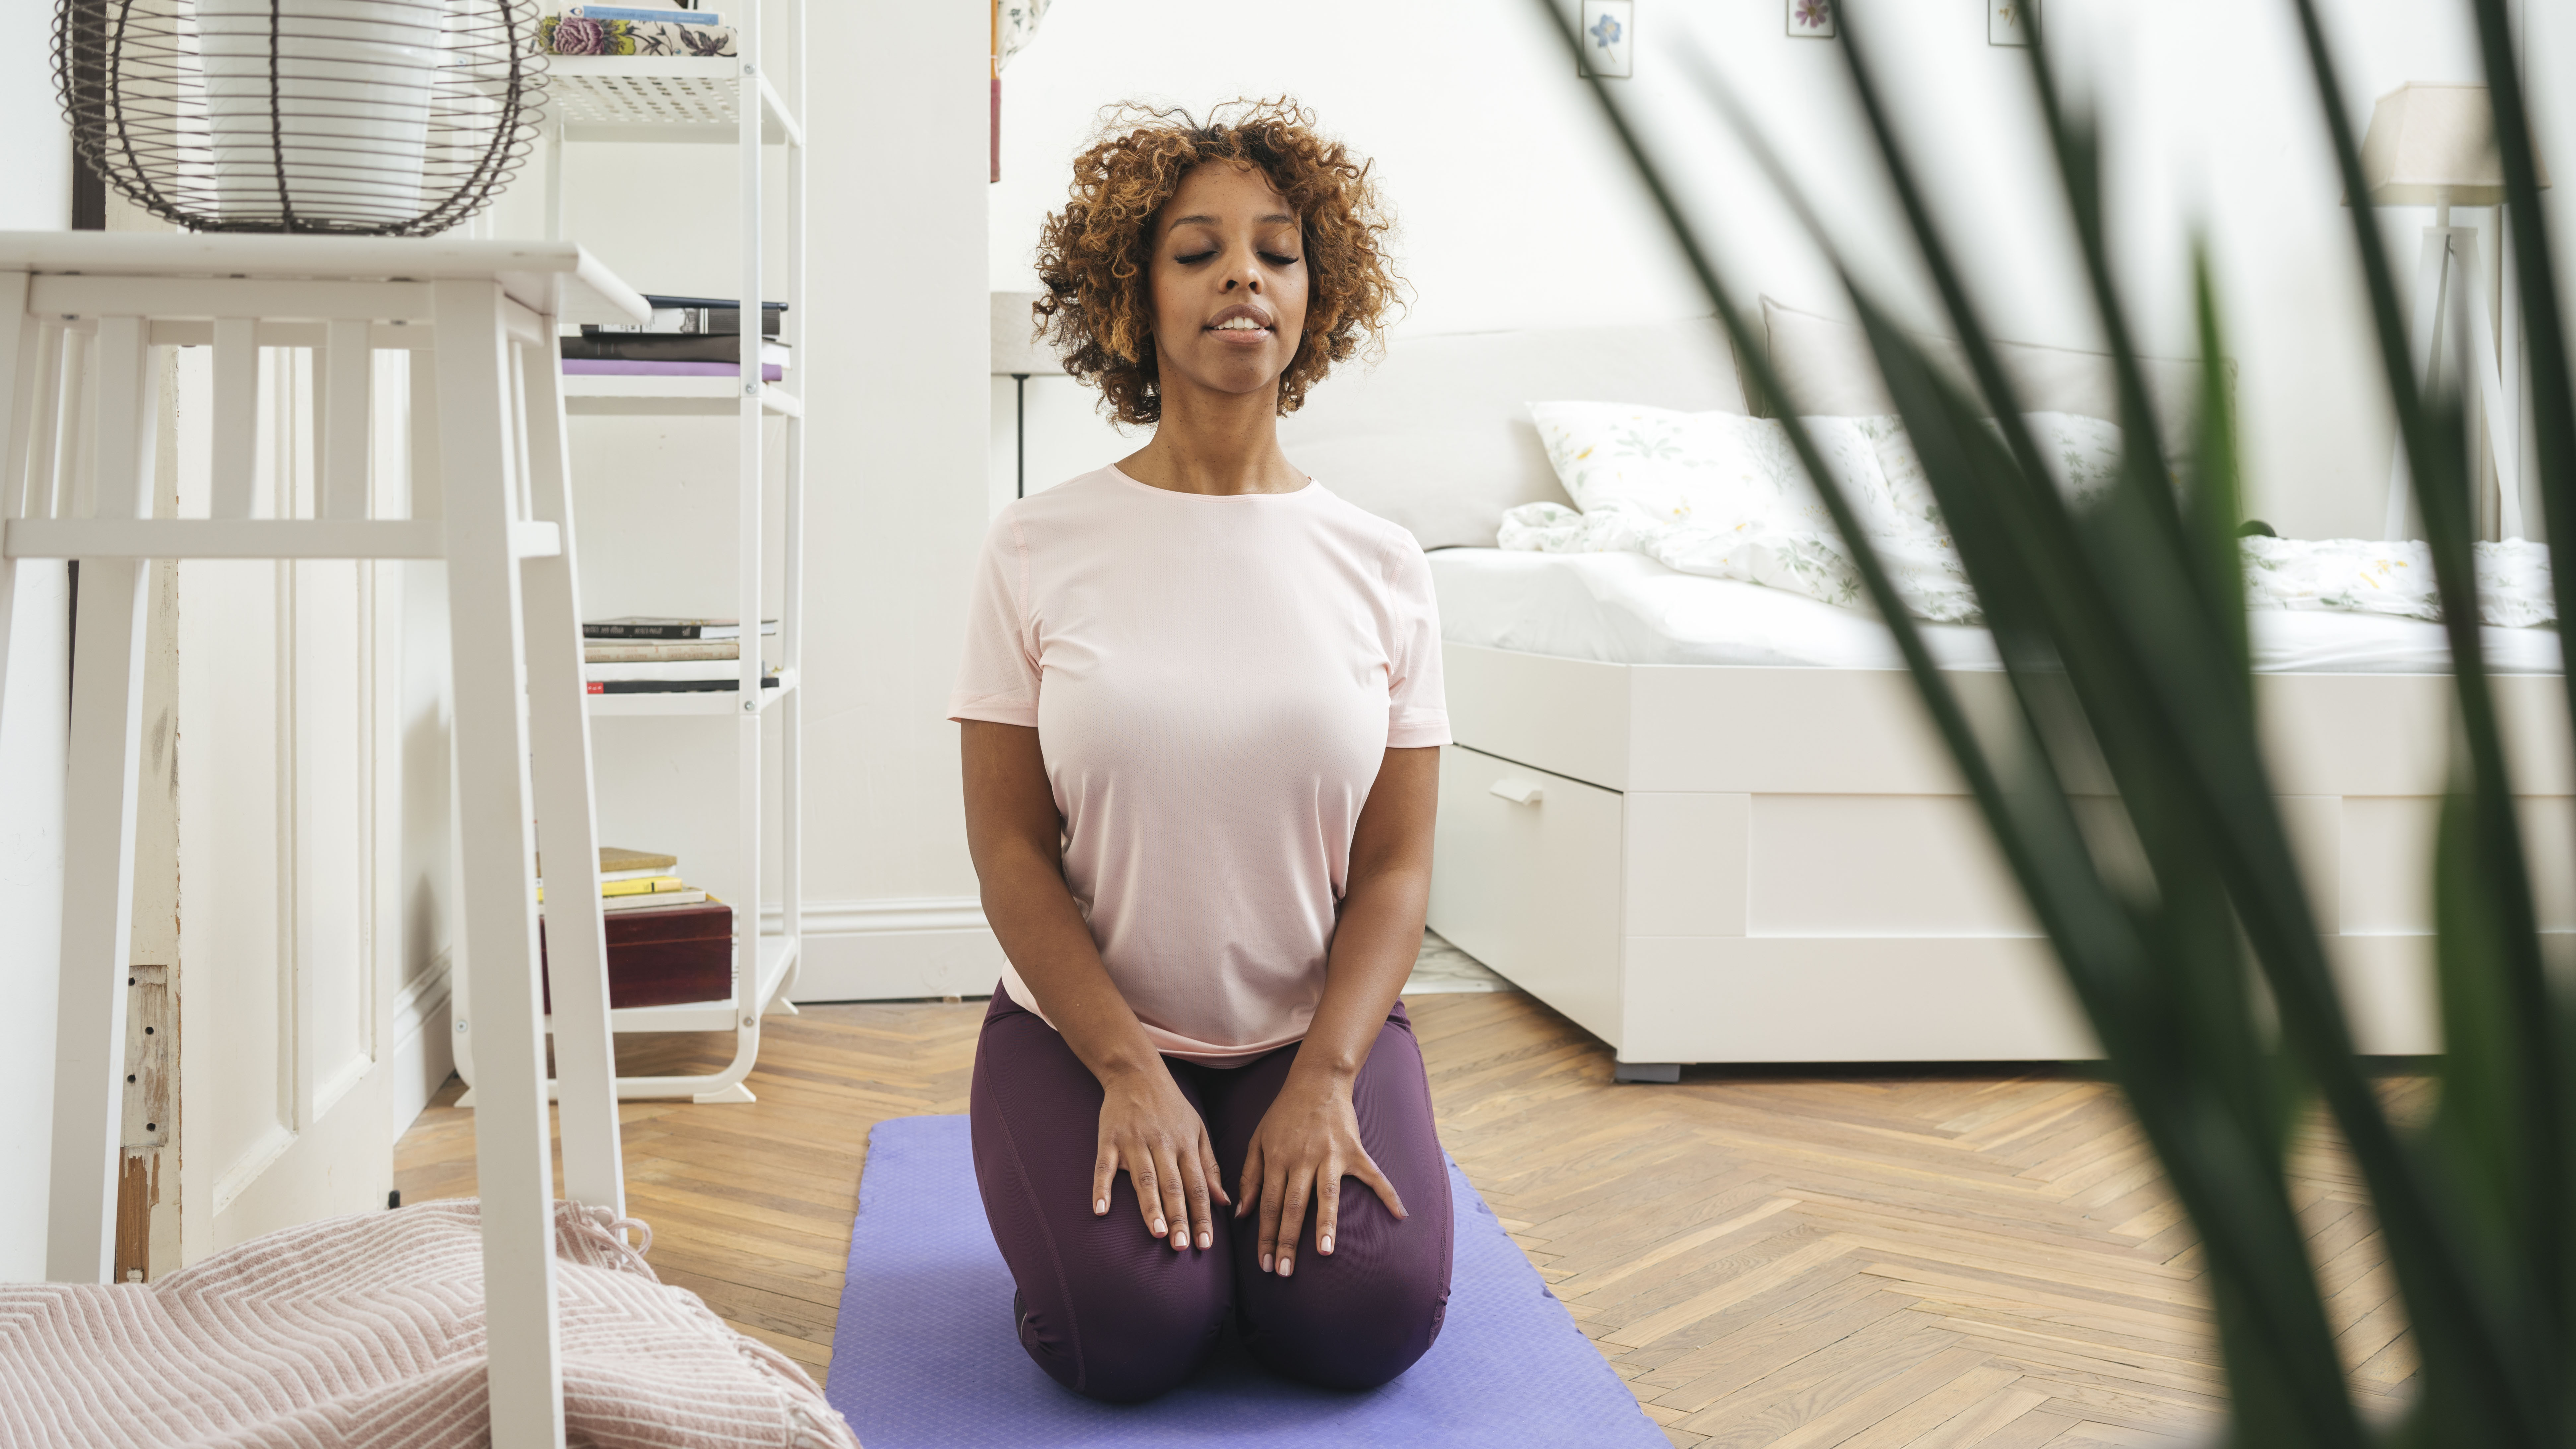
Sit on your shins, with your knees together and a block slightly elevating your bum, then place your palms on your knees. As you inhale, draw your chest forwards and upwards into a small backbend.
As you exhale keep your hands on your knees, then round your back while lowering your chin towards your chest until you feel a stretch between your shoulder blades. Repeat for five rounds, moving fluidly in sync with your breath.
MOVES FOUR AND FIVE: Seated Twist in Hero Pose (x 3 breaths per side)
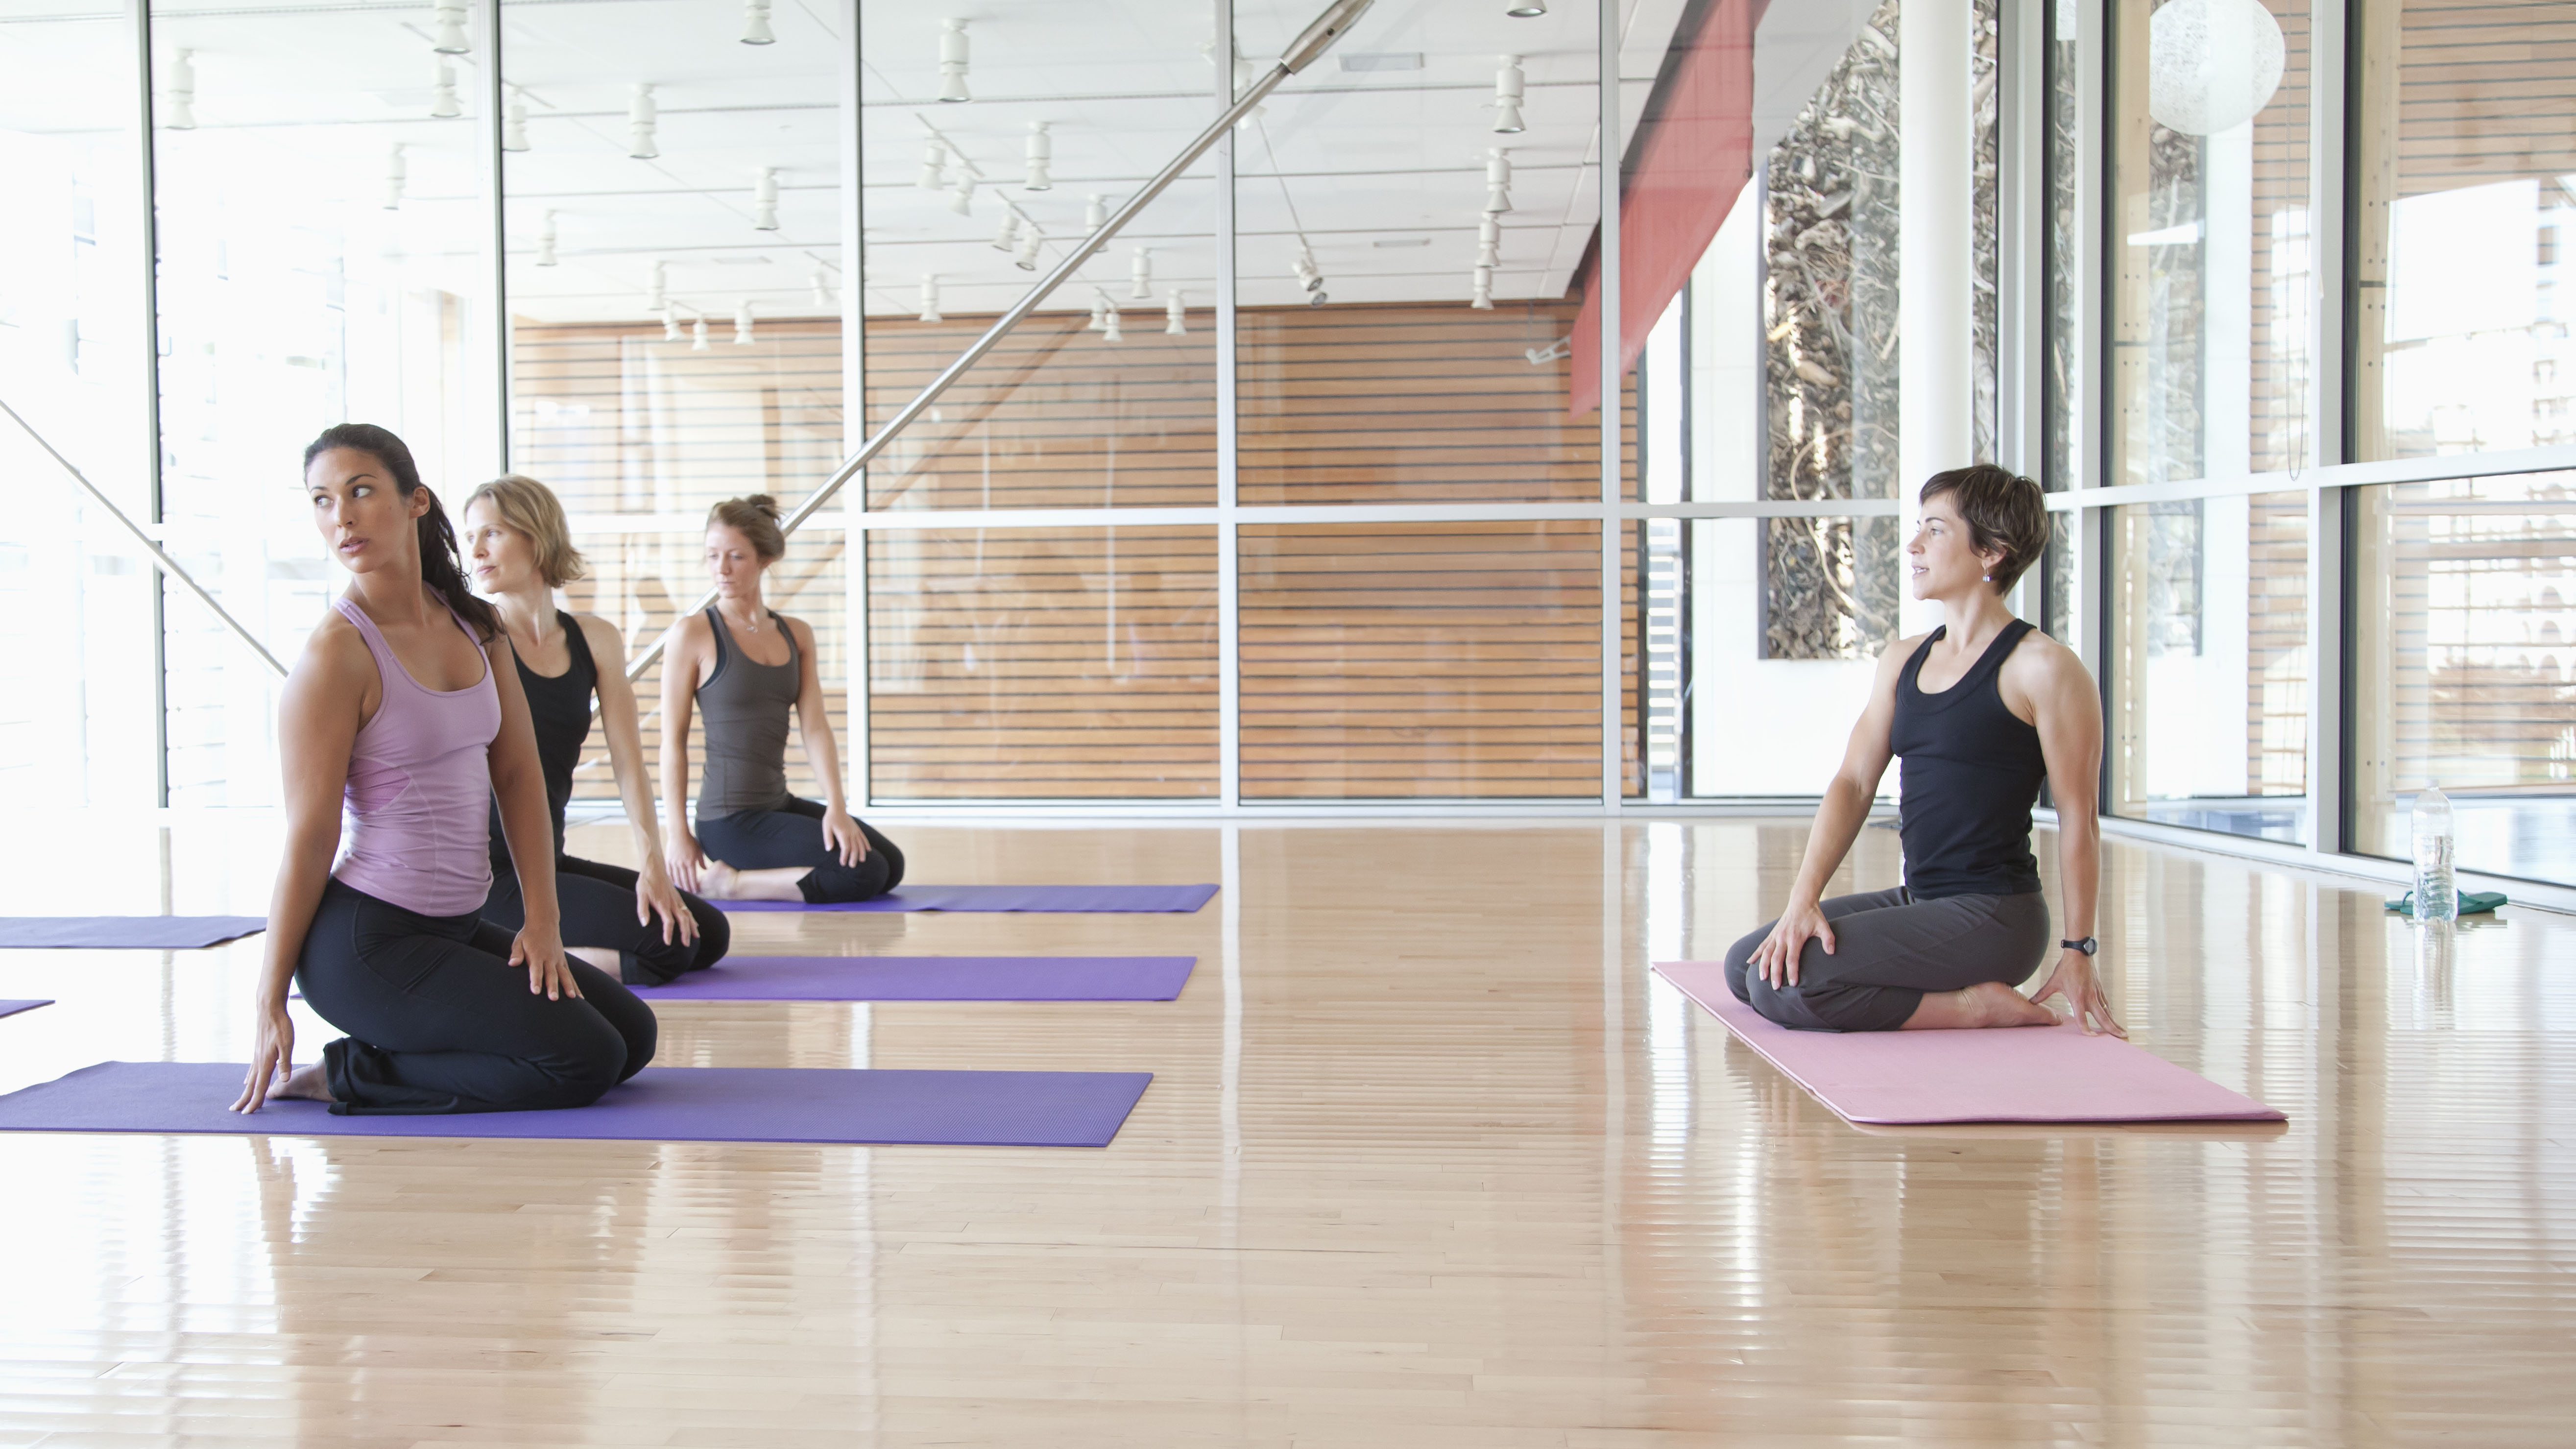
On an inhale, raise both arms overhead. As you exhale, place your right hand on your outer lower left thigh and your left hand on the floor (slightly behind you), then twist your spine to the left. On each inhale, lengthen your spine upwards and on each exhale, see if the spine is willing to twist a little deeper. Stay for three breaths.
On your next inhale raise both arms overhead again, with your spine upright and chest facing forwards. As you exhale, repeat on your right side for three breaths. Return to your starting position, then exhale and lower your hands down alongside your body.
MOVE SIX AND SEVEN: Child's Pose (x 2 breaths) to Dolphin Pose (x 5 breaths)
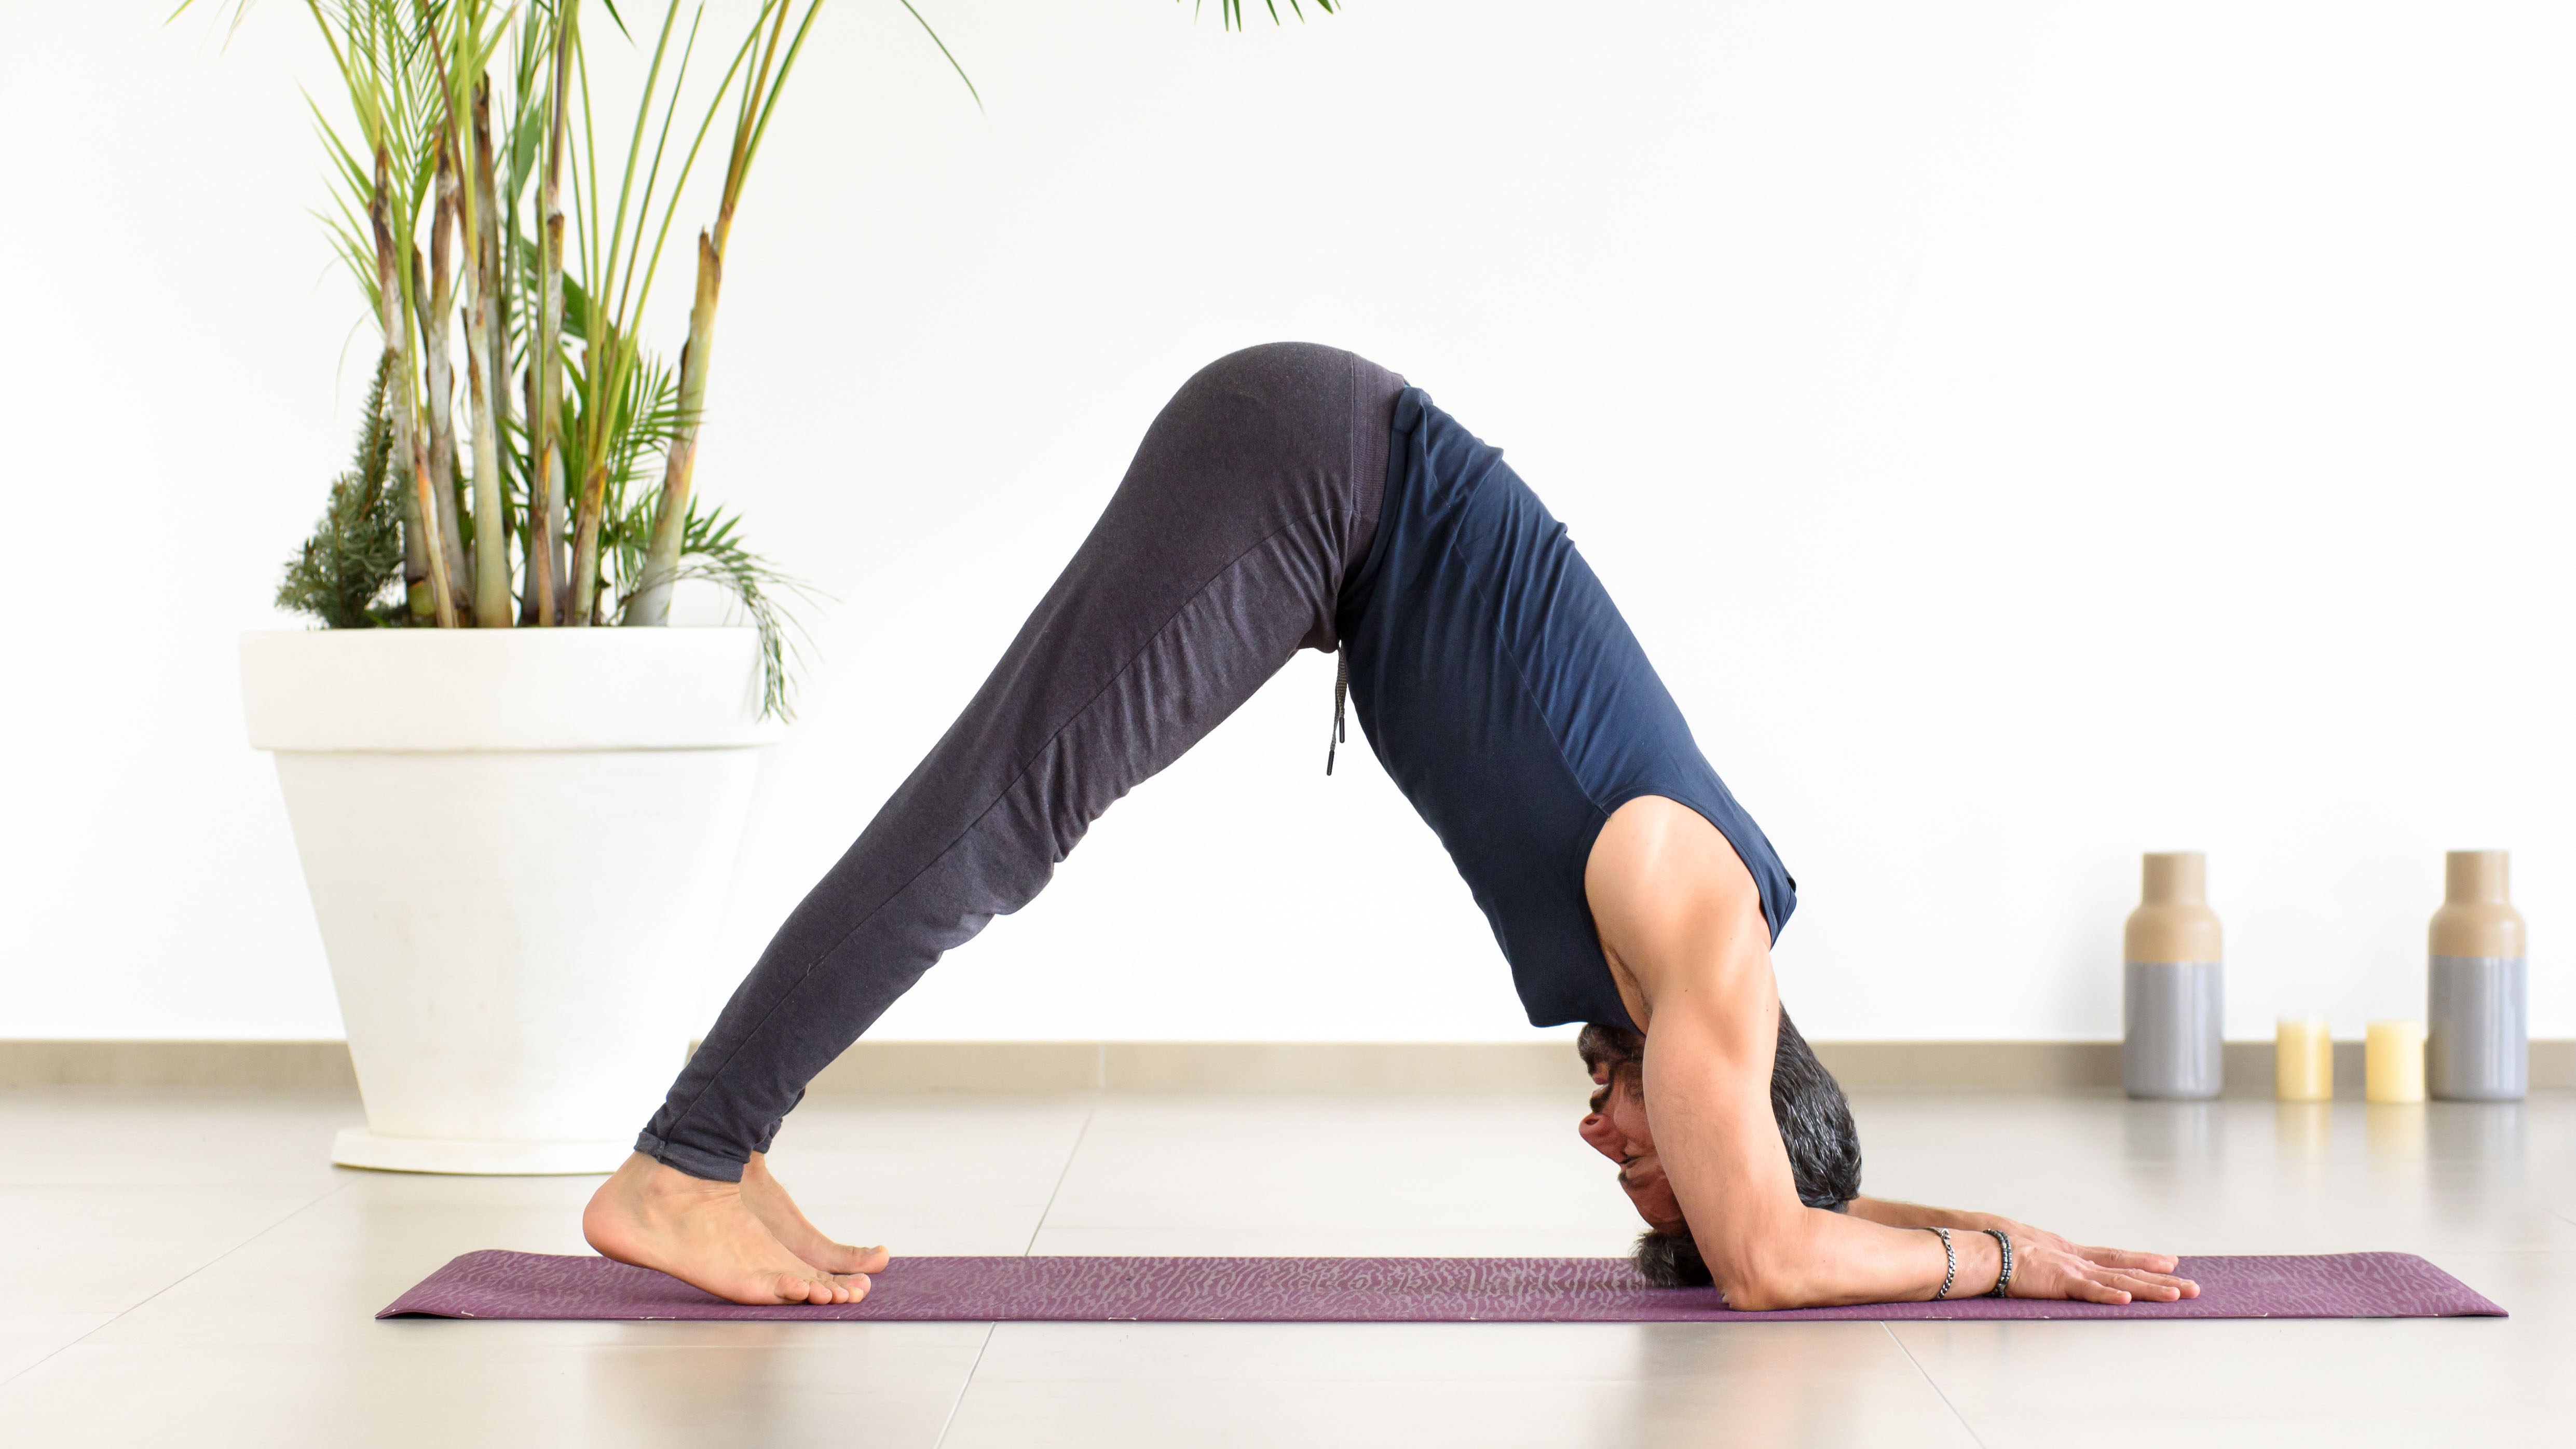
Return to child’s pose by widening your knees slightly, then extend both arms out in front of you and release your forearms to the earth. Take two slow and deep breaths, then lift your spine up slightly and transition onto your forearms and knees without weight-bearing on your wrists. Check your elbows are shoulder-width apart and your forearms are flat and parallel on the ground, with palms down facing. Take a deep breath in, exhale, then lift your knees and hips into dolphin pose. Stay for five breaths.
MOVE EIGHT: Child’s Pose Transition (x 2 breaths)
Lower your knees to the floor, release your hips to your heels, and rest your forehead on the ground for two breaths.
MOVE NINE: Sphinx Pose (x 3 breaths)
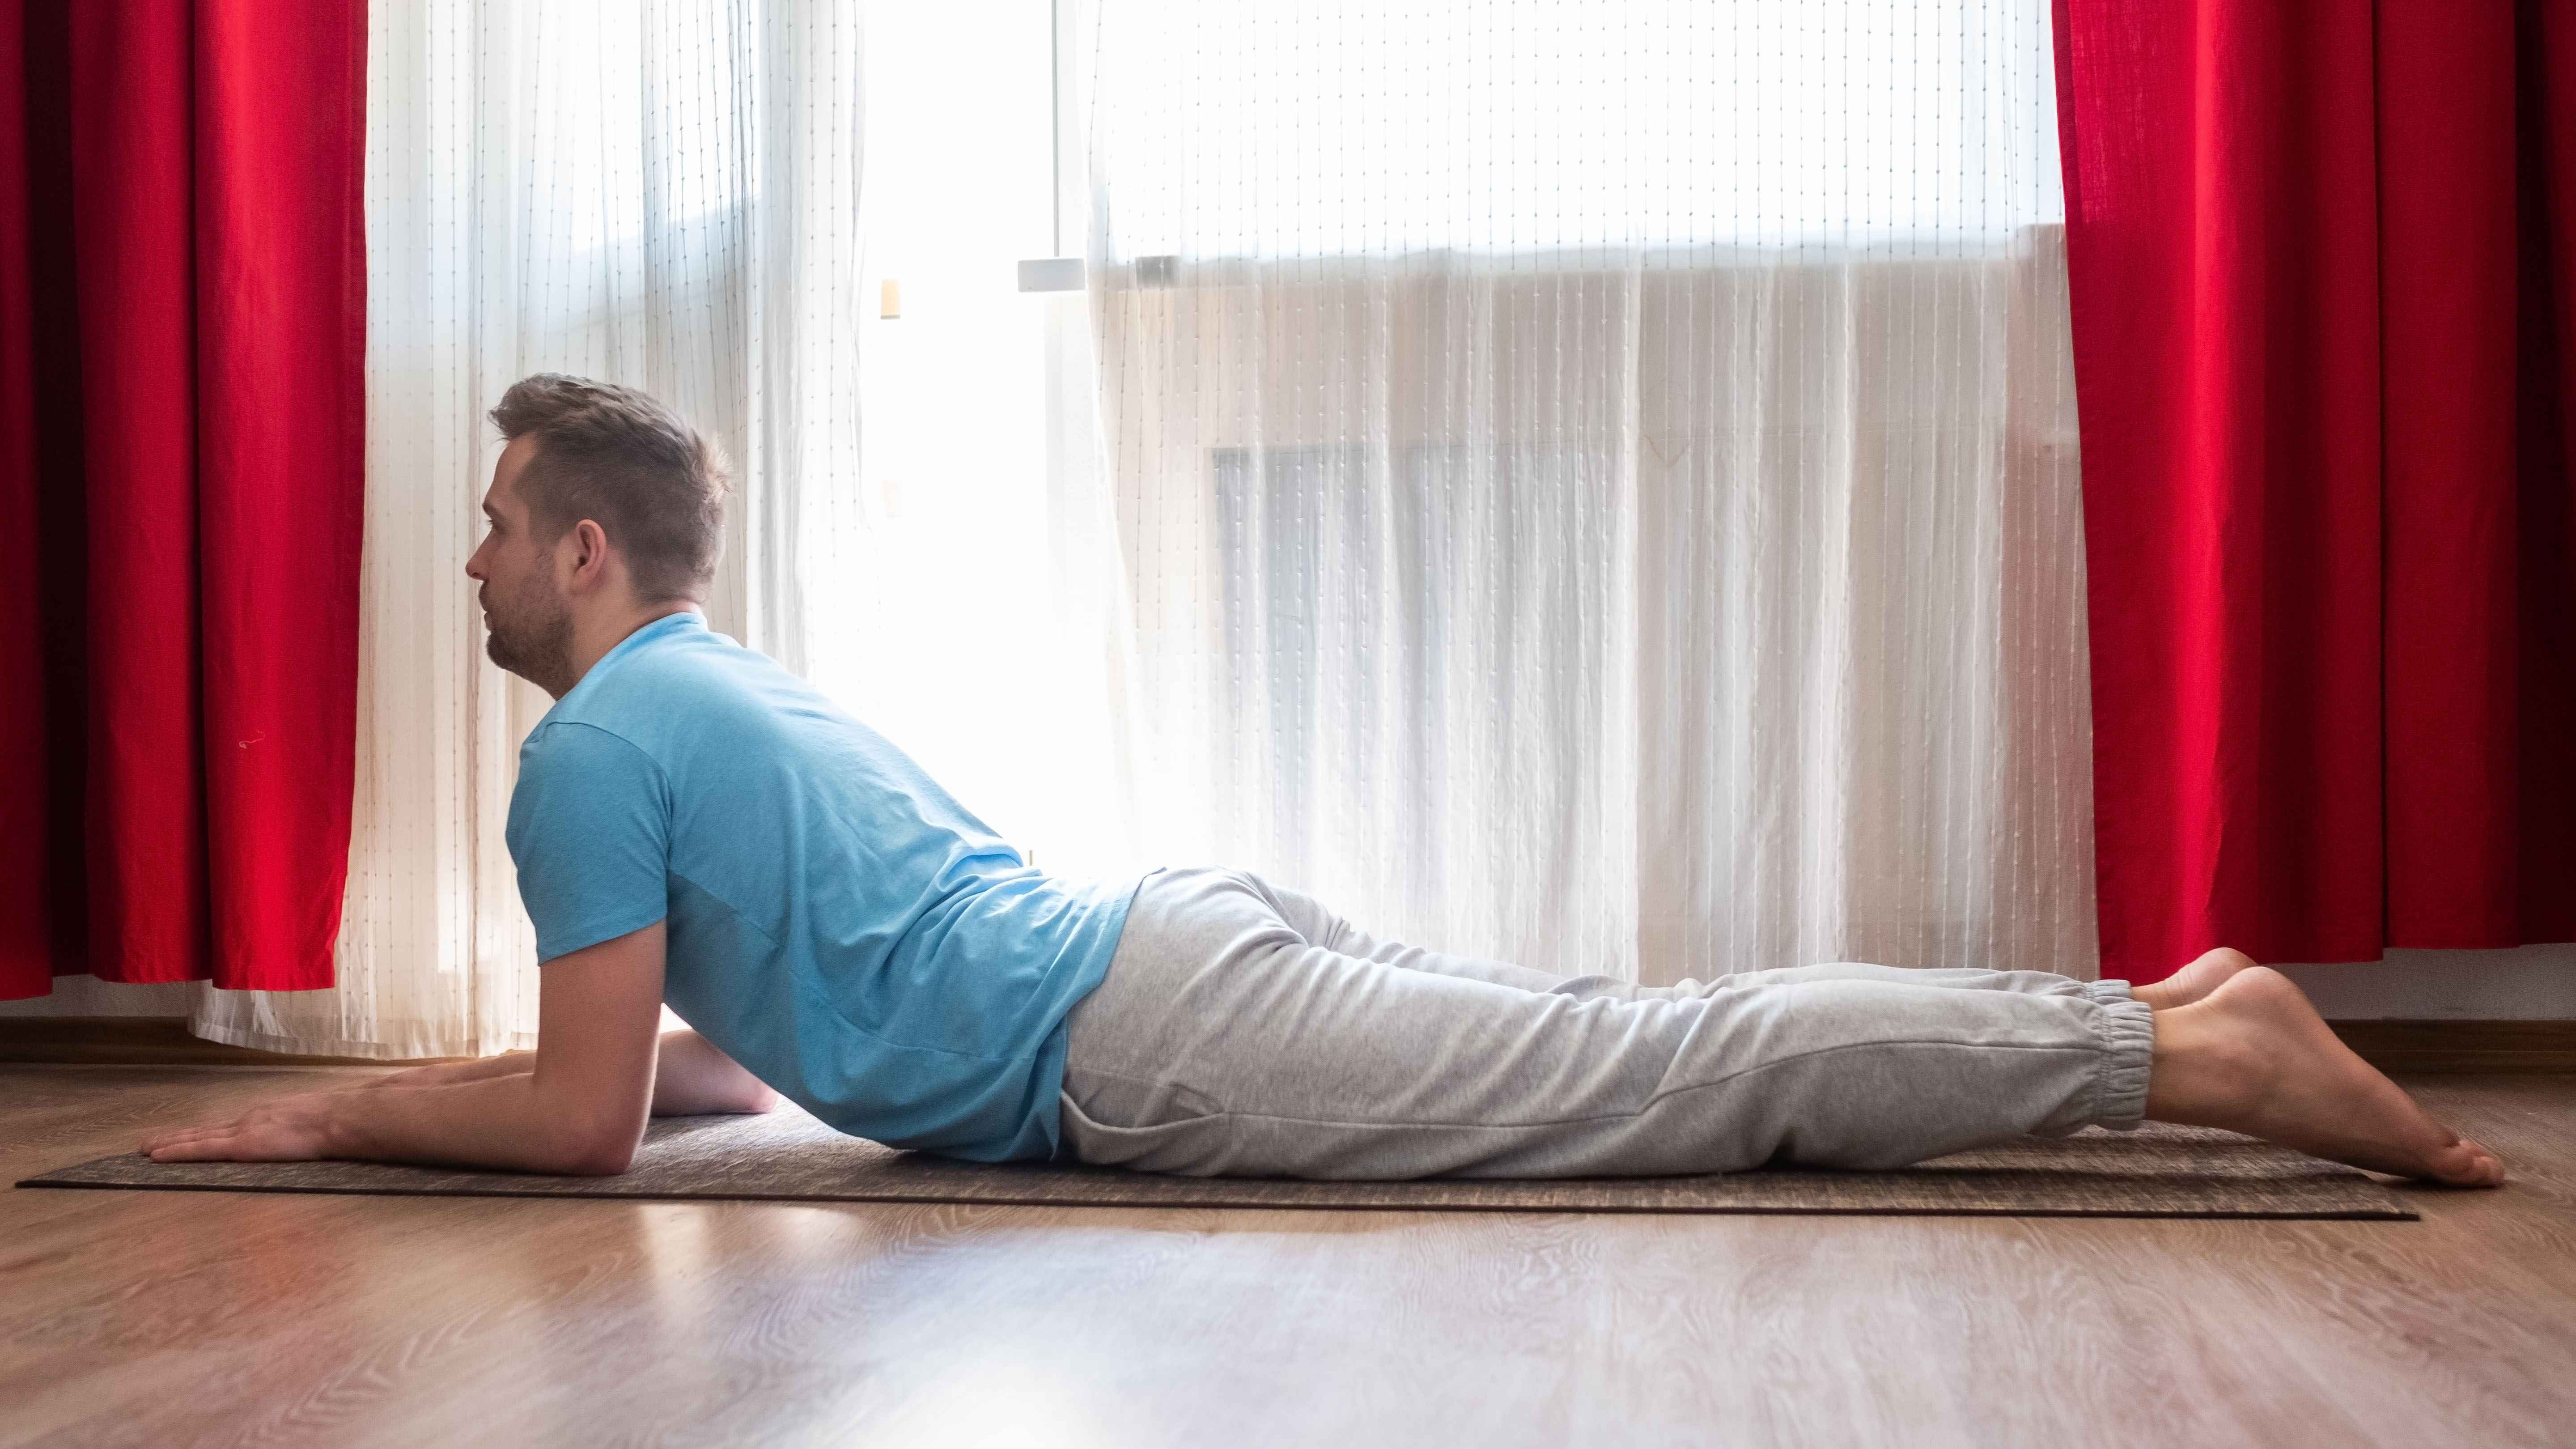
From child’s pose, shift forwards with your chest until your forearms and hands are on the floor. Check that your elbows are underneath your shoulders, upper arms vertical, and forearms parallel with one another, then allow your hips to rest on the floor with your legs hip-width apart for sphinx pose.
With each inhale, reach your chest forwards, and on each exhale, gently draw your lower abdominal muscles towards your spine. Stay for three breaths. On your next exhale, lift your hips and knees into a forearm plank.
MOVE TEN: Forearm Plank (x 5 breaths)
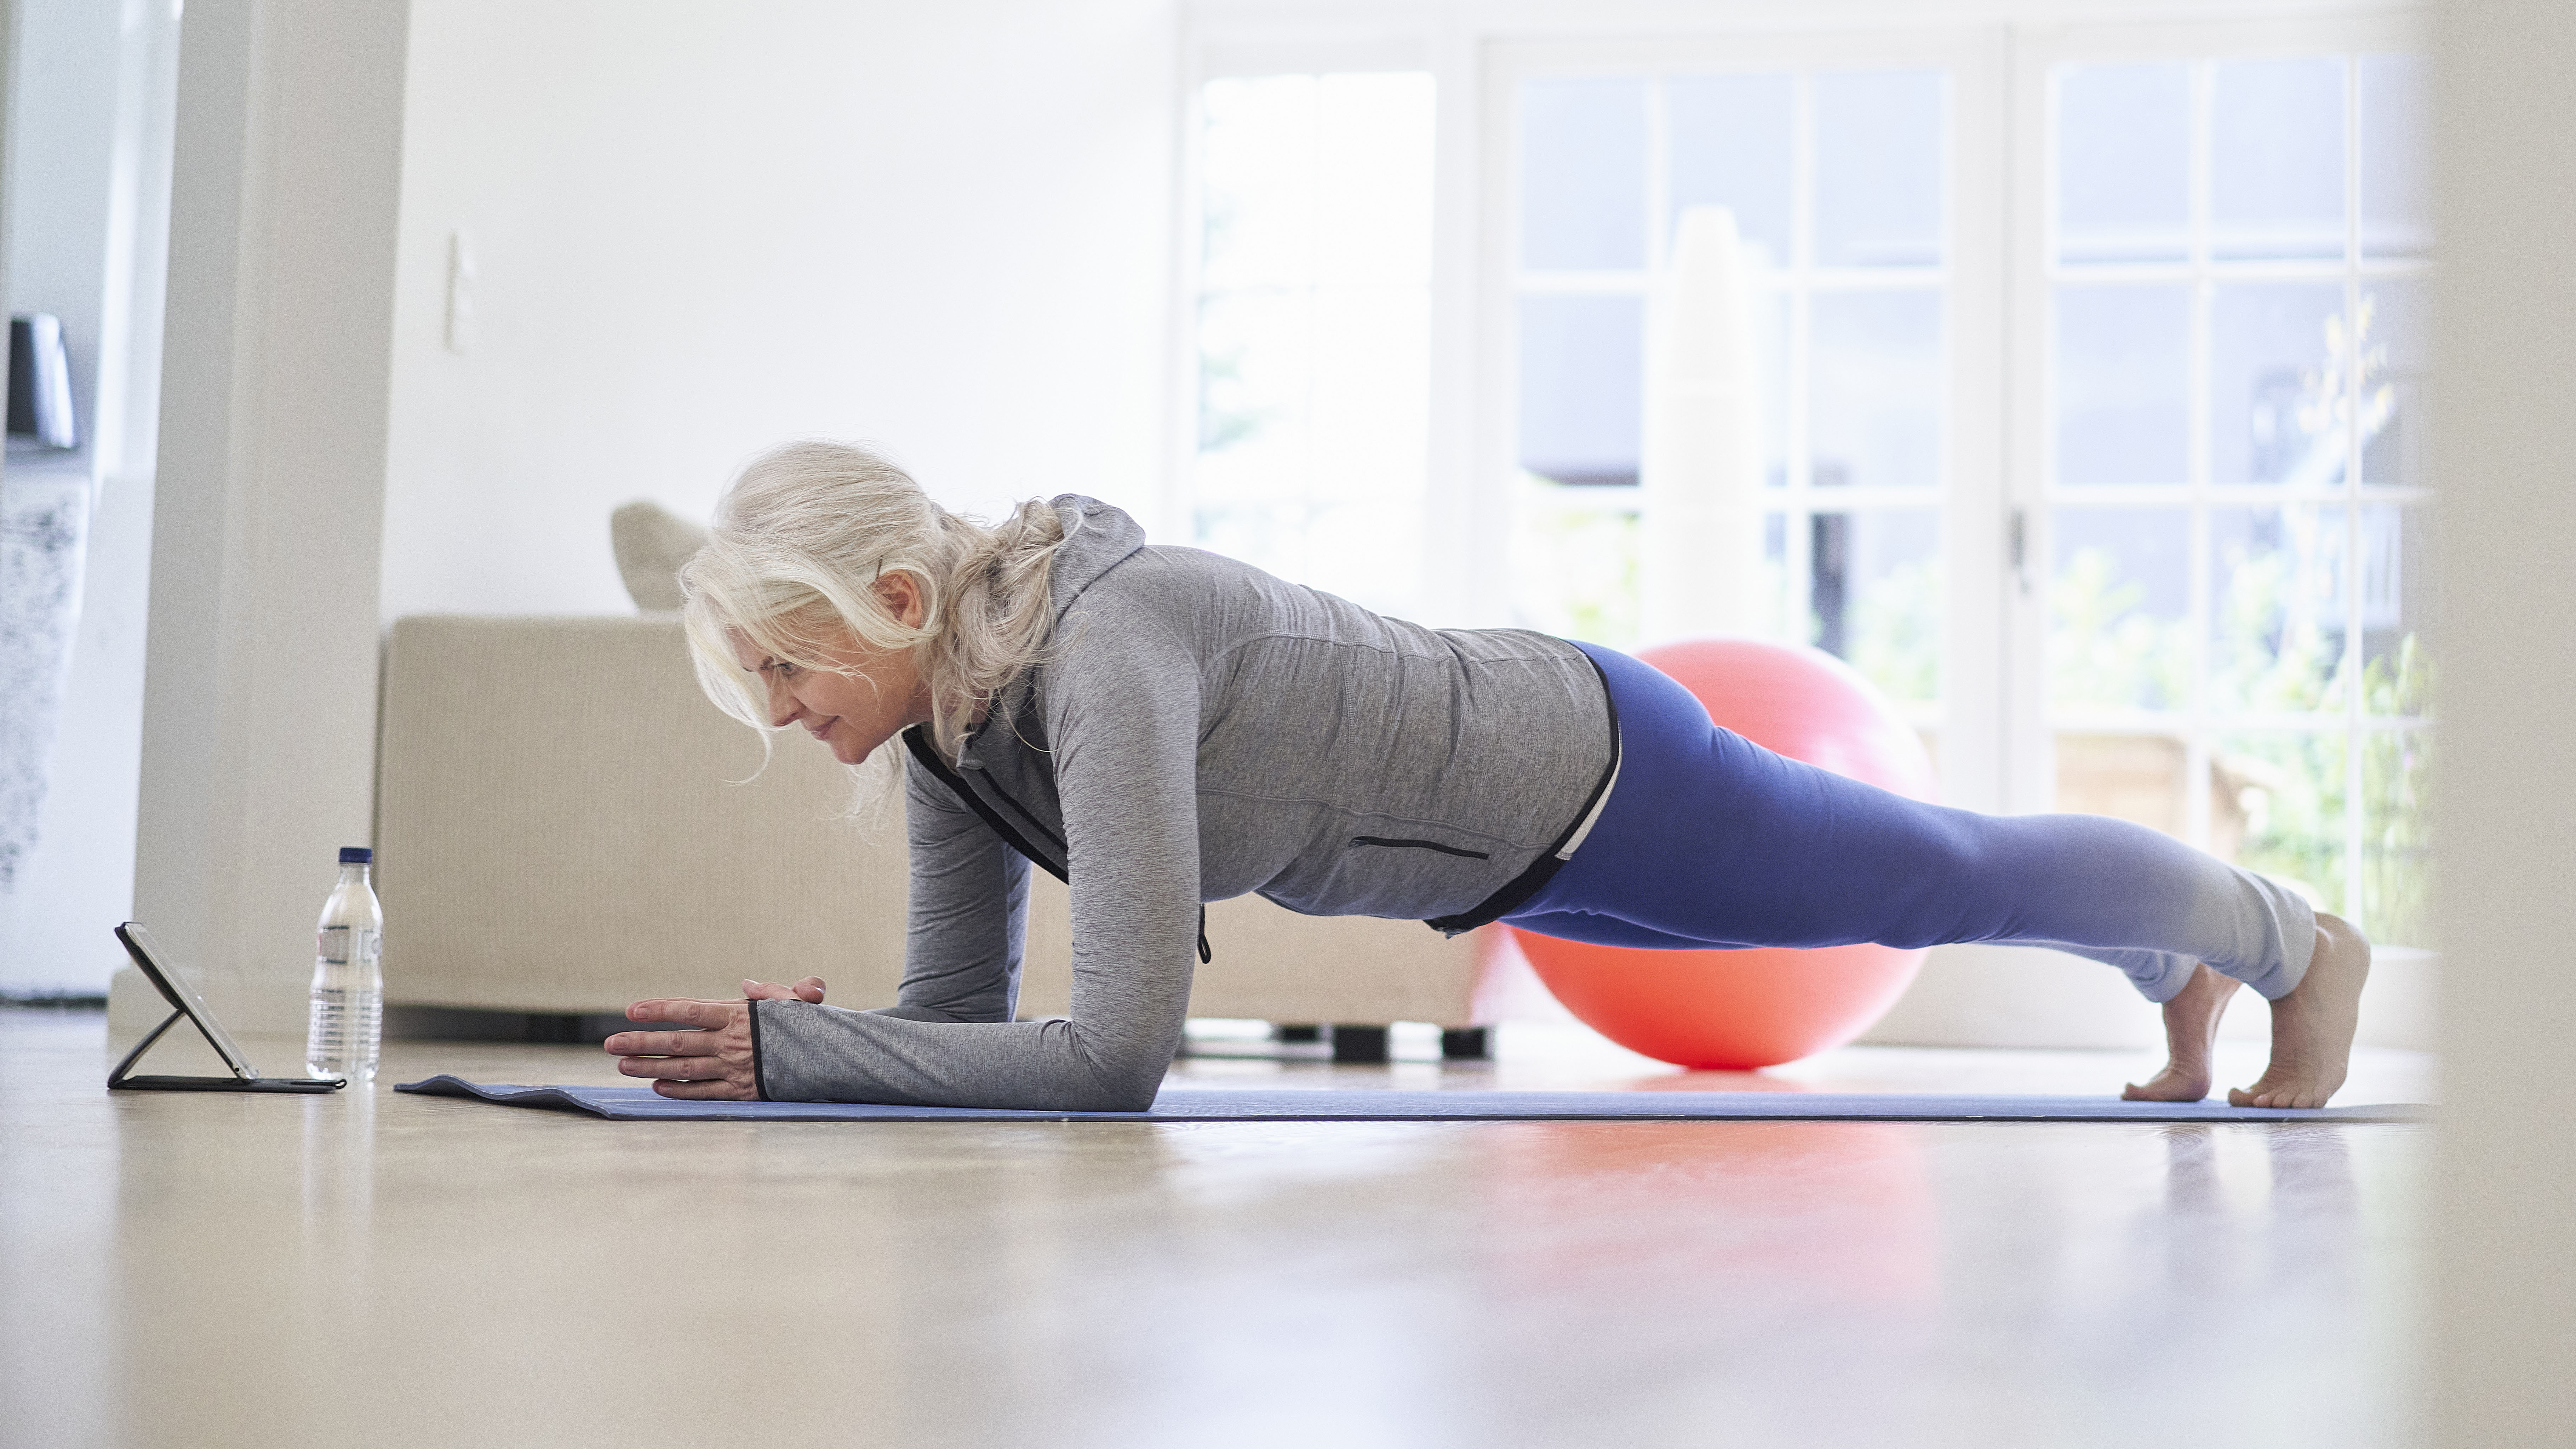
In the forearm plank ensure your shoulders, hips, and heels form one straight line. On each exhale, strongly draw your low abdominal muscles towards your spine to engage your core and protect your lower back. After five breaths, slowly lower your body to the floor and rest for a few breaths.
MOVE 11: Forearm Side-Arm Balance (x 3 breaths each side)
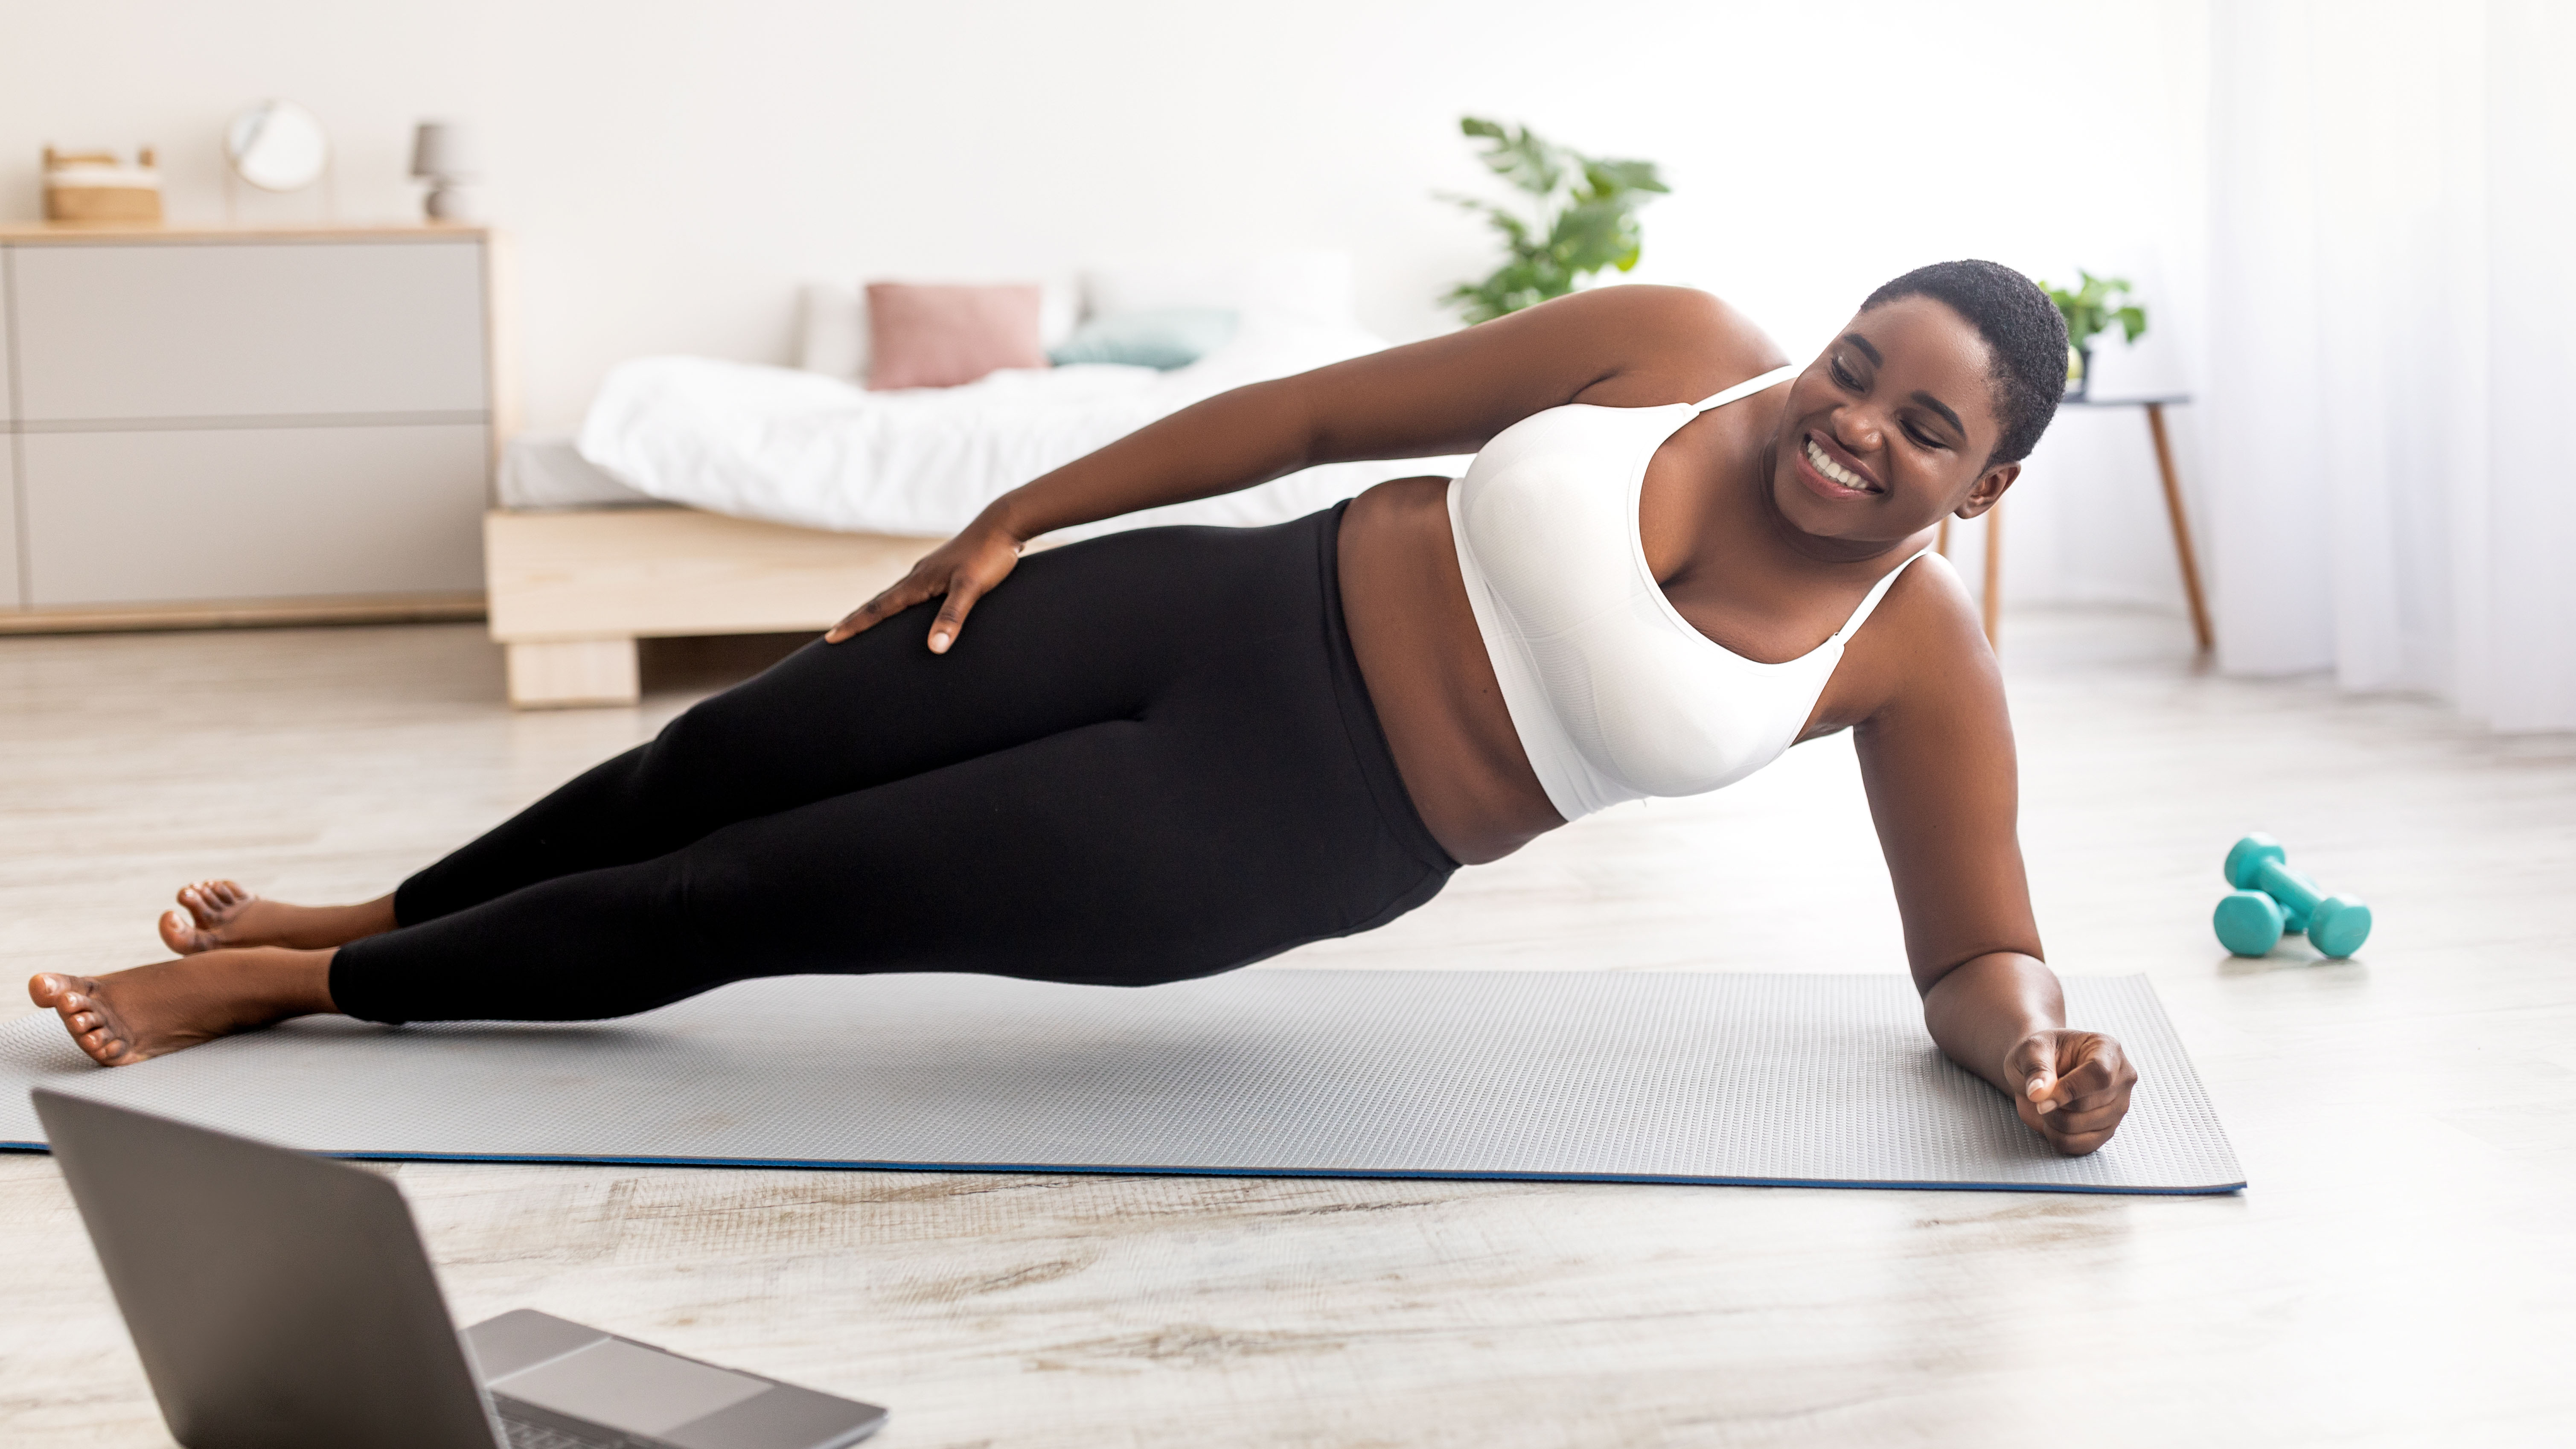
Return to your forearm plank. Pivot your right forearm parallel to the front edge of your mat, then stack your left leg on top of your right, with both ankles flexed and your feet turned towards your left. Lift your left arm to the sky, stacking your left wrist over your left shoulder. Take three breaths.
On each exhale, squeeze your inner legs together and engage your core. After three breaths, return to your forearm plank, then repeat on your right side for three breaths. Return to your forearm plank, then lower your body to the ground.
MOVE 12: Lie on your belly
Make a pillow with your hands, resting on top of one another. Turn your head to the left, resting your right ear on your stacked hands for three breaths. Lift your head, then switch sides for three breaths. Roll onto your back.
MOVE 13: Bridge Pose (x 5 breaths)
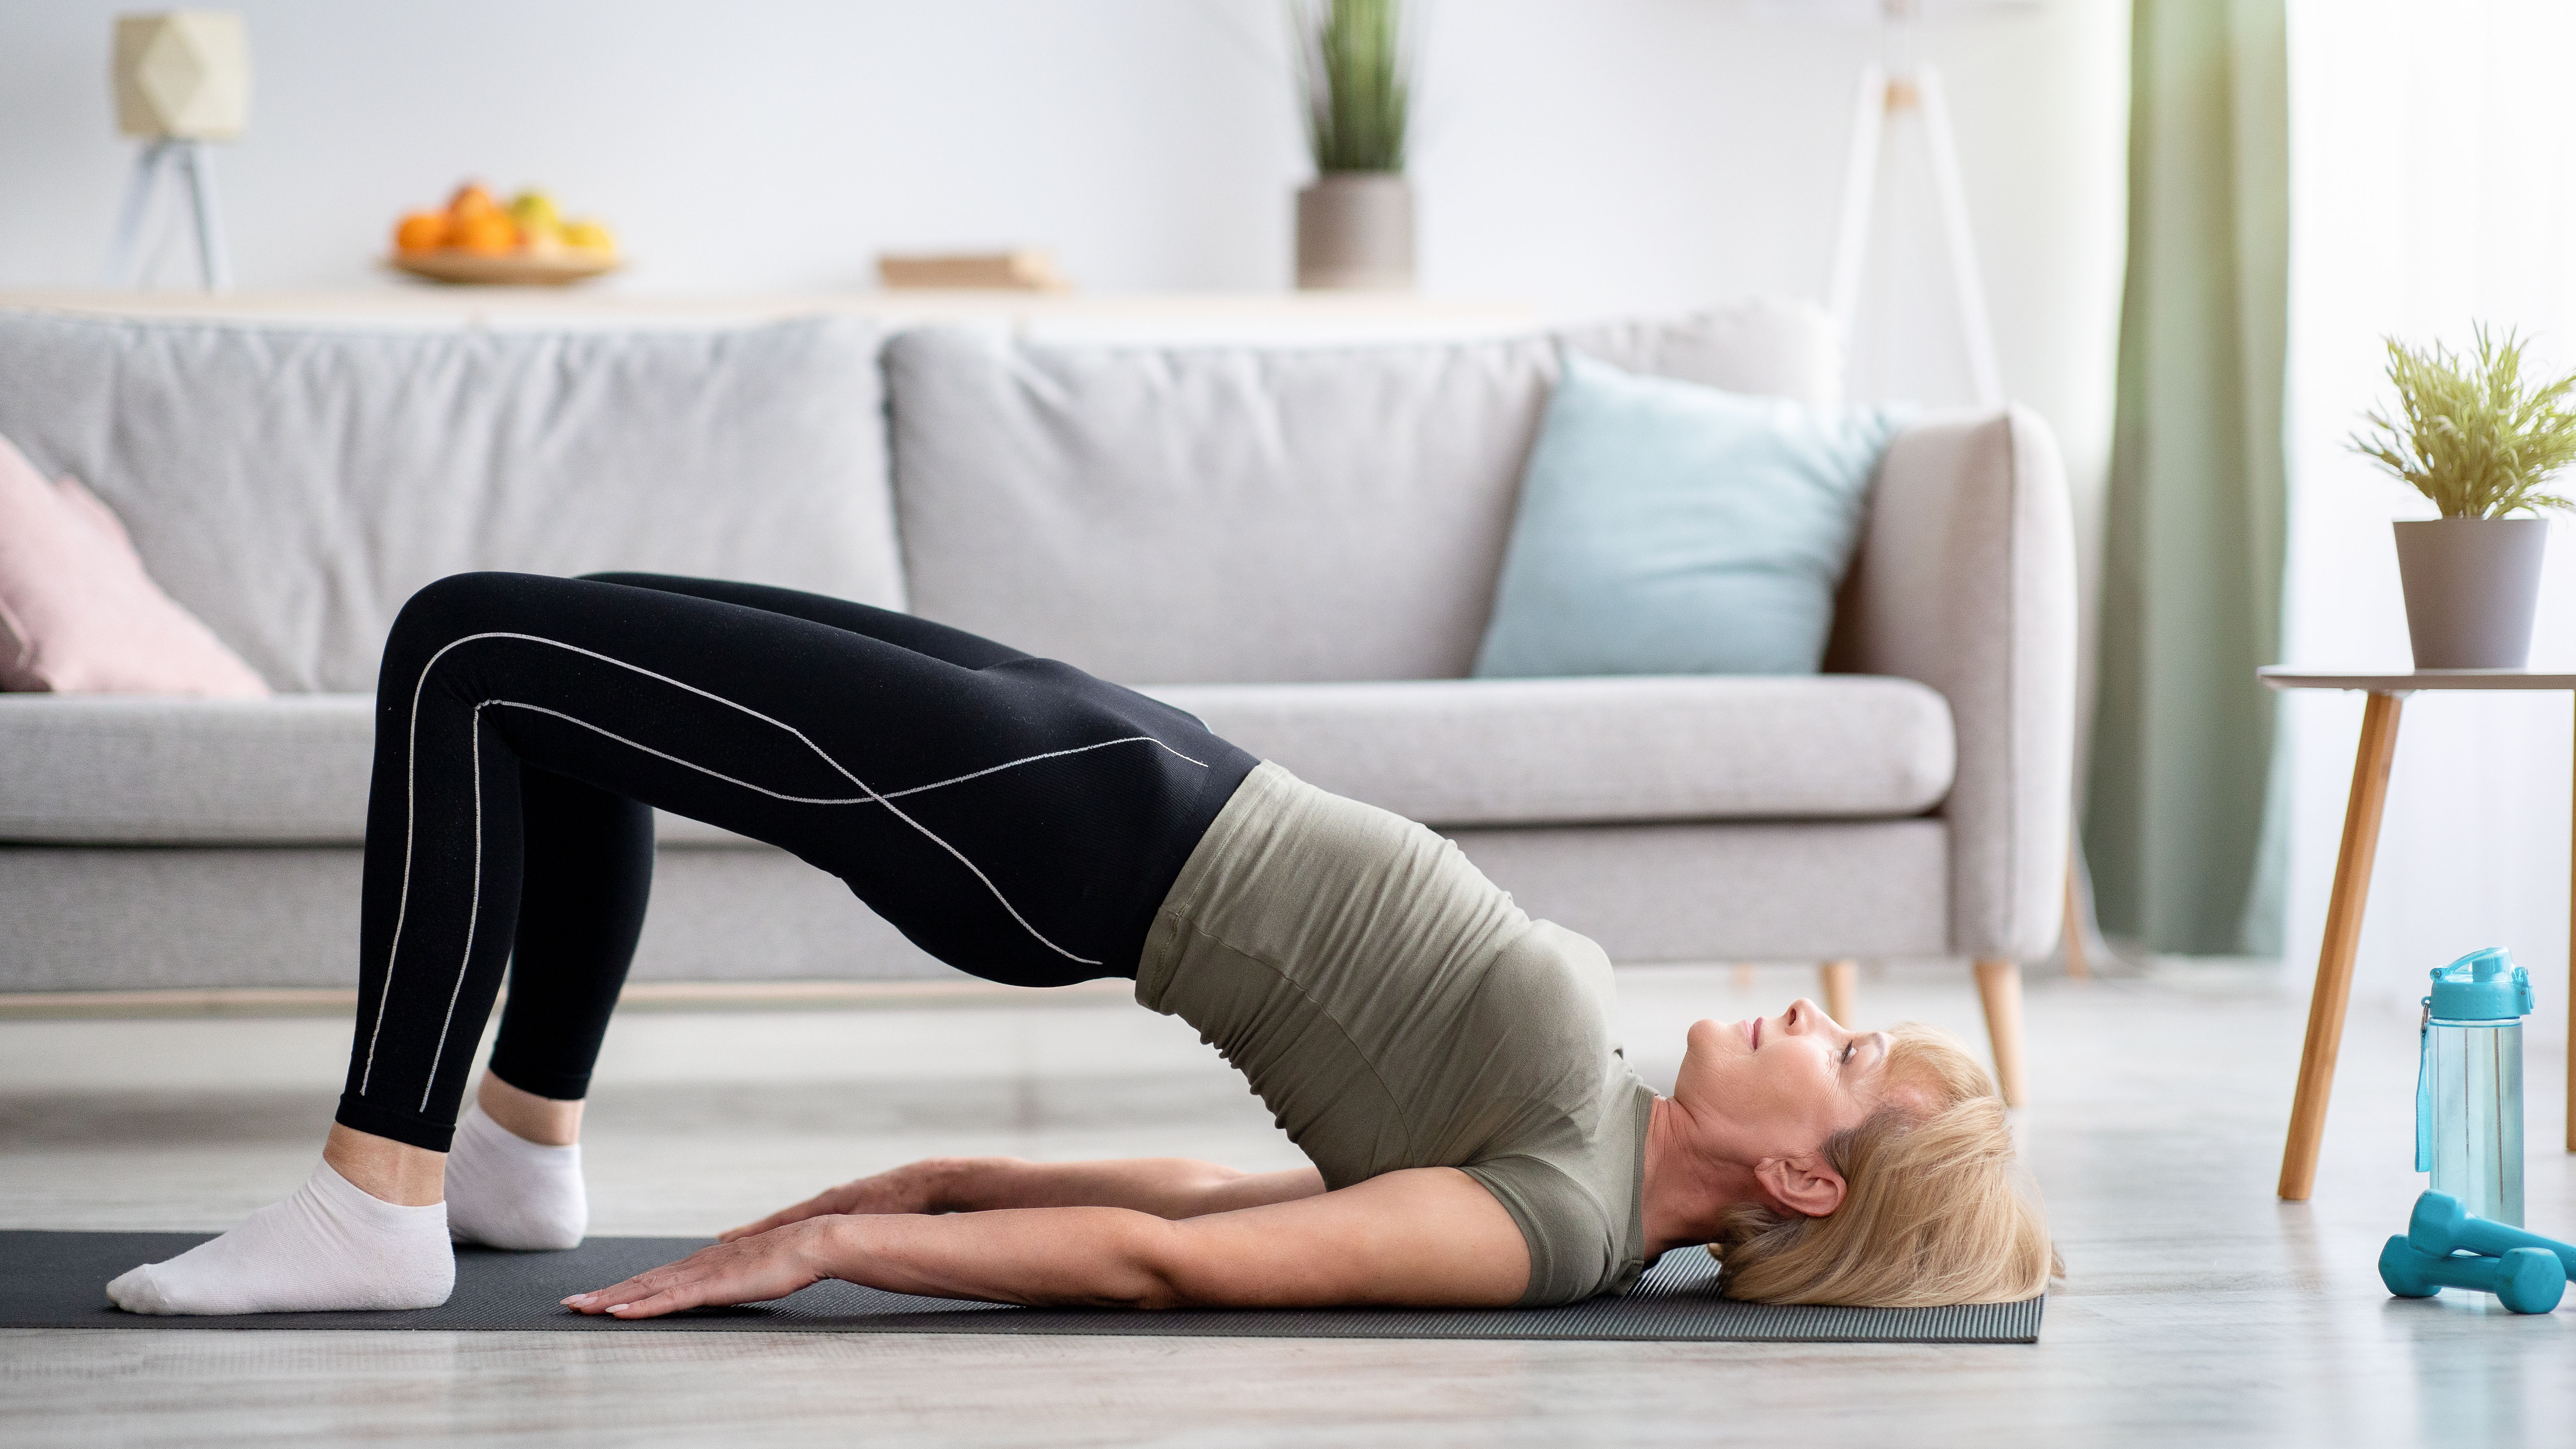
On your back, bend your knees and place your feet underneath your knees, hip-width apart. On an inhale, lift your hips and spine so that just the back of your head, tops of your shoulders, and feet remain on the floor, then interlace your fingers underneath your lower back.
Ensure you maintain a gap between your chin and chest, and as you exhale, press your hips and chest upwards. After five breaths, slowly lower your spine and hips to the floor.
MOVE 14: Spine Twist (x 3 breaths each side)
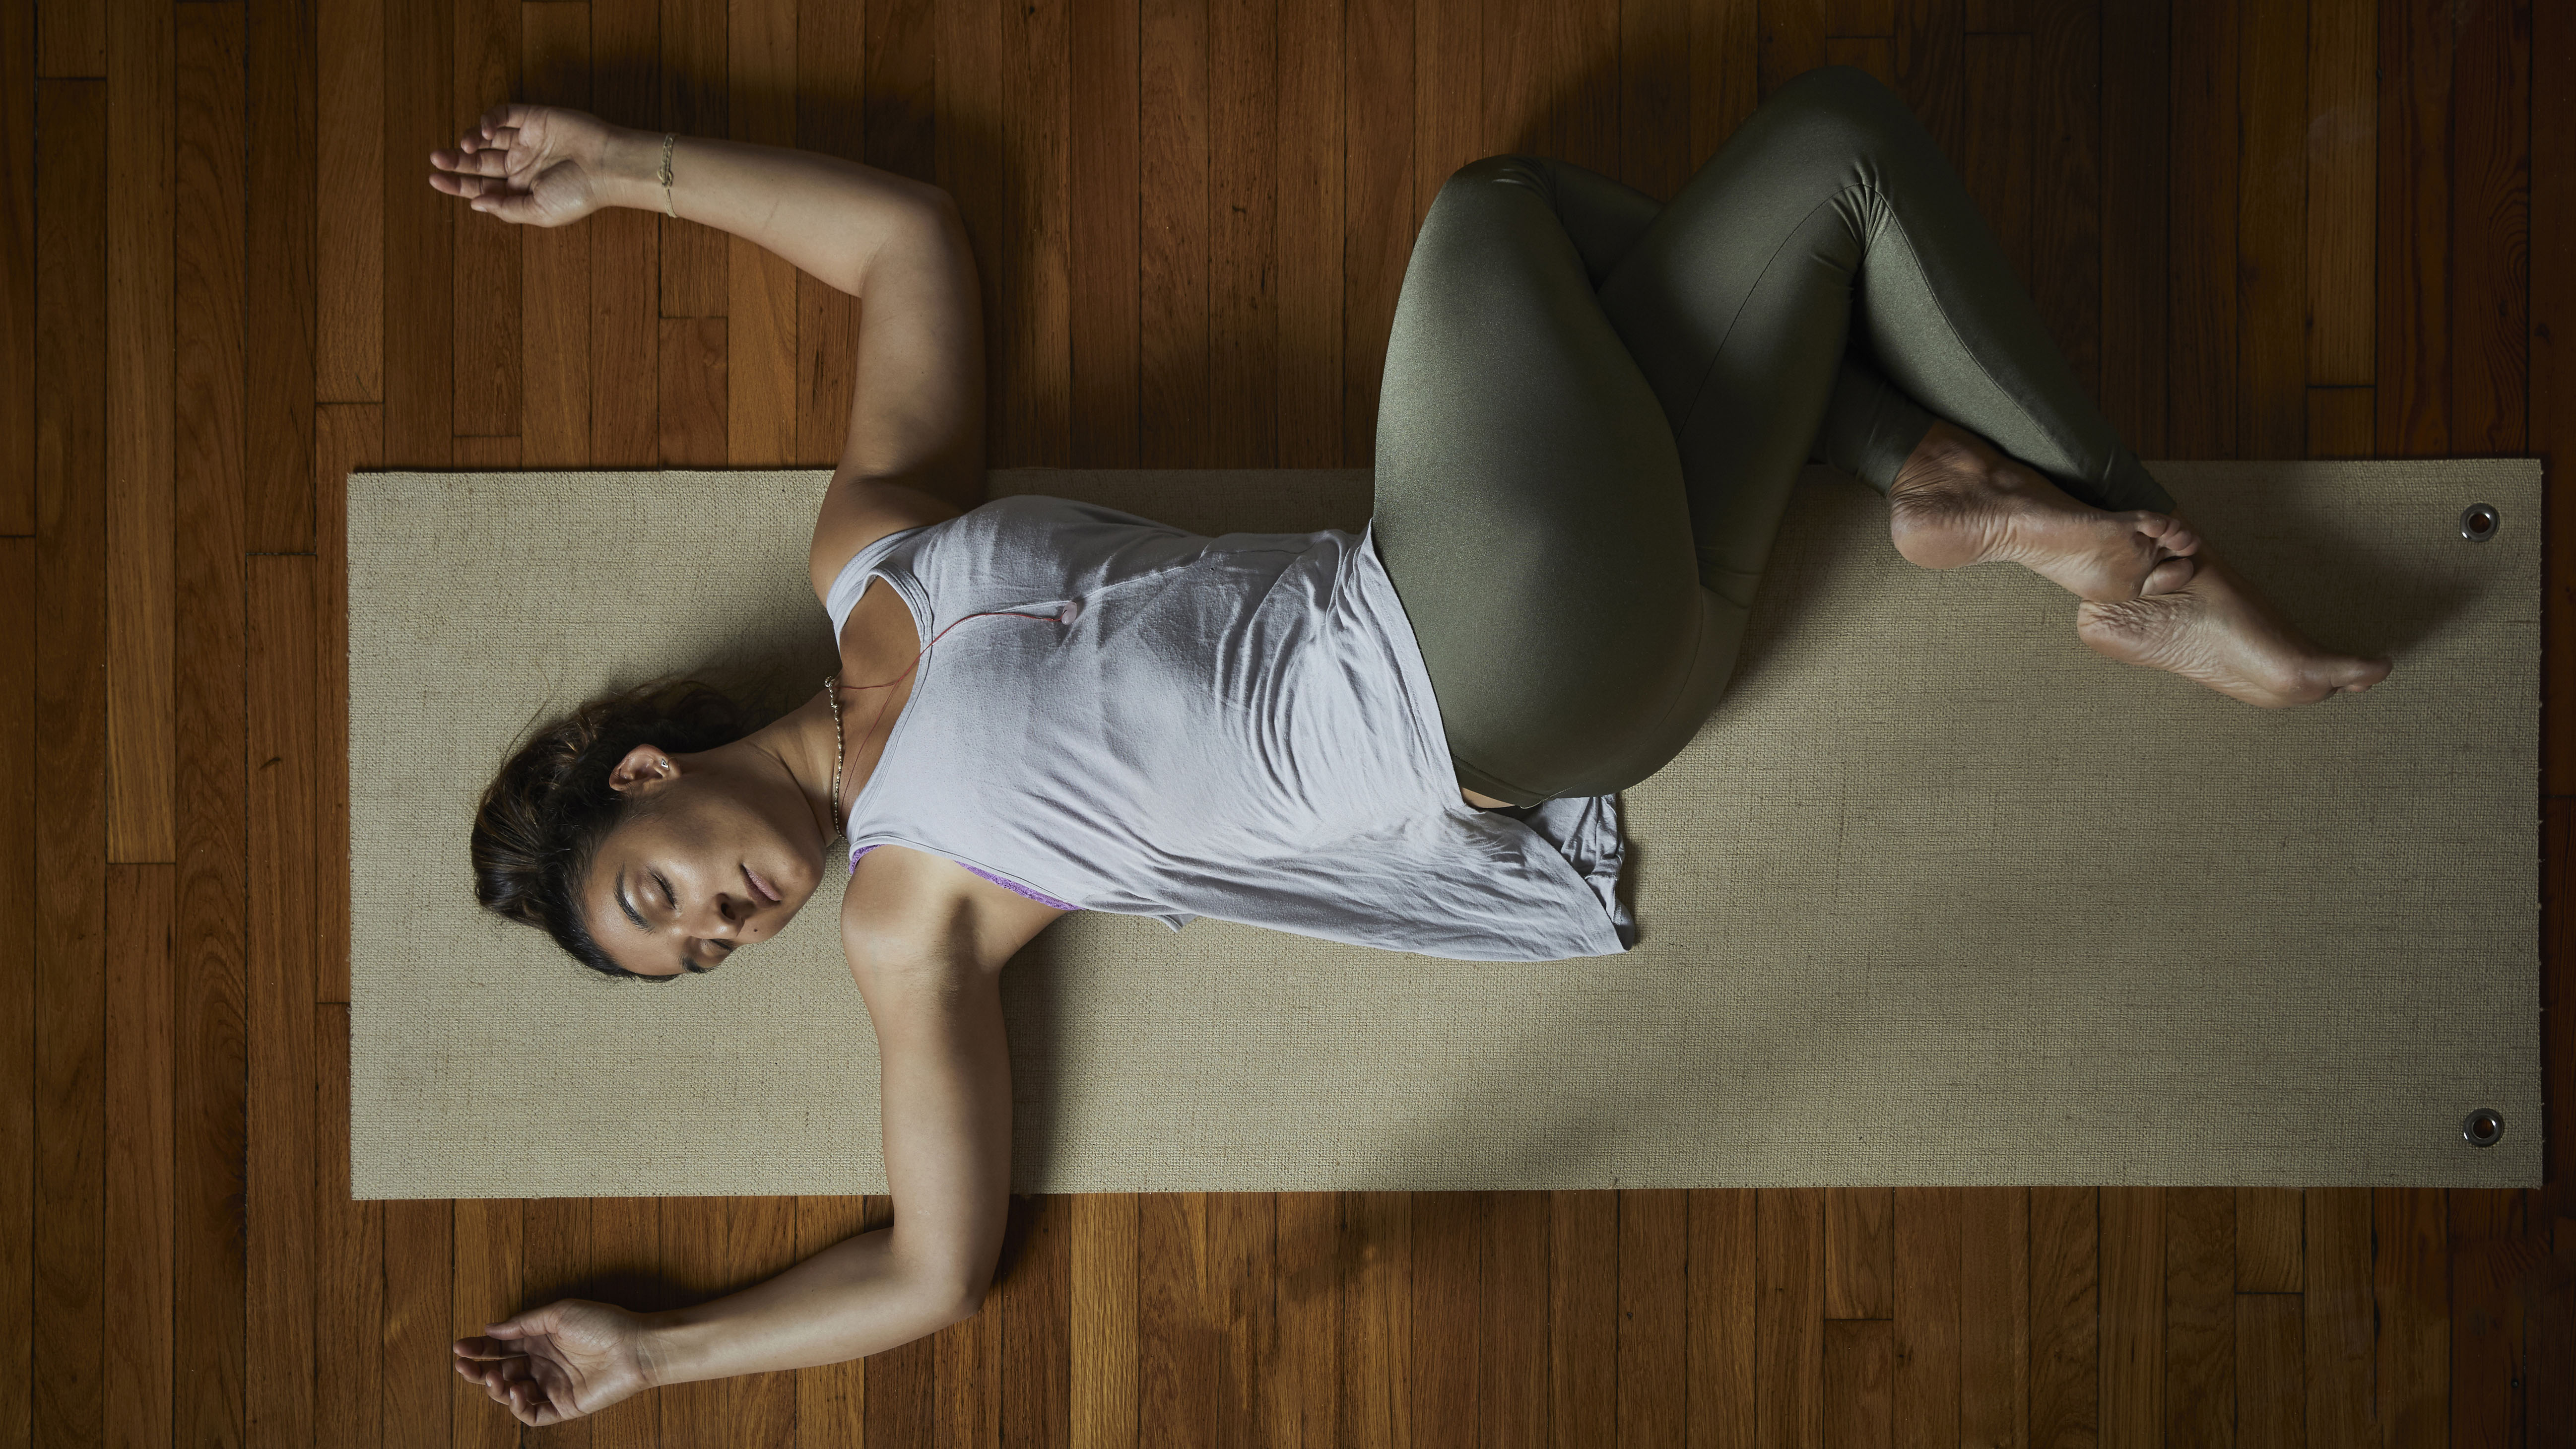
Hug both knees into your chest, then open your arms into a cactus shape with your elbows horizontal to your shoulders and forearms at a 90 degree angle overhead. On an exhale, lower both knees (stacked) to the floor, staying close to your right elbow. Take three slow breaths.
On the next exhale, lift your knees back to center. Inhale, then repeat on your left side as you exhale. Stay for three breaths, then lift your knees back to the center.
Savasana (x 3 minutes)
Slowly extend both legs flat along the floor. Let your feet gently flop to the sides with your palms facing up and arms slightly away from the body. Let go of all effort and breathe naturally, allowing yourself three minutes to rest in the pose savasana.

Sam Hopes is a level III fitness trainer, level II reiki practitioner, and resident fitness writer at Future PLC, the publisher of Fit&Well. Having trained to work with both the mind and body, Sam is a big advocate of using mindfulness techniques in sport and aims to bring mental wellbeing to the forefront of fitness. She’s also passionate about the fundamentals of training and how we can build more sustainable training methods. You’ll find her writing about the importance of habit-building, nutrition, sleep, recovery, and workouts.