The shoulder joint is the most complicated joint in the human body, which is why yoga for shoulder mobility can be so beneficial. Whether you spend a lot of time hunched over your desk, lifting heavy objects or carrying young children around, it’s easy for the shoulder muscles to become tense and tight.
While the shoulder joint can perform a wide variety of movements, it’s not unusual for us to get locked into a certain position throughout the day. It’s important that we give our shoulders the opportunity to regularly engage in a range of different movements to prevent them from becoming stiff. When we use yoga for mobility we are also hand-in-hand looking to strengthen the muscles that surround the joint to reduce the chance of injury.
Therefore, this yoga sequence will focus on mimicking the movements the shoulder is capable of, as well as strengthening the arm and shoulder muscles. It’s best to practise these postures on one of the best yoga mats to ensure your knees and joints have plenty of padding.
If you enjoy the below yoga flow and would like other tips on how you can improve your practice, we recommend you take at our hip mobility yoga flow, which is designed to increase flexibility in another area of the body that, like the shoulders, is prone to tightness, aches and pains. And if you do suffer with joint pain, this wrist-free yoga flow will allow you to take advantage of the benefits of yoga without the discomfort.
Twising the arms
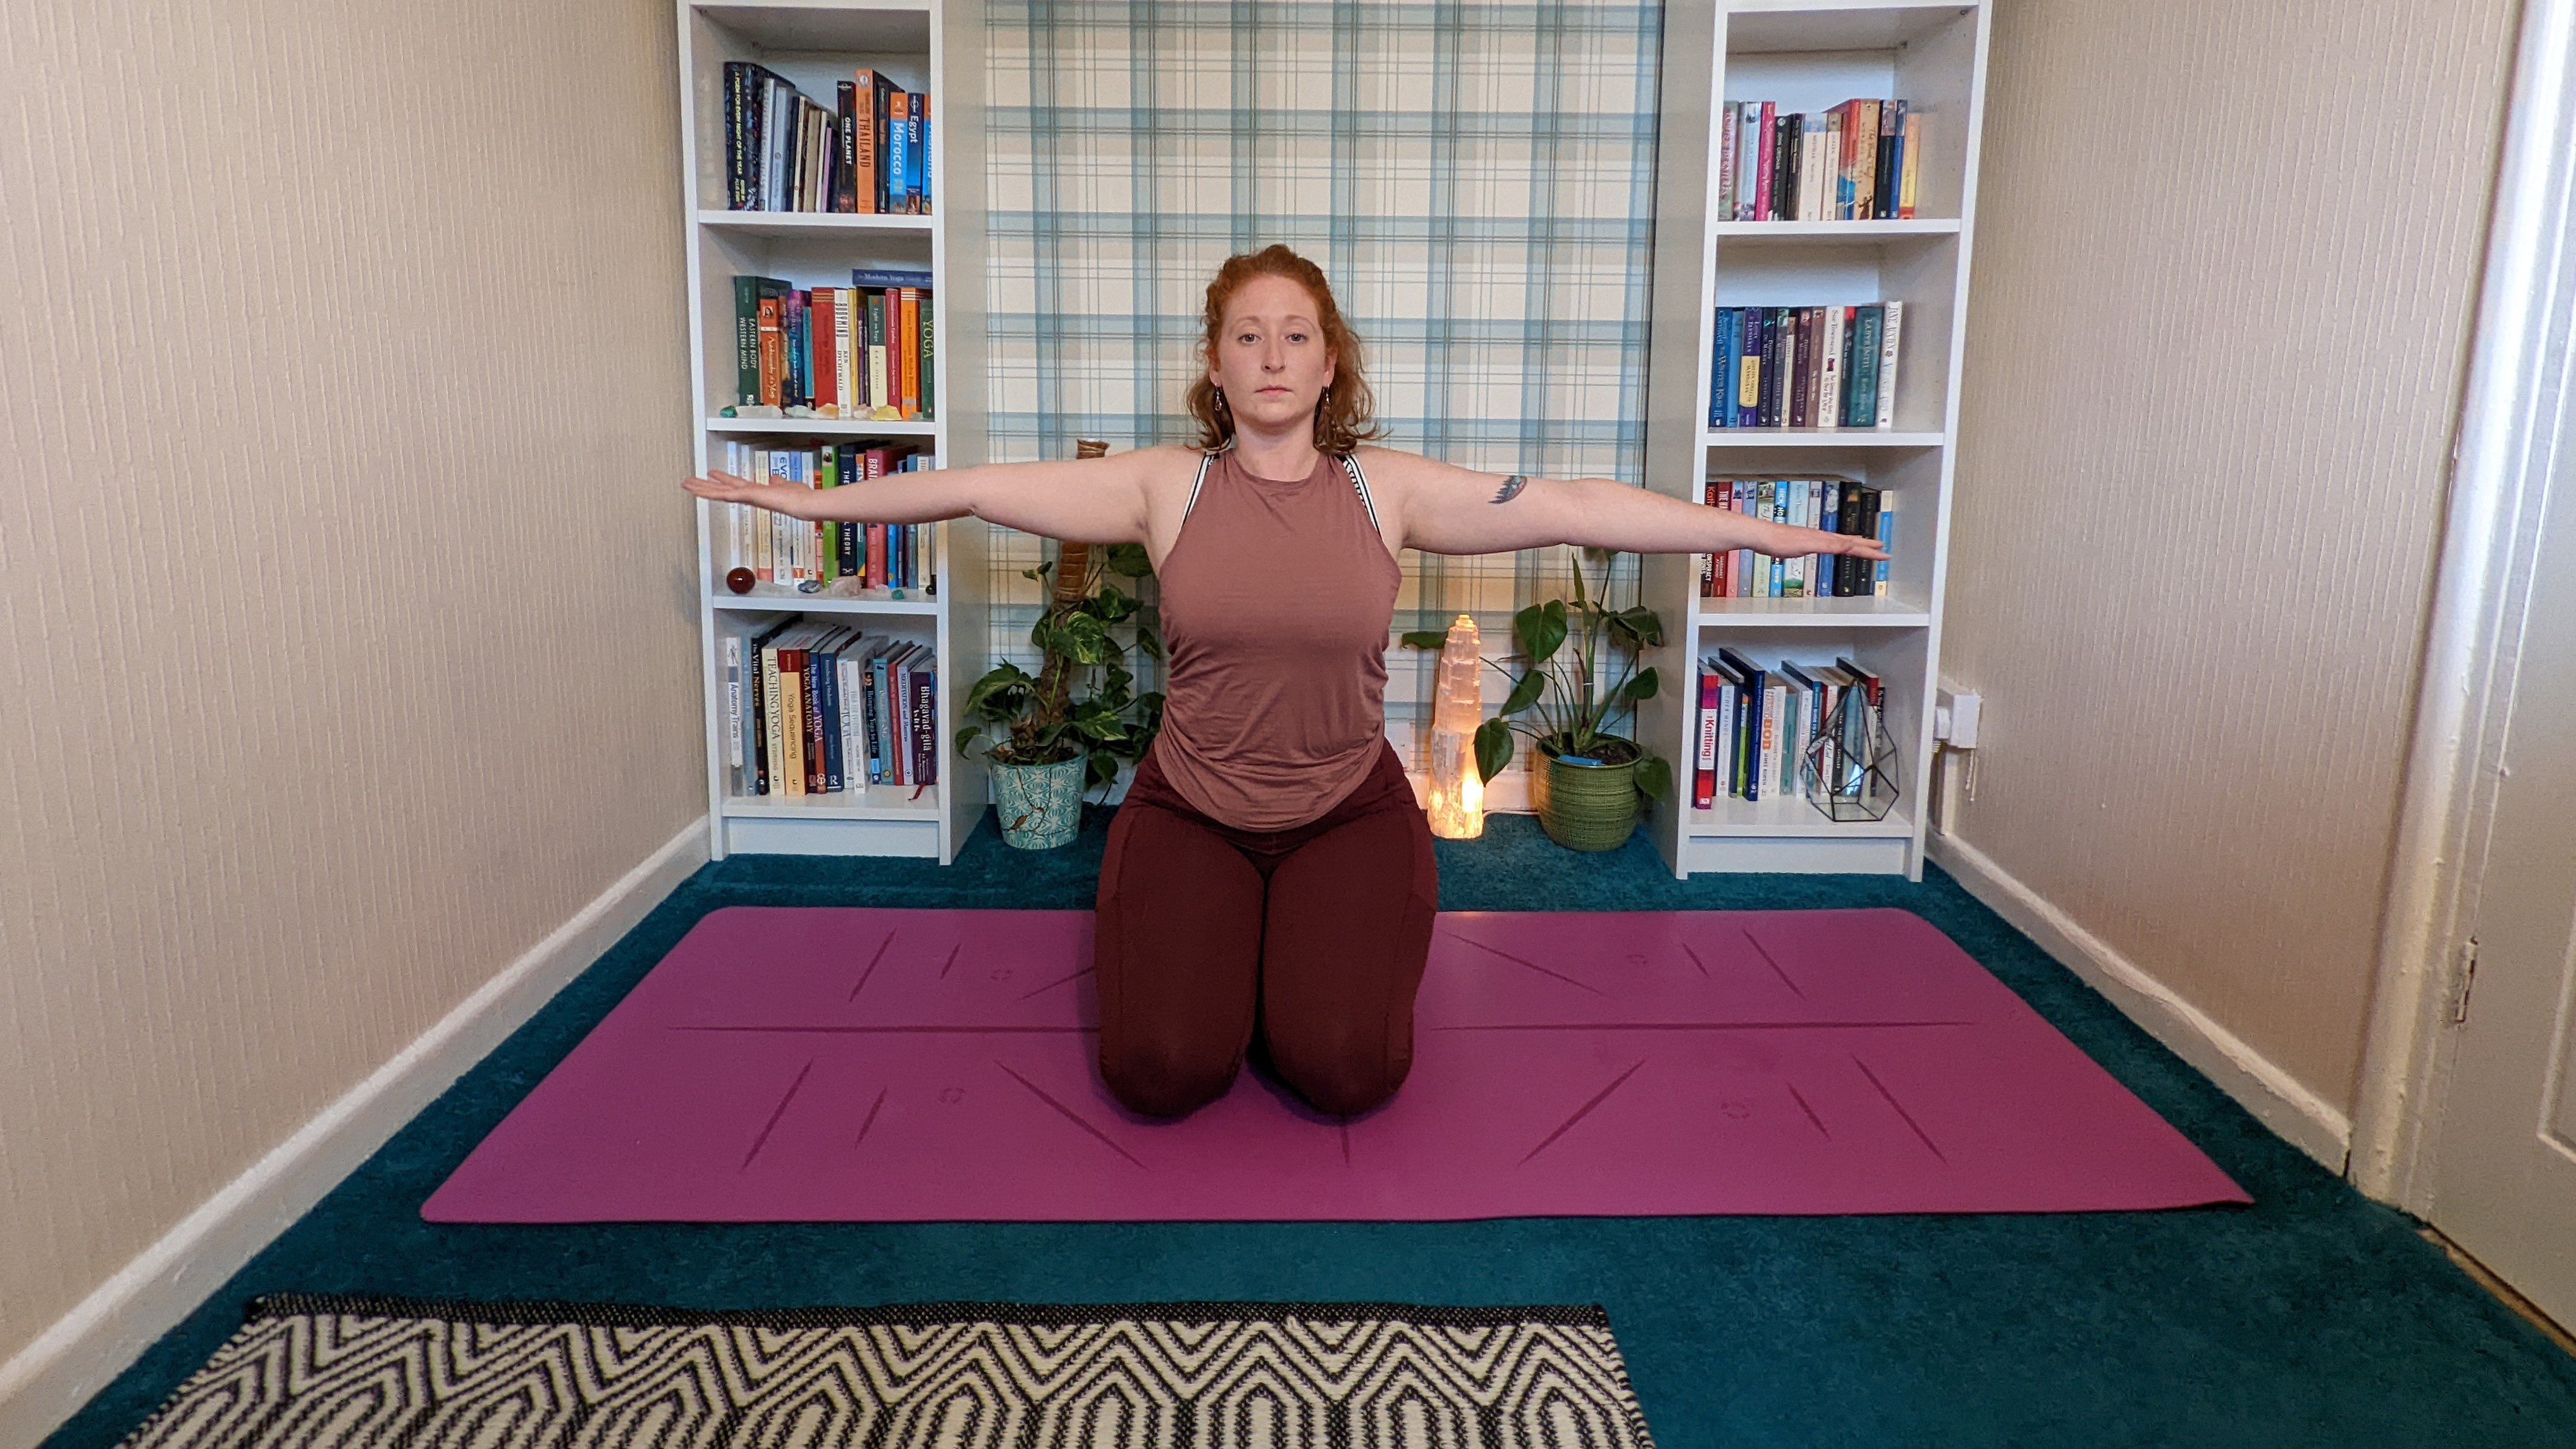
Step 1: In either a seated or standing position, bring your arms parallel to the floor at shoulder height.
Step 2: Turn your right palm up and your left palm down.
Step 3: Steady your breath and then begin to turn your left palm up as you bring your right palm down. Make a twisting motion through the arms.
Start your week with achievable workout ideas, health tips and wellbeing advice in your inbox.
Step 4: Feel your shoulder blades slide up and down with this movement.
Step 5: Continue for a minute before resting the arms.
We’re using this exercise as a warm up. Focus on the sliding movement of your shoulder blades. This movement frees up your shoulders and oils the joint as well as massaging the muscles of the shoulders. It also helps loosen the connective tissues.
Shoulder blade movements

Step 1: Come to an all fours position, stacking your shoulders over your wrists and hips over your knees. Keep your pelvis locked so it doesn’t tilt or move and keep your core engaged.
Step 2: Taking long, deep breaths move your shoulders towards your ears and then away from your ears, keeping your elbows straight. Do this for 10 rounds. Your shoulders moving up and away from your ears is one round.
Step 3: Next, move your chest towards the floor, squeezing the shoulder blades towards each other, and then away from the floor, spreading your shoulder blades apart. Keep your elbows straight as you do this. You’re trying to hollow your upper back and then hollow your chest. Do this for 10 rounds. Your shoulders moving to and away from the floor is one round.
These shoulder blade movements are wonderful for mobility. They help to warm up the shoulder joint and loosen all of the muscles around the shoulders. It’s a great test to find out what movement you already have in your shoulders. As you’ll notice when you do these movements, you can feel your muscles working and because of this, it helps to build strength in the shoulders.
Thread the needle
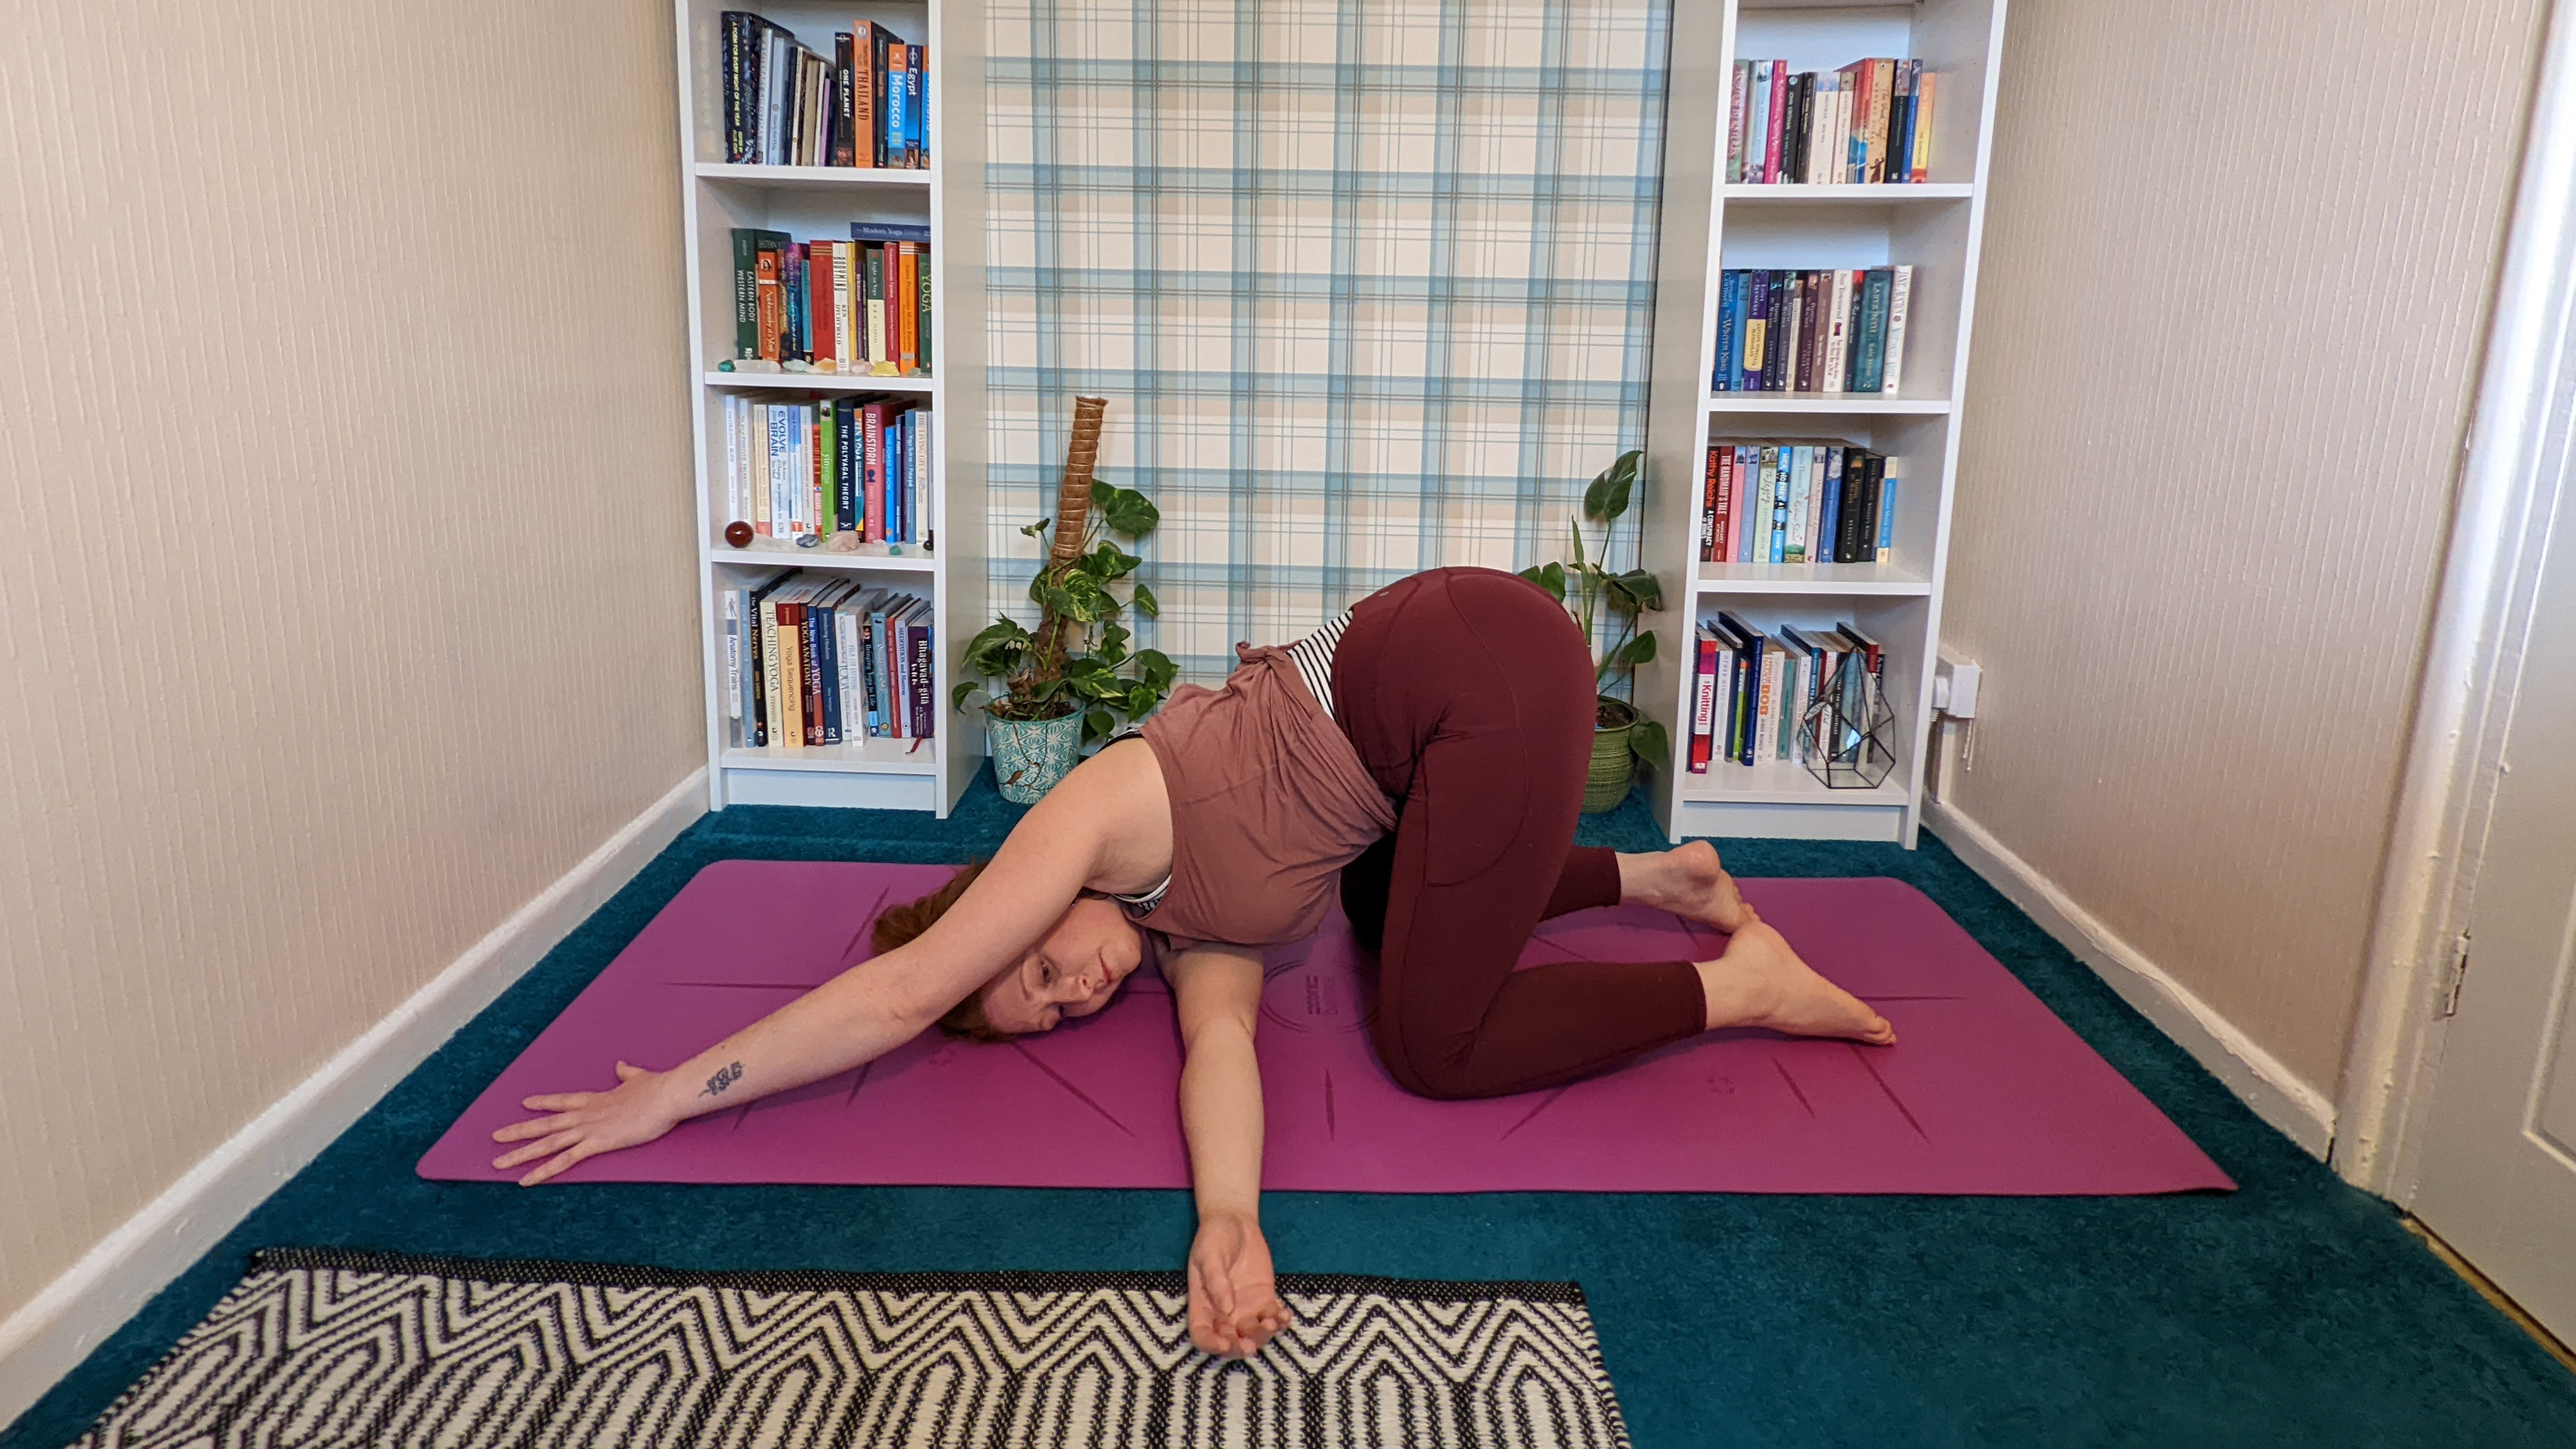
Step 1: From your all fours position, walk your right hand forward keeping your elbow straight.
Step 2: Slide your left arm underneath your right arm, turning the left palm up as you do so.
Step 3: Rest the left side of your head and face onto the floor, making sure your neck is comfortable. If you experience any discomfort in your neck, consider placing your head or shoulder onto a cushion or folded blanket.
Step 4: Once you’re in this position, you can either keep your right arm straight or bring your hand next to your head, with the elbow bent. Bending the elbow deepens the posture.
Step 5: To come out of the posture, bring your right hand next to your head and press into it. As you do this, slide your left arm back to the center and press yourself up onto all fours.
Step 6: Repeat on the other side. This time, walk your left hand forward and slide your right arm underneath the left.
Thread the needle is ideal for releasing the muscles around the shoulders, upper back and neck. It’s a gentle posture designed to ease the shoulders open slowly.
Half cow face arms
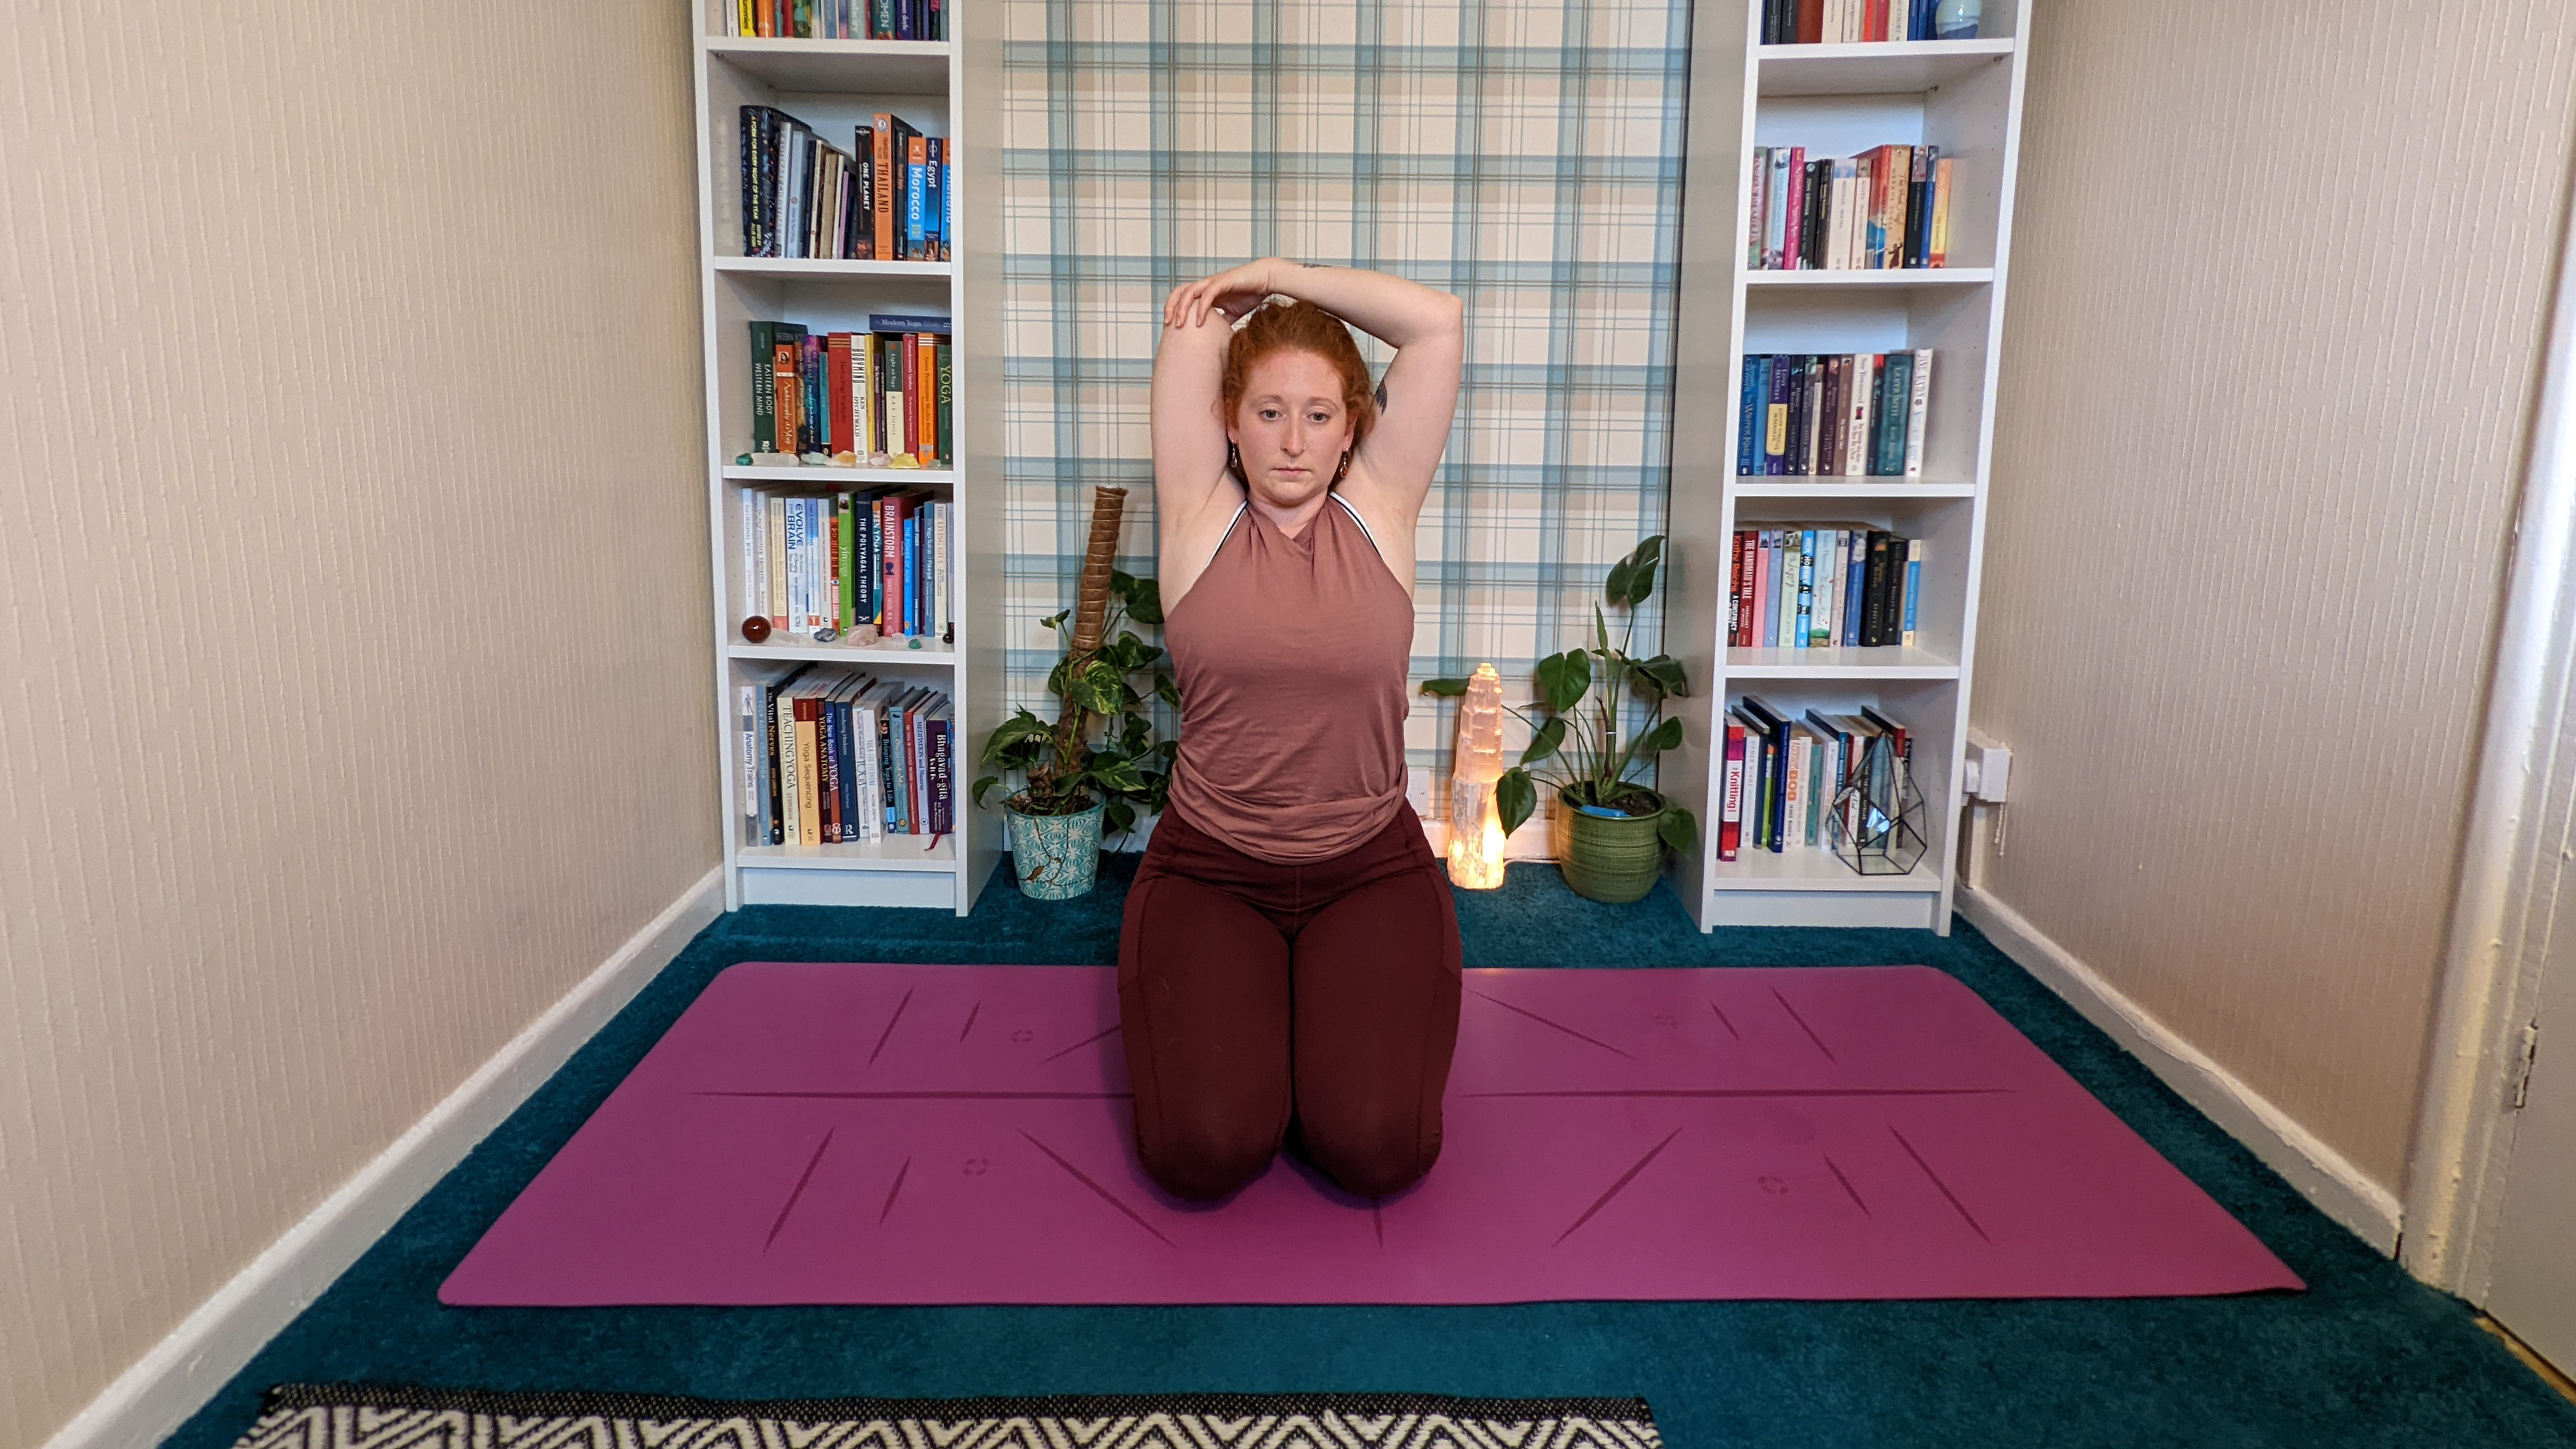
Step 1: You can do this posture seated or standing. Inhale and lift your right arm up to the ceiling, palm facing forward. As you exhale, turn your palm backwards, bend the elbow and place your right hand between your shoulder blades, palm onto the back.
Step 2: Bring your left hand to sit onto your right elbow, gently guiding your right elbow up and back.
Step 3: Don’t force this action. It’s OK to have your left hand resting on the right upper arm instead.
Step 4: Keep the crown of your head lifting to the ceiling, trying not to collapse the head forwards.
Step 5: Take 5 deep breaths here before bringing the arms down. Repeat, this time lifting your left arm up.
This posture stretches the muscles around the shoulders and upper arms (specifically the triceps). You have external rotation of the shoulder in this shape which is a healthy movement for us to be able to do and maintain. It also has a massaging effect on the muscles around the shoulder.
Eagle arms
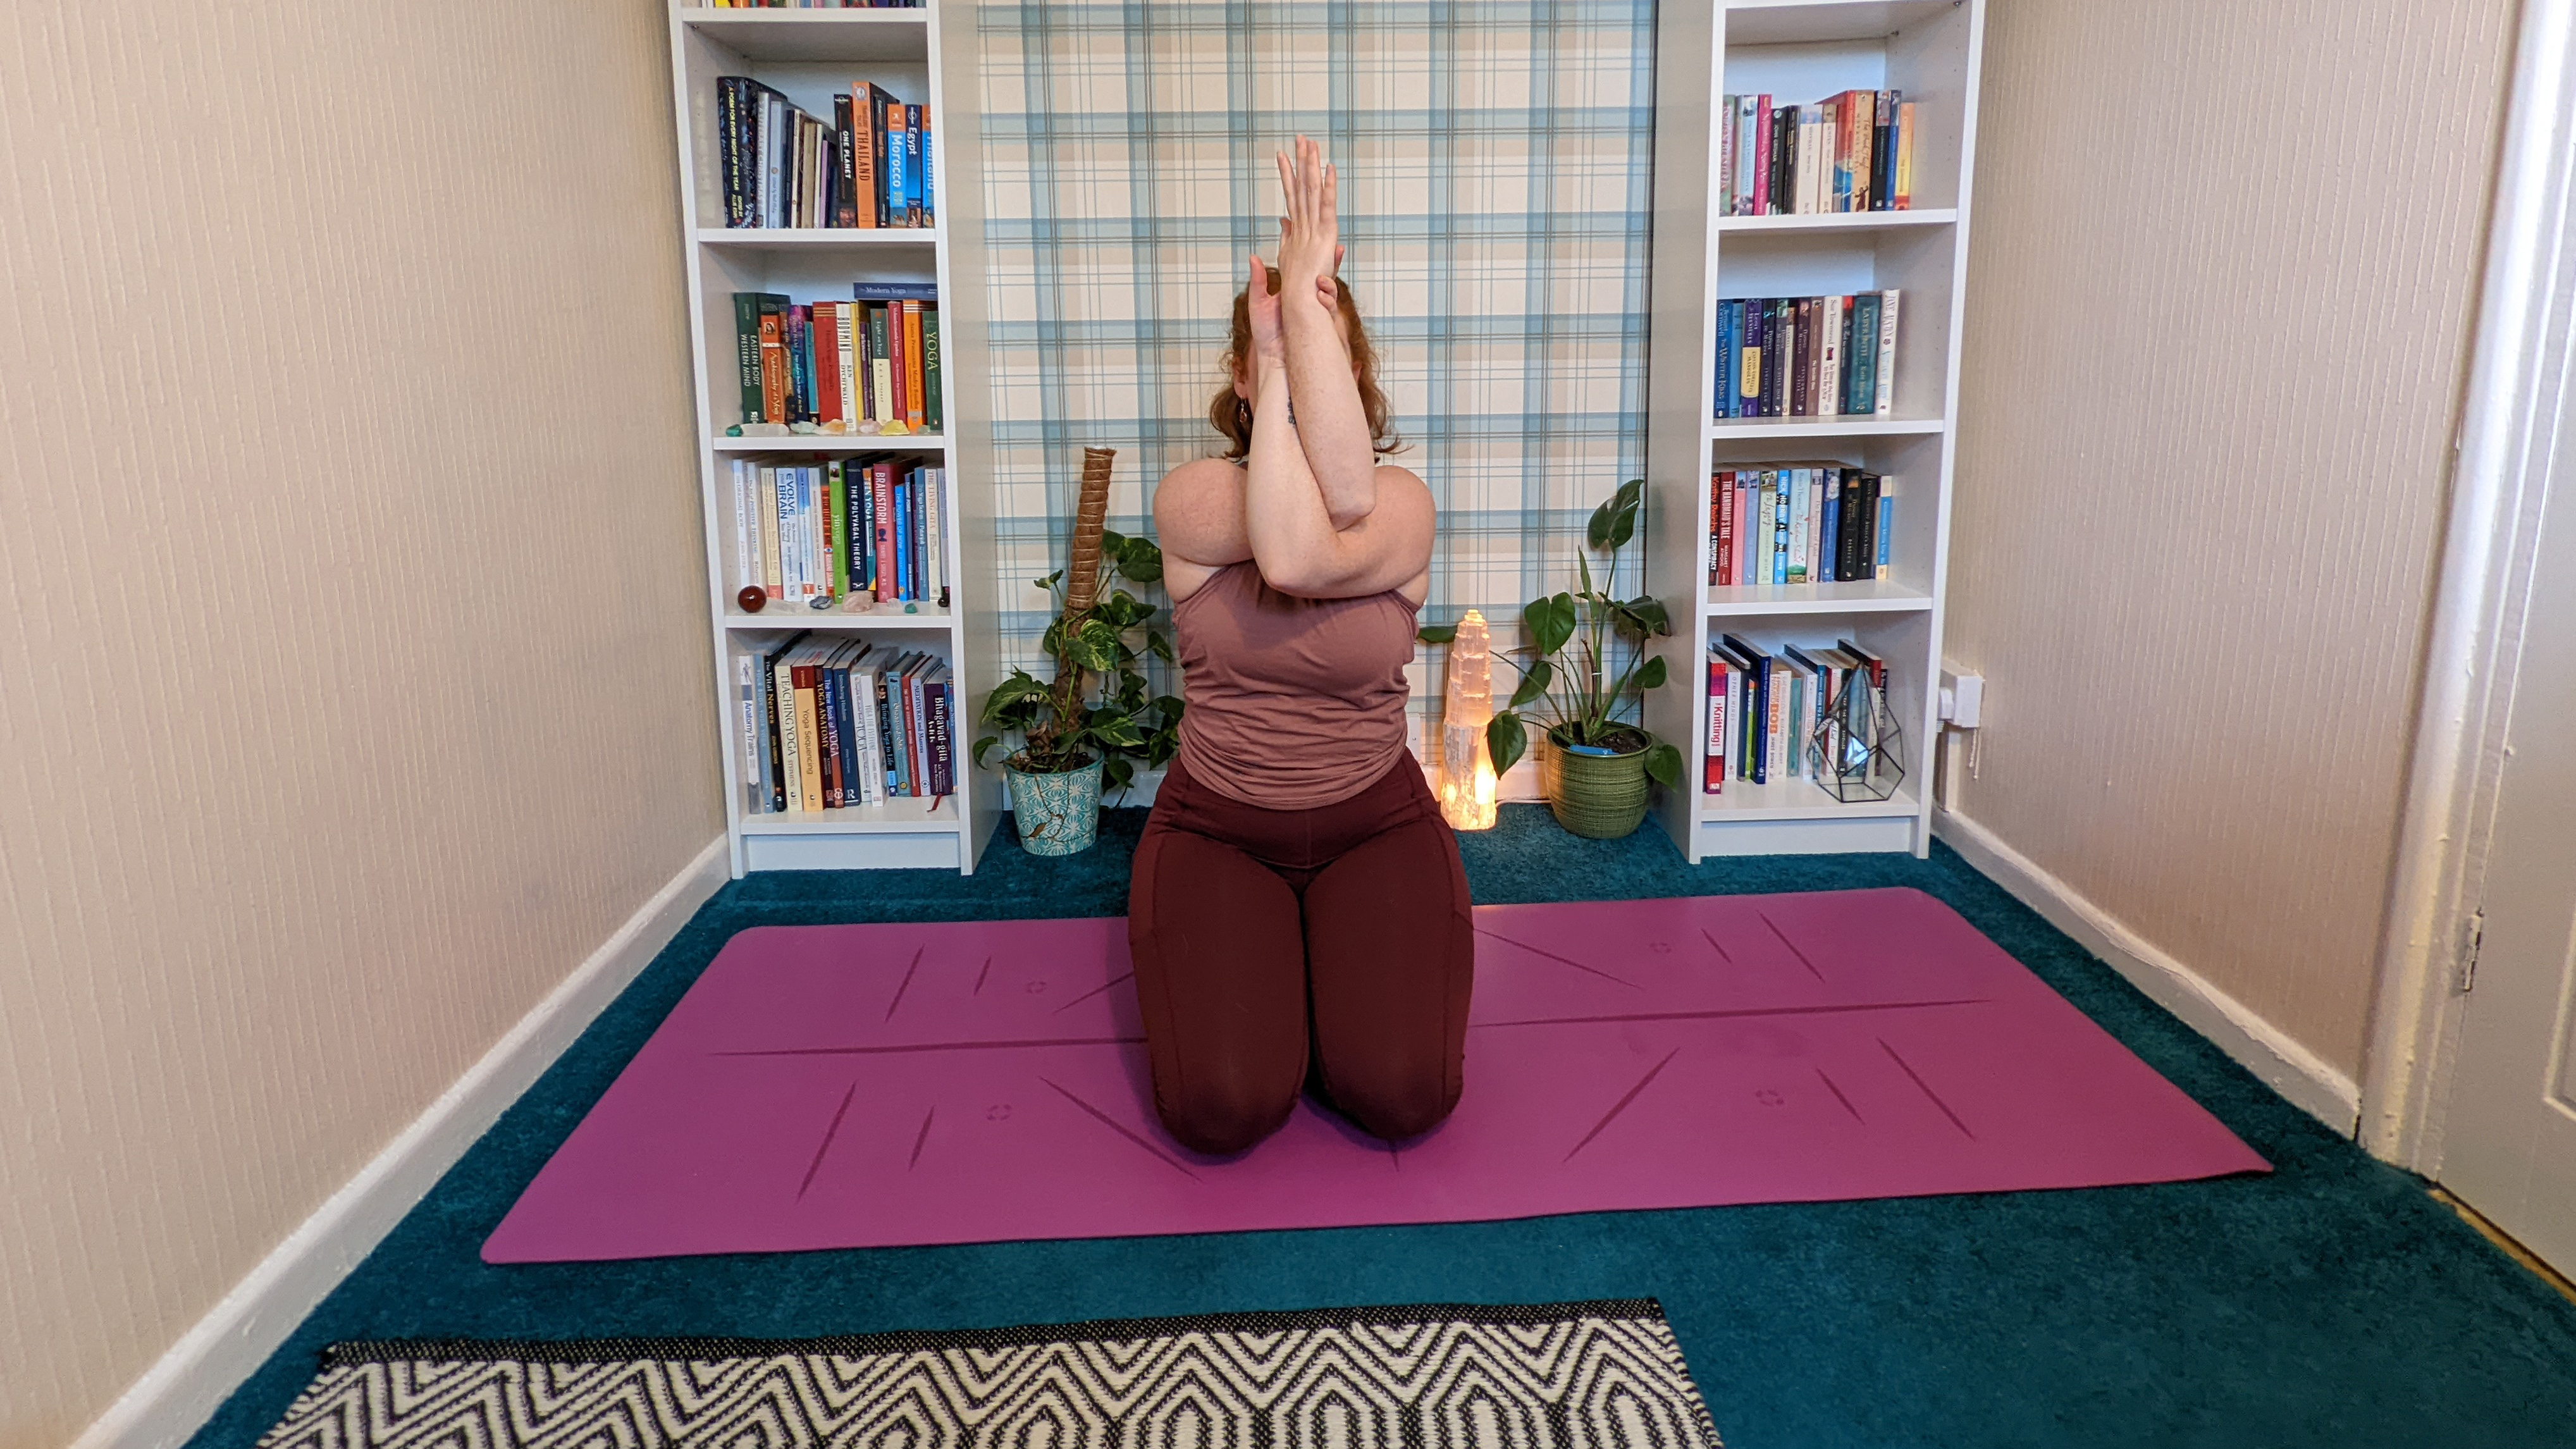
Step 1: You can do this posture seated or standing. Inhale and stretch your arms out wide, parallel to the floor. As you exhale, bring them to cross in front of you with the right elbow over the left.
Step 2: Bend your elbows. Your right elbow should now be sat in the crook of your left elbow. Aim to get the back of your forearms closer. They don’t have to touch.
Step 3: If you have more movement in your shoulders, you might be able to wrap your left hand round your right wrist.
Step 4: Lift your elbows gently while keeping your shoulders down away from your ears. Take 5 deep breaths here before releasing and swapping sides, crossing your left elbow over your right.
Eagle arms release the muscles of the upper back, neck and shoulders, reducing tightness in those muscles helping to make your shoulders more mobile.
Puppy pose

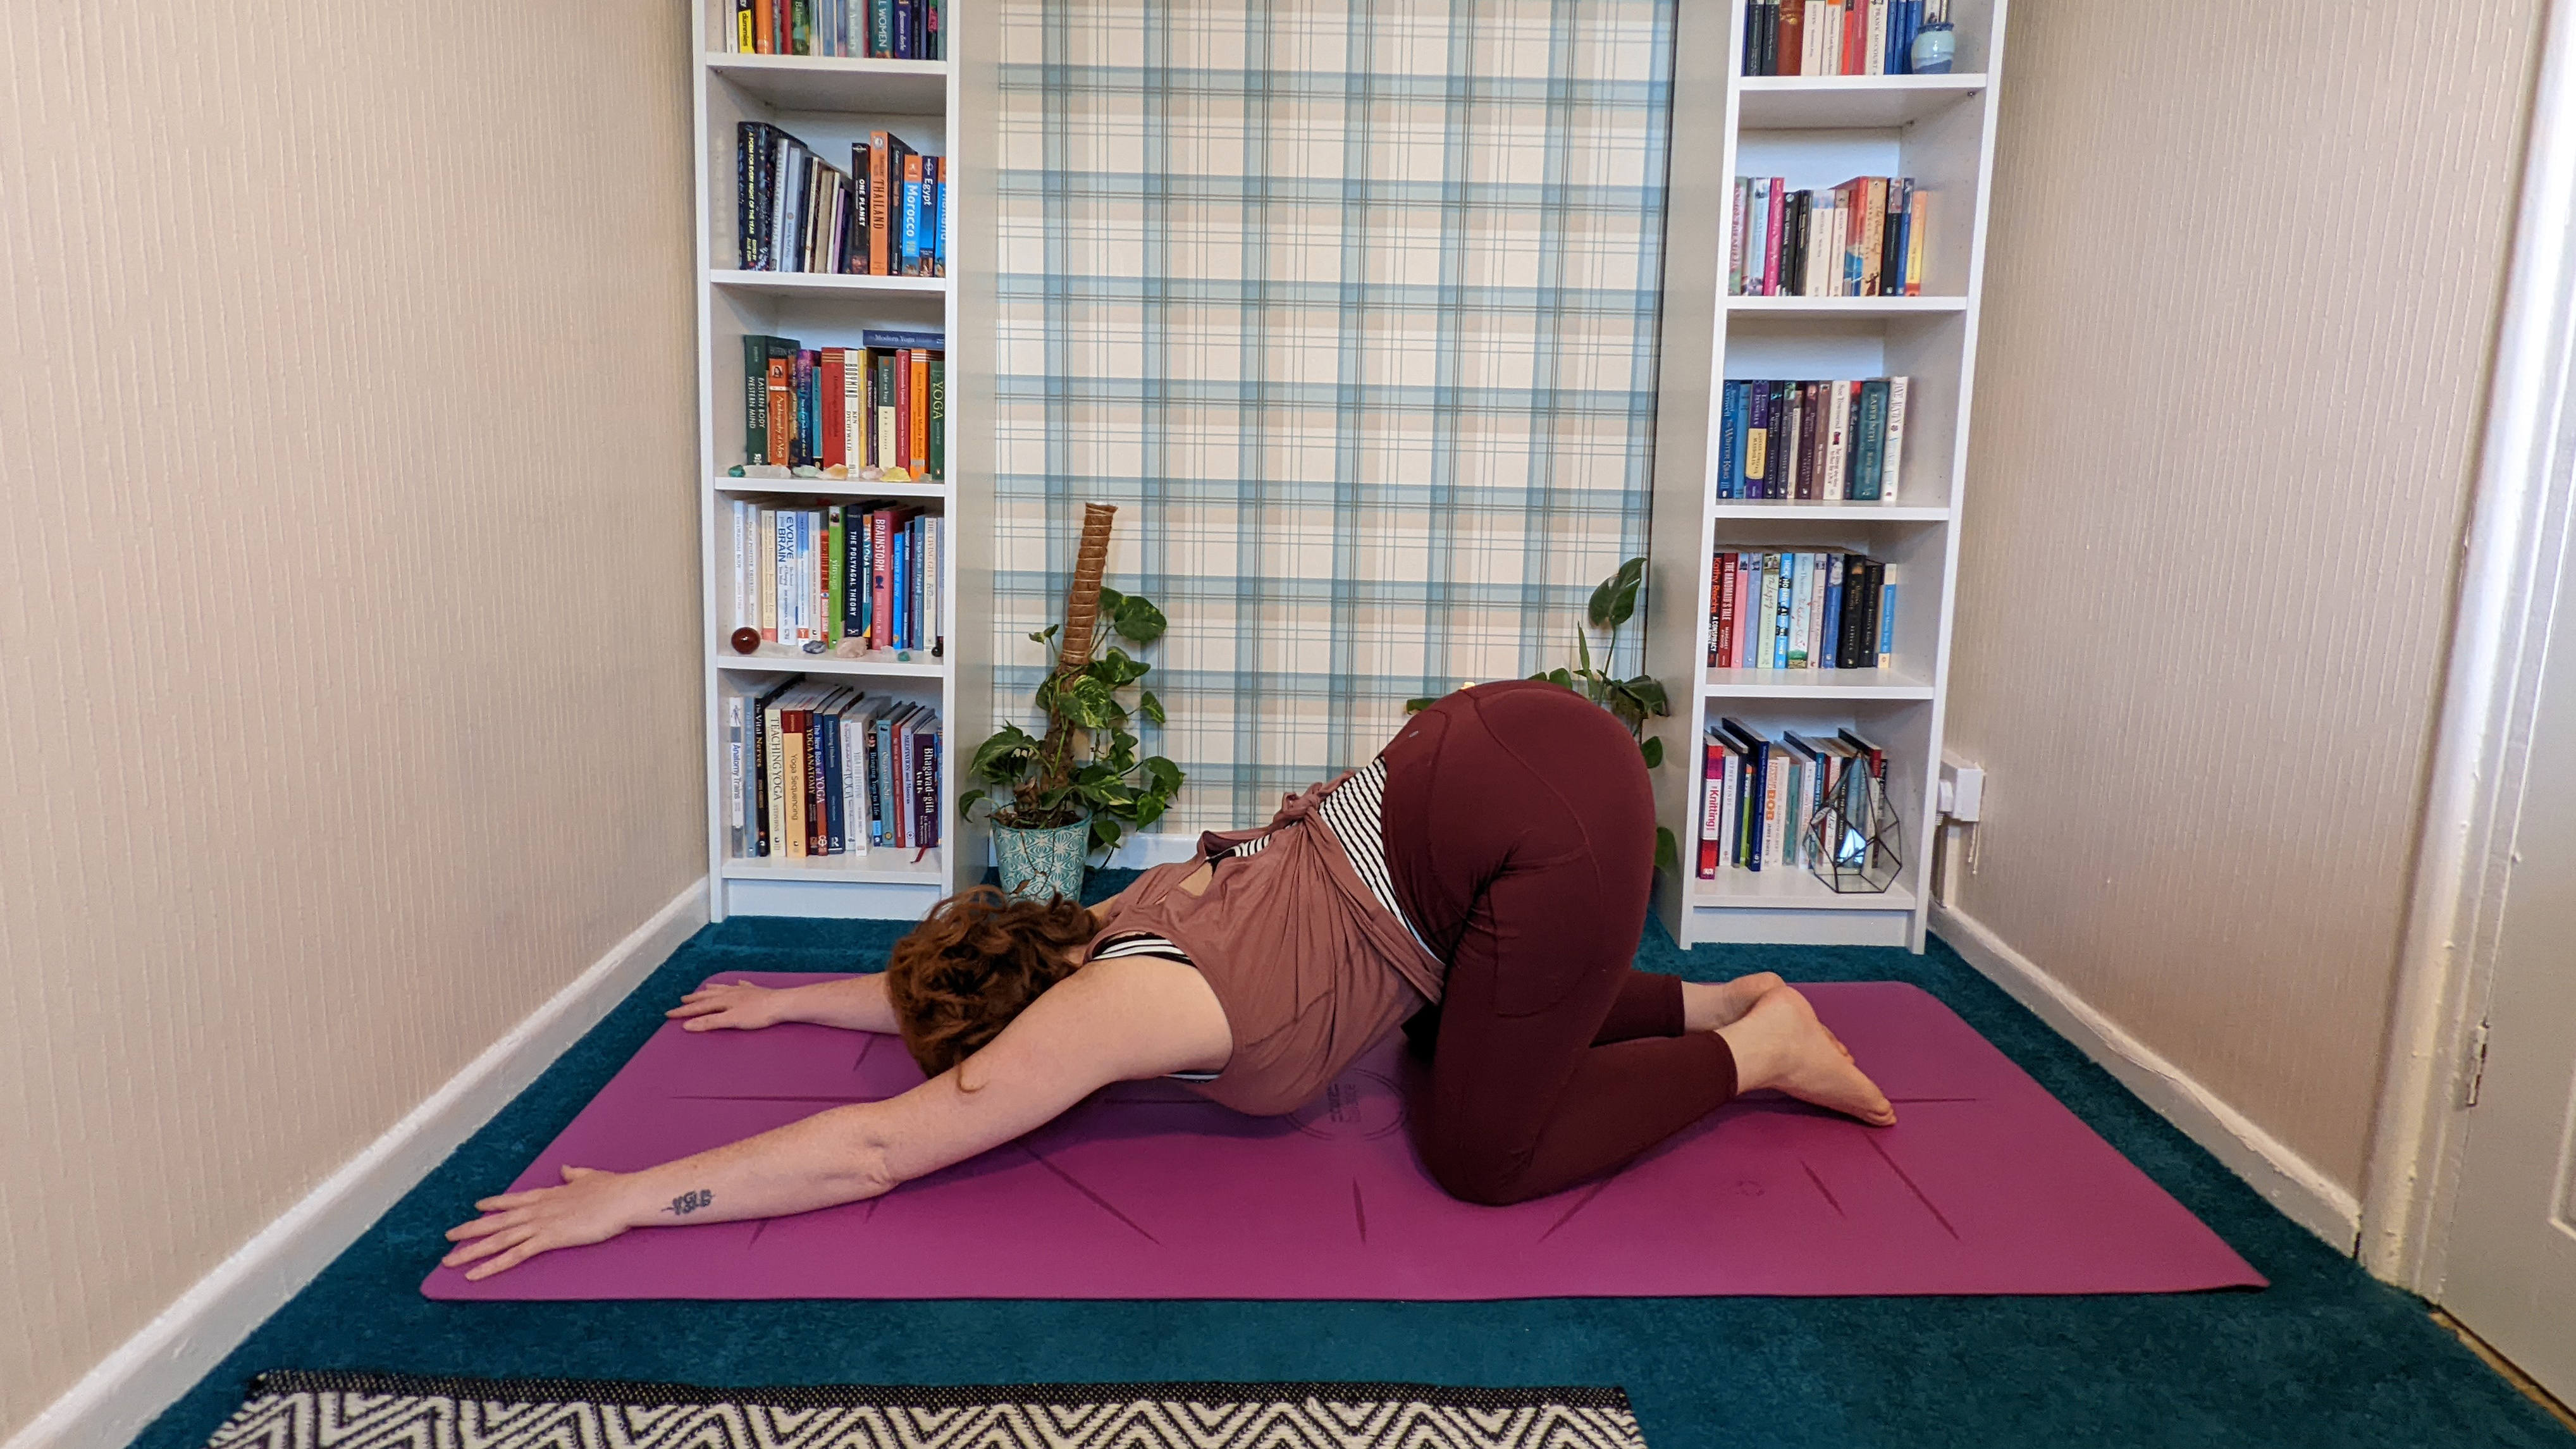
Step 1: Bring yourself back onto all fours. Walk your hands forward, keeping your hips stacked over your knees.
Step 2: Lower your chest towards the floor, bringing your forehead to the floor if that’s comfortable for your neck. You’re aiming to feel a stretch in the front of your shoulders, allowing your back to bend.
Step 3: If this is too strong for your shoulders, you can take the variation where you bend one arm and place it parallel to the top of your yoga mat. You can then rest your forehead on your arm.
Step 4: Take five deep breaths here before releasing from the posture. If you took the variation with one arm bent, repeat with the other arm bent.
Puppy pose is a deep stretch that opens the chest and shoulder muscles. This movement can help us gain more mobility in being able to bring our arms over our head.
Plank
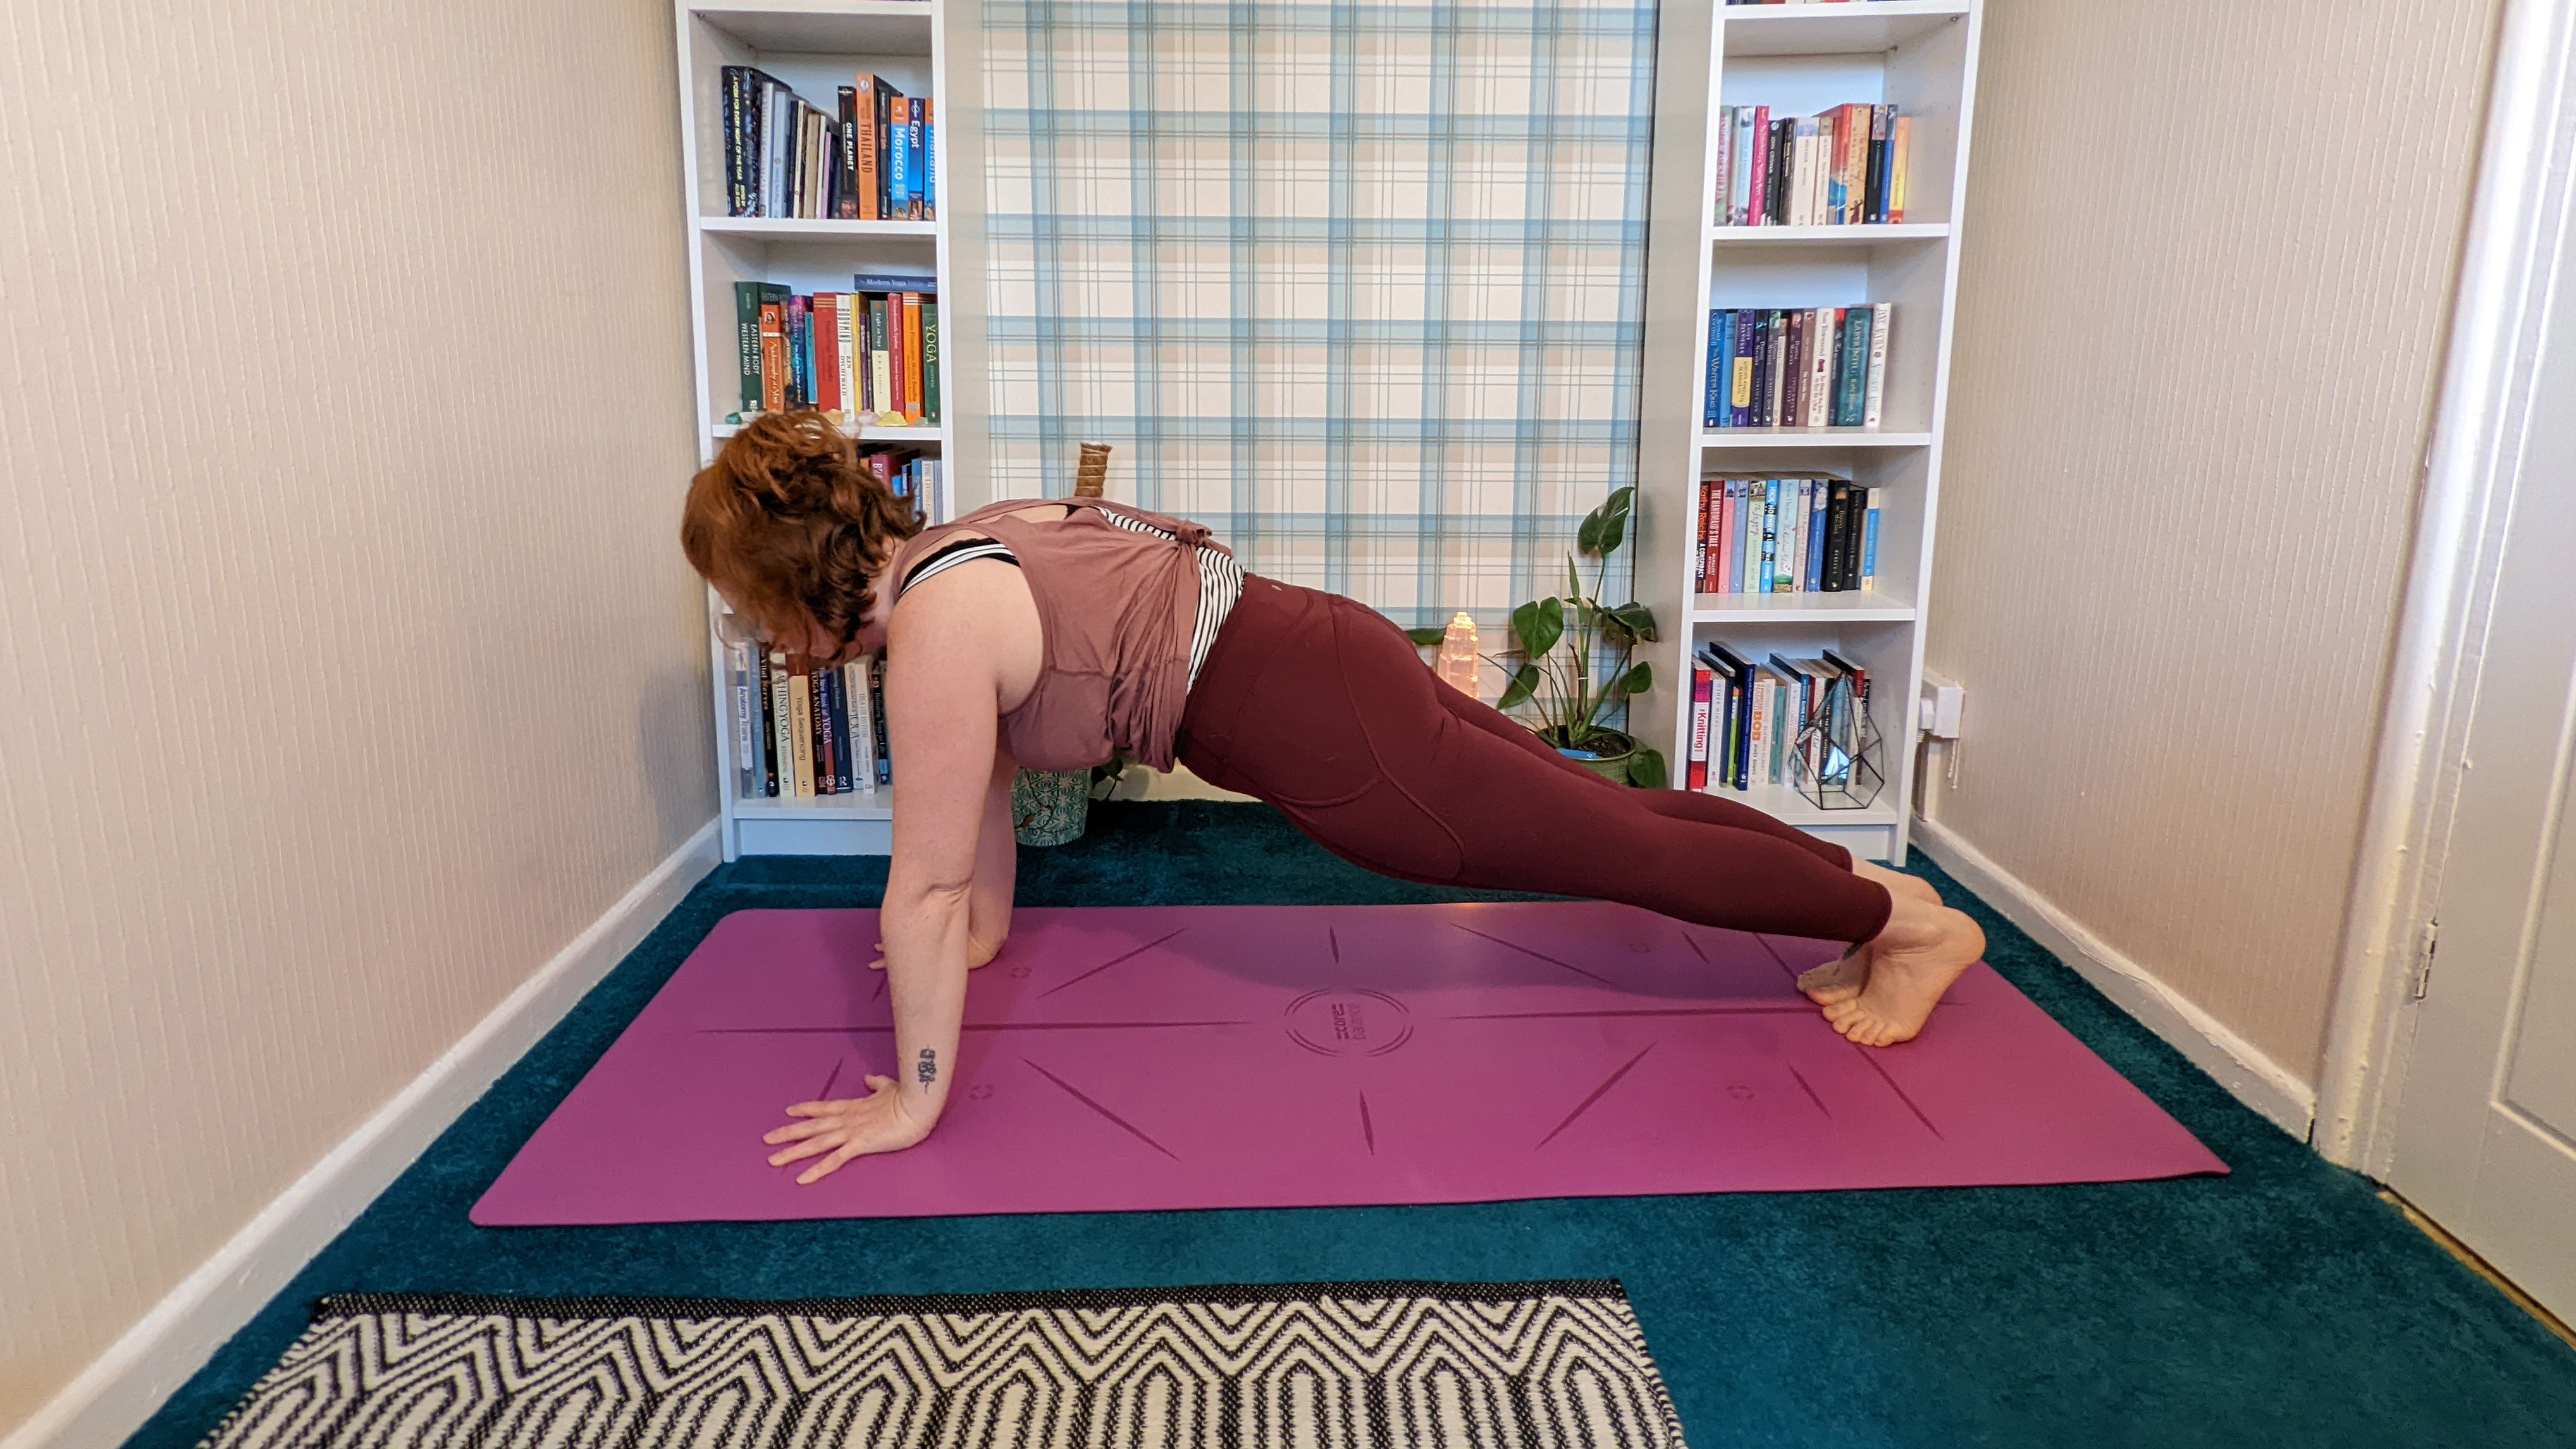
Step 1: From an all fours position with your shoulders stacked above your wrists and hips over your knees, step one leg back and press back through your heel.
Step 2: Step the other leg back, pressing through the heel. Squeeze the legs together for extra strength.
Step 3: Draw your core muscles in and shift your tailbone down to your heels.
Step 4: Take 3 deep breaths here before lowering your knees to the floor.
This arm balance pose helps to build strength in the arms and shoulders. It’s important to keep pressing into your hands and pushing your chest away from the floor to successfully build strength in the shoulders – a saggy middle and chest isn’t the desired outcome.
Dolphin
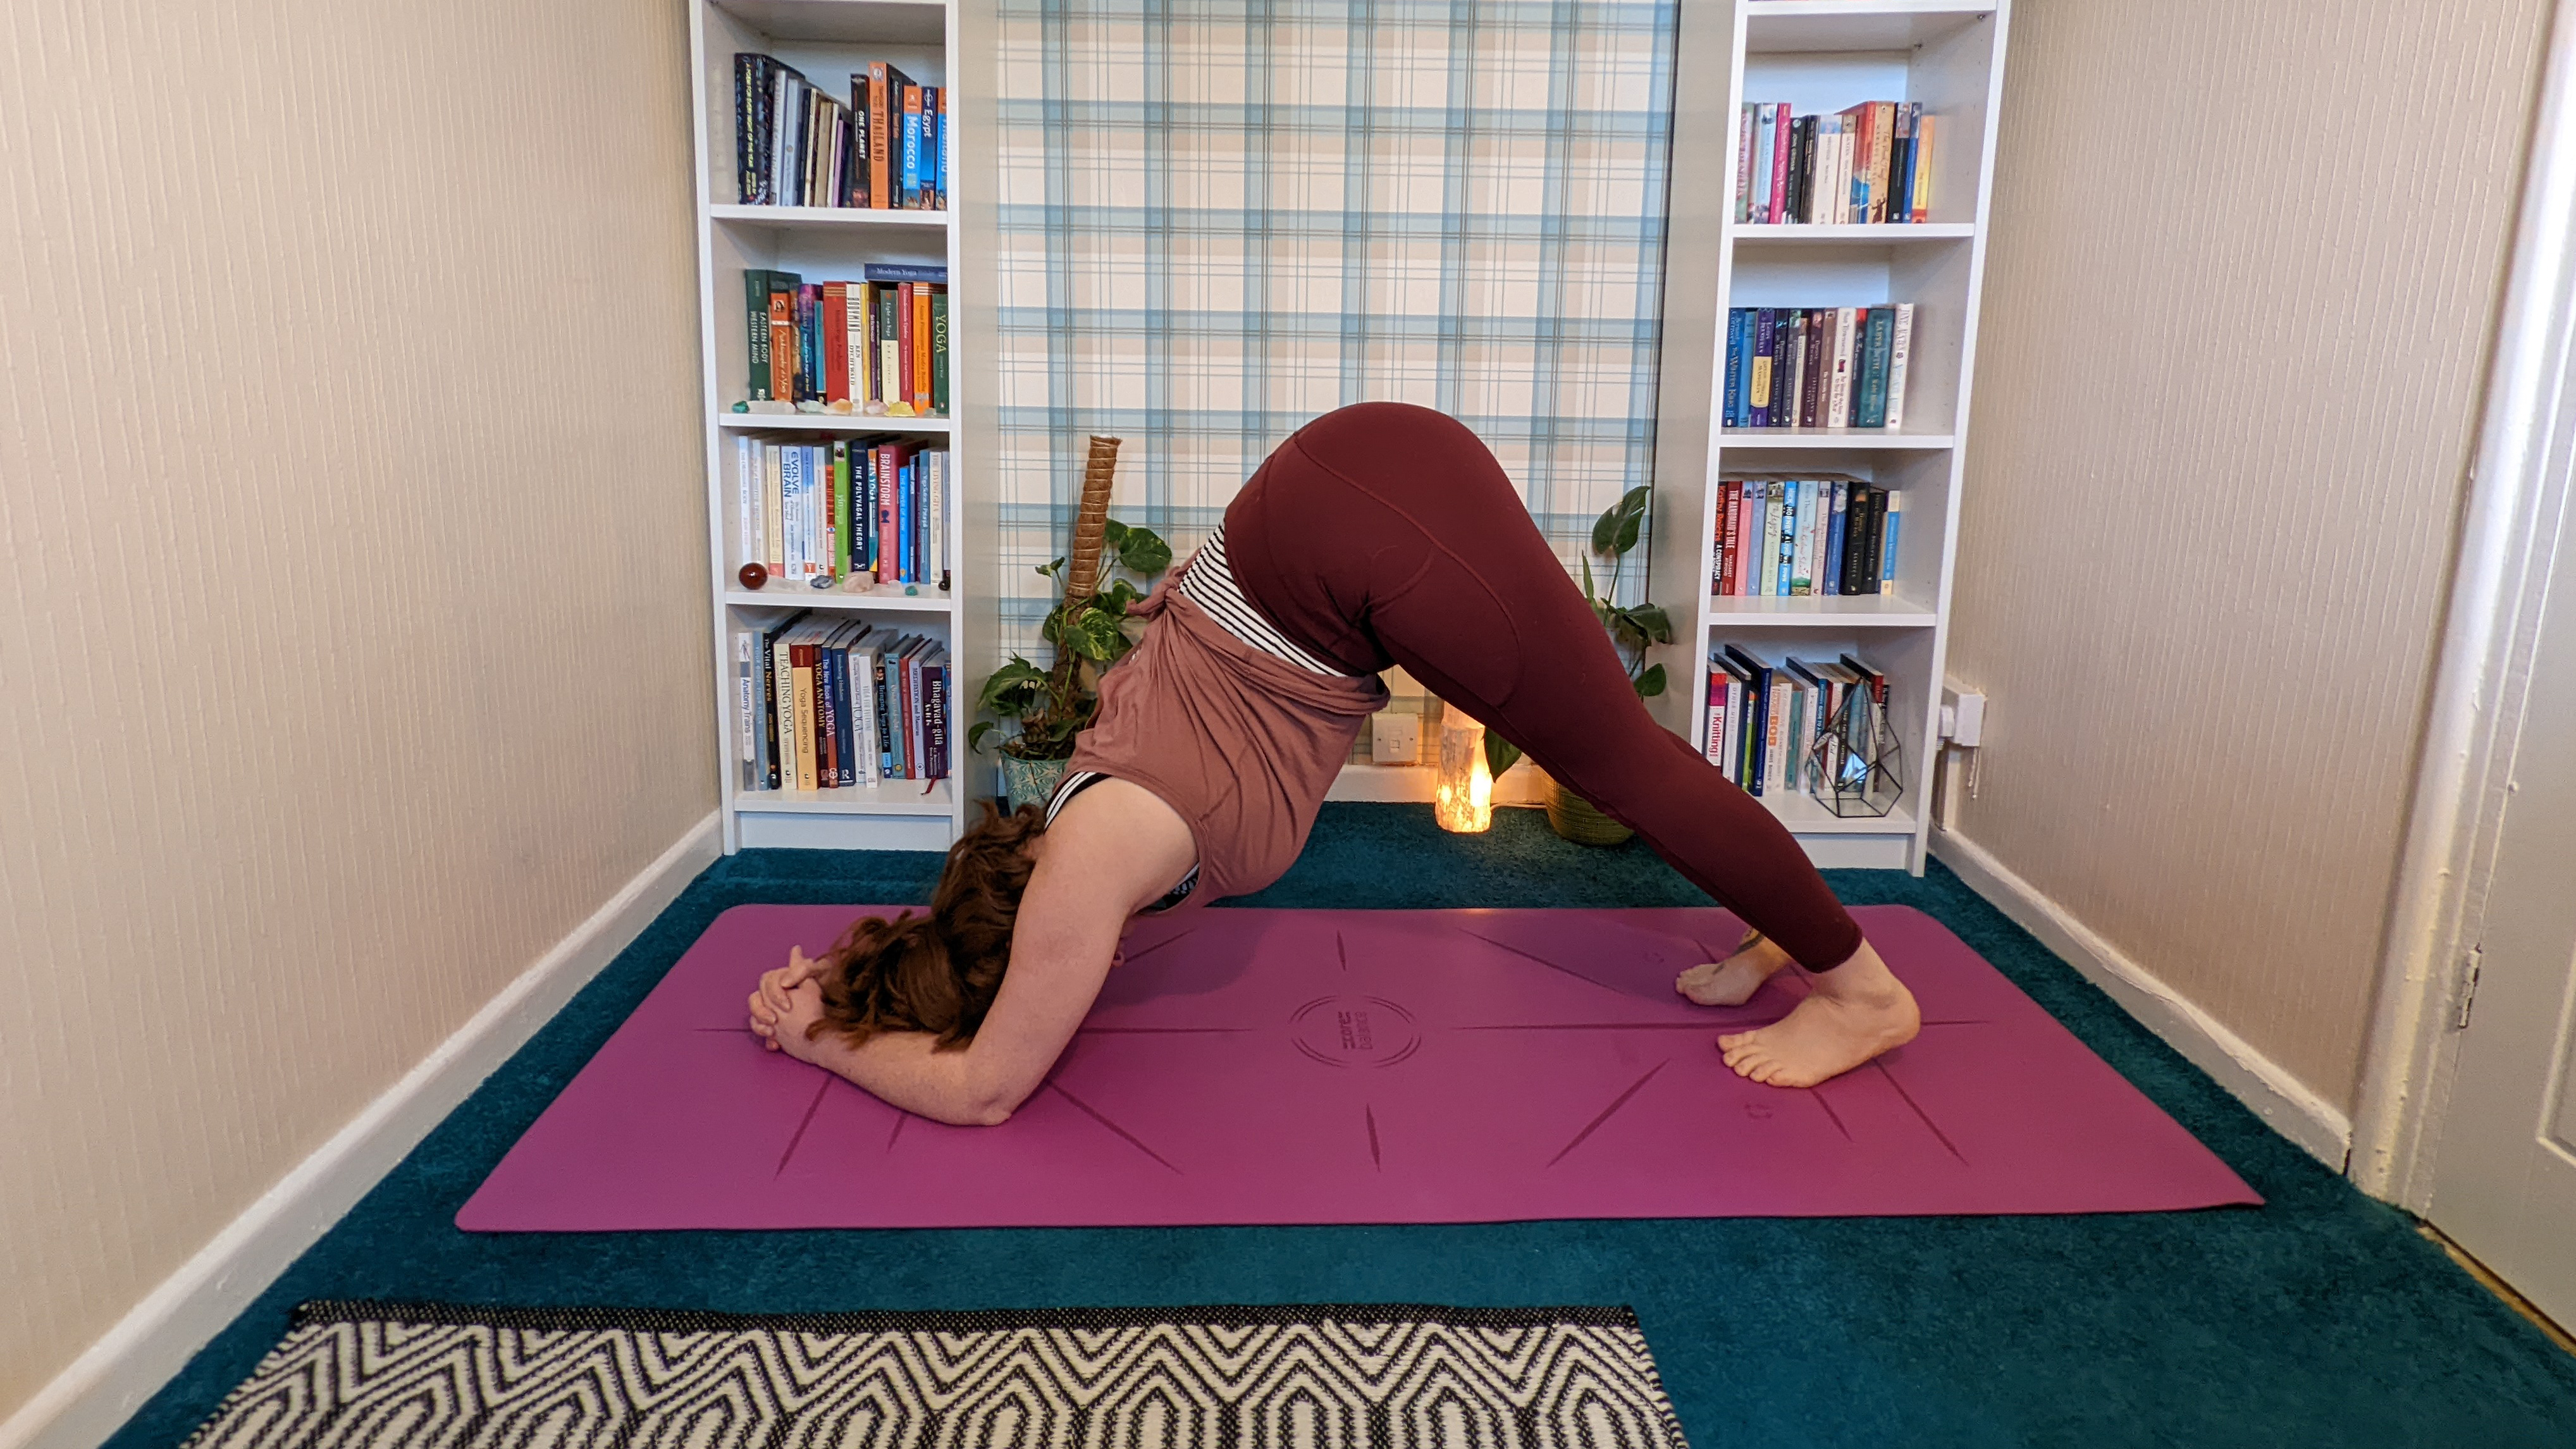
Step 1: From an all fours position, bring your forearms and elbows to the floor. Stack your elbows under your shoulders. You can either have your hands in line with your elbows, palms down, or interlock your fingers, bringing your palms together and tucking the bottom little finger in.
Step 2: Inhale and tuck your toes. Exhale, lift your knees off the floor and stretch your hips up and back. Elongate your spine. Straighten the legs if you can, but it’s fine to keep a bend in the knees too, especially if your back starts to round.
Step 3: Slide your shoulder blades down your back, moving your shoulders away from your ears. Press firmly into your forearms. Relax your neck with your head off the floor.
Step 4: If it is too strong for your shoulders with your knees off the floor, keep your knees down. Keep pressing into your forearms so you can feel your shoulder muscles engage.
Step 5: Stay for five deep breaths before lowering the knees back to the floor.
Dolphin pose is perfect for building strength around the shoulders. It engages the muscles of the shoulders, and the weight bearing aspect strengthens the bones. It’s also a great alternative to downward dog if you have sensitive wrists.
Kat is a yoga teacher with over five years teaching experience with a speciality in supporting injured students. She is qualified to teach Hormone Yoga Therapy and is currently studying to become a Yoga Therapy Practitioner. Alongside this, Kat has written about yoga and mindfulness for T3 and is the founder of Kalindi Yoga.

